Understanding Controls & Safety Installation Requirements
Controls & Safety systems form the critical foundation of any HVAC burner installation. As an HVAC contractor, your installation quality determines whether the system operates safely, meets regulatory requirements, and delivers the performance your clients expect. With 35+ years of experience as an industrial equipment distributor, 3G Electric has supported thousands of technicians through successful installations across diverse applications.
Proper Controls & Safety installation involves more than connecting wires—it requires understanding component relationships, following manufacturer specifications, and verifying performance before handover. Many service callbacks and safety issues stem from installation shortcuts or misunderstanding component interactions rather than product defects.
This guide covers the practical installation procedures, wiring configurations, and commissioning steps that ensure your Controls & Safety systems operate reliably from day one.
Pre-Installation Planning and Site Assessment
Before opening any junction boxes or routing wiring, successful Controls & Safety installation begins with thorough planning.
Verify System Architecture
Confirm that all specified components are present and match your project documentation. Check that relay units like the Kromschroder BCU 570WC1F1U0K1-E are rated for your burner's ignition mode (direct ignition versus pilot ignition). Verify that pressure switches such as the Kromschroder DG 50U/6 are rated for your gas supply pressure range and that SIL ratings meet your safety requirements.
Assess Installation Environment
Evaluate ambient temperature ranges where your Controls & Safety equipment will operate. Industrial installations in mechanical rooms may experience temperature extremes that affect relay response times. Check for vibration sources that could loosen connections—motor-driven compressors or nearby mechanical equipment create vibration patterns that fatigue electrical connections over time. Identify moisture exposure from steam systems or humidified spaces that could degrade terminal contacts.
Document ambient conditions and compare against component specifications. If your installation environment exceeds component ratings, plan for protective enclosures or relocation before wiring begins.
Plan Wiring Routing and Labeling
Layout your complete control wiring schematic before installing any components. Identify all connection points between the flame detection module (such as the Pactrol Housing P 16 DI CE), safety relay, pressure switches, and solenoid valves. Plan cable routing to avoid interference from power circuits and maintain separation distances specified in your equipment manuals.
Prepare a labeling system for every wire connection. Use numbered terminal blocks and color-coded wire identification. Take photos of your planned routing before installation and maintain a detailed wiring record for future technicians.
Step-by-Step Installation Procedures
Mounting and Mechanical Installation
Begin by installing all mounting hardware—DIN rail clips, wall brackets, and panel cutouts—before connecting any wiring. Ensure that relay units and control modules are mounted in their specified orientation (some equipment requires specific mounting angles to function correctly). Use vibration-resistant fasteners in installations subject to mechanical shock.
For pressure switches like the Kromschroder DG 50U/6, install tubing connections with proper flare or compression fittings—do not apply excessive force that could damage internal switch elements. Allow adequate clearance around all equipment for future maintenance access.
Wiring Controls & Safety Relays
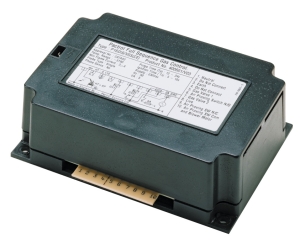
When connecting safety relays such as the Siemens LFL 1.622, follow the manufacturer's terminal diagram precisely. These units typically have multiple input circuits (flame signal inputs, air pressure inputs, reset circuits) and multiple output circuits (pilot valve control, main valve control, igniter circuits).
Key wiring considerations:
- Verify that flame detection inputs use shielded cable to prevent signal interference
- Separate flame signal wiring from high-voltage ignition circuits by at least 50mm (2 inches) in cable trays
- Connect pressure switch inputs to the designated terminals—incorrect pressure input connections can cause nuisance shutdowns
- Use properly sized conductors for all circuits; undersized wires create voltage drops that prevent solenoid valve operation
- Install intermediate relays or contactors for any circuits requiring current above the relay's rated output capacity
Pressure switches require both mechanical and electrical installation. The Kromschroder DG 50U/6 pressure switch connects to gas supply and pilot pressure lines via tubing. Install isolation shut-off valves on both pressure lines to allow switch removal without de-pressurizing the entire system.
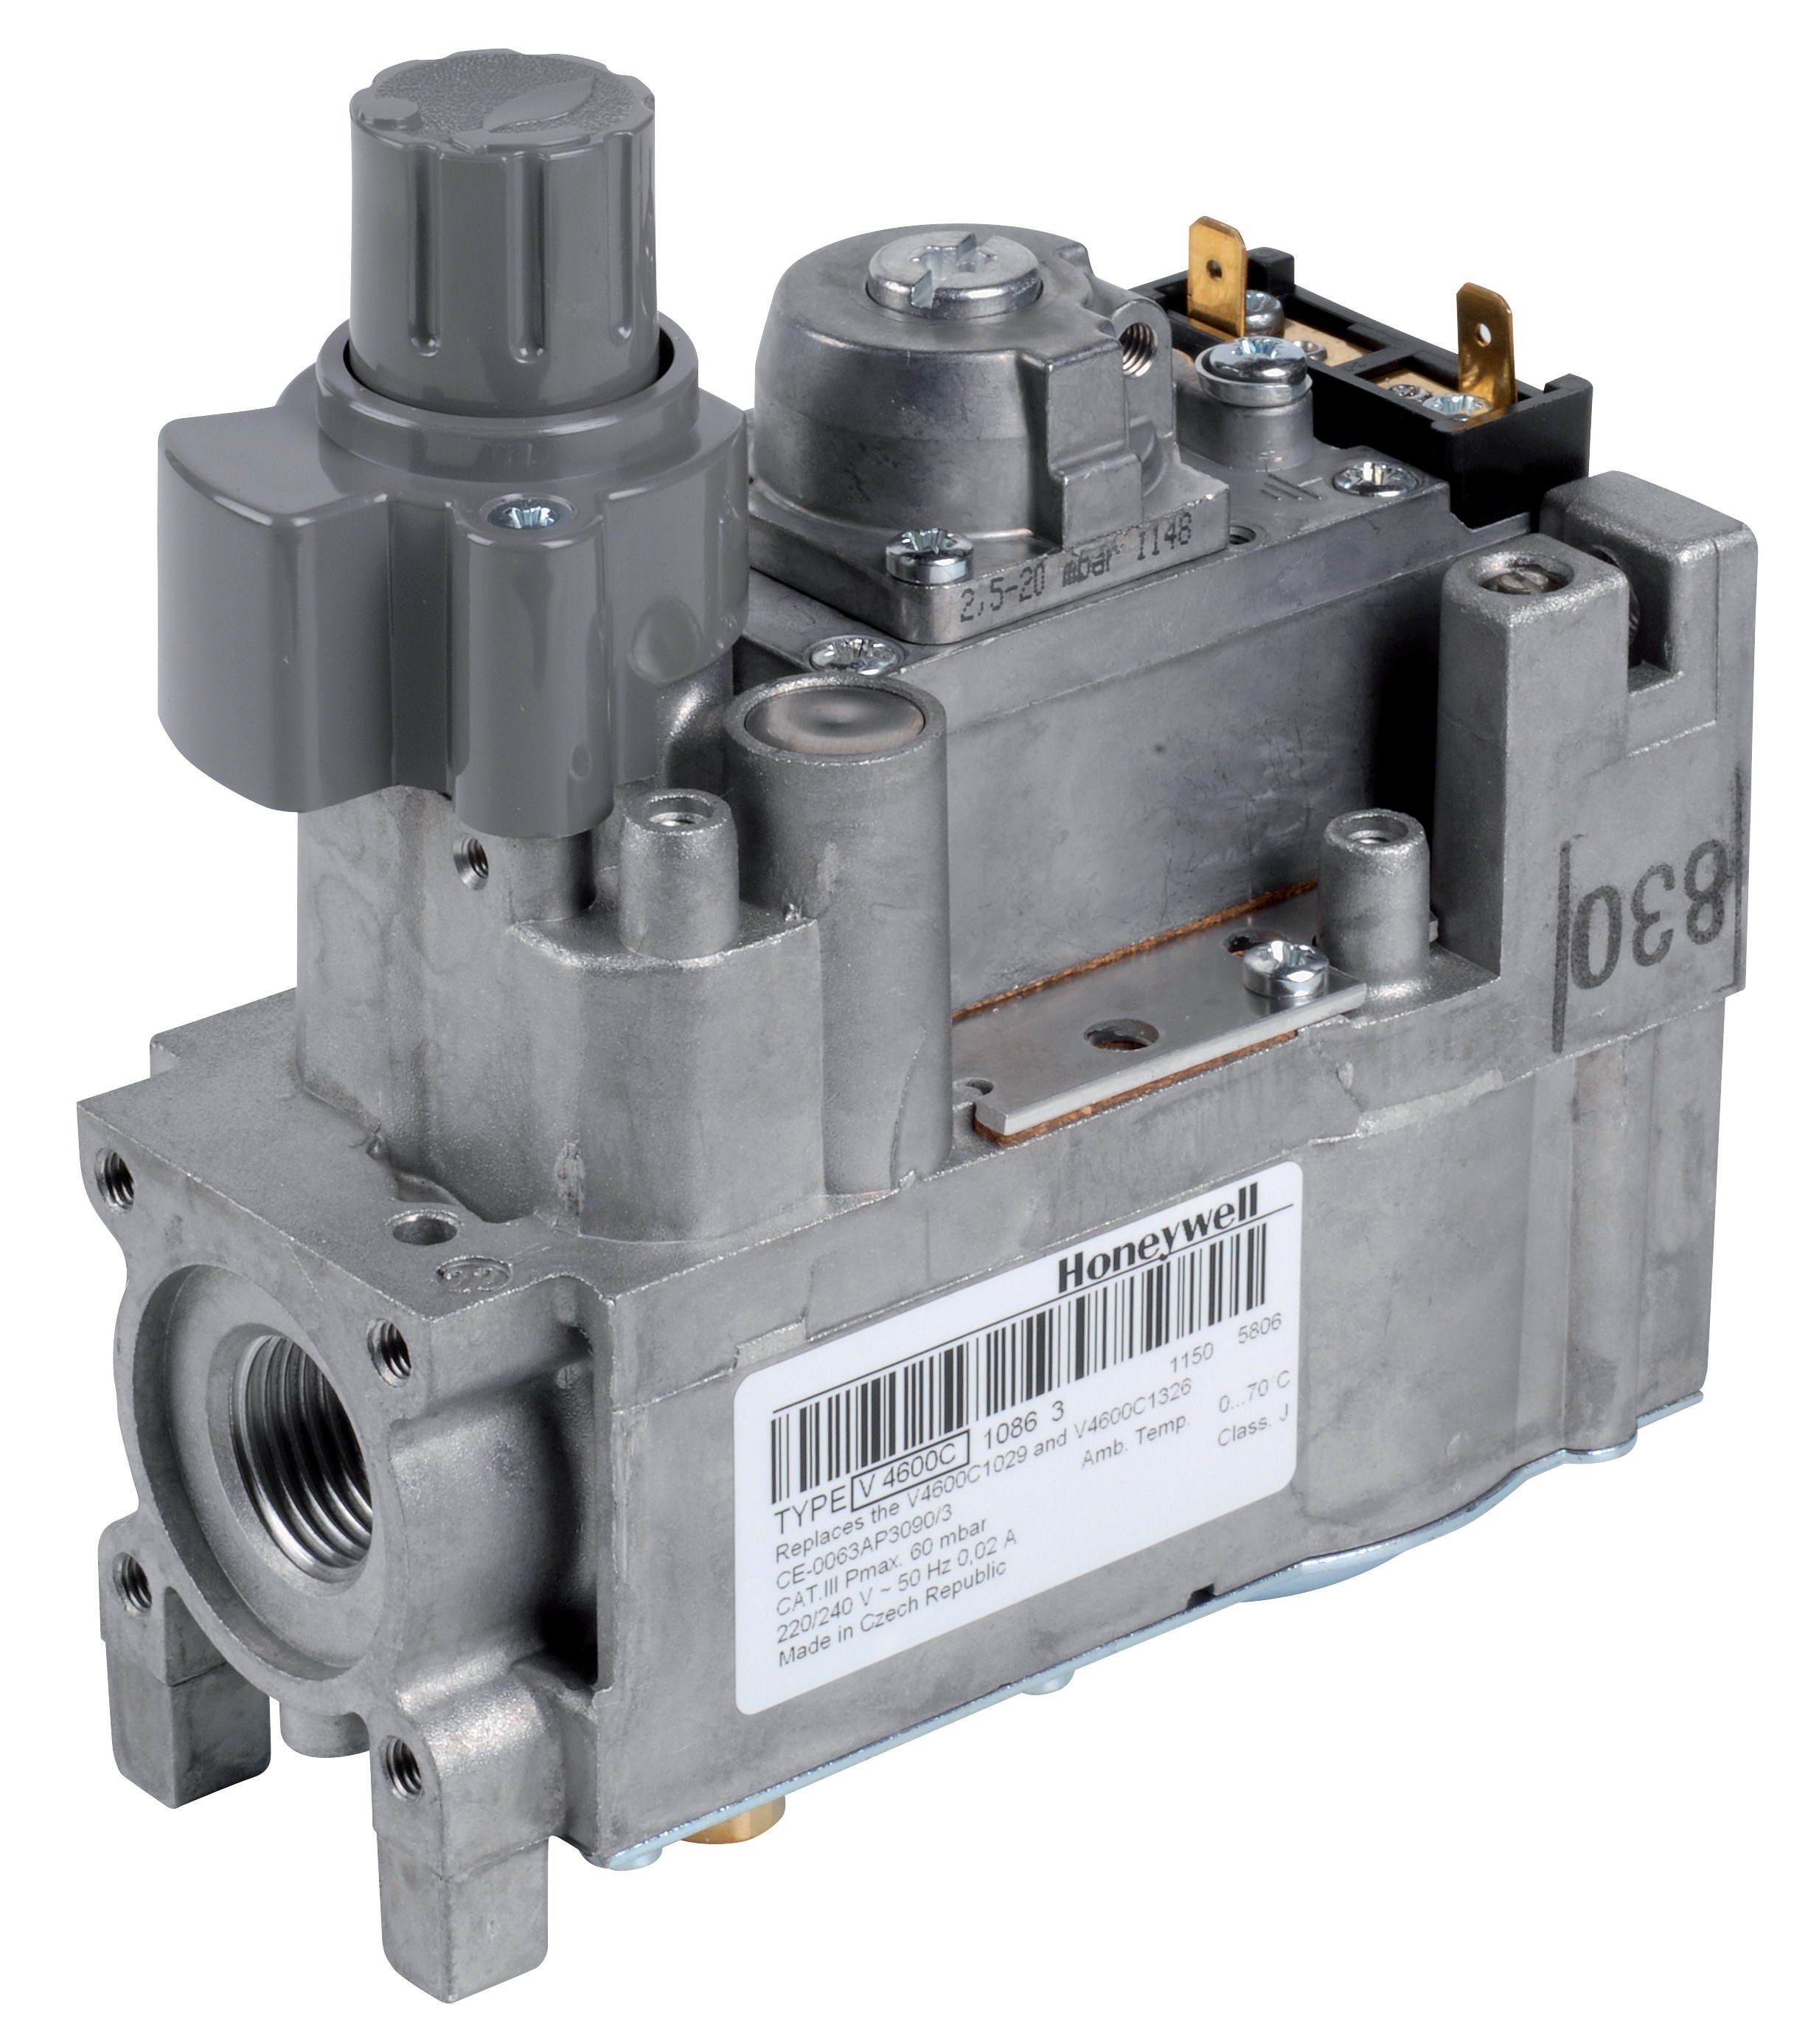
For modulating gas blocks such as the Honeywell VK 4105 C 1041 U, verify that pilot pressure feedback tubing is routed according to manufacturer specifications. This feedback signal allows the block to modulate main gas flow proportionally to burner demand. Secure tubing with clips every 300mm (12 inches) to prevent vibration damage.
Flame Detection Module Installation
The flame detection module (such as the Pactrol Housing P 16 DI CE) positions the flame rod or flame scanner in the combustion zone. Install this equipment precisely according to mounting specifications—flame detection position directly affects reliability. An improperly positioned flame rod may lose signal during normal operation, causing nuisance lockouts.
If installing a flame rod in a pilot burner, ensure that the electrode is positioned in the pilot flame zone without contacting the burner itself. Leave adequate spacing (typically 5-10mm depending on equipment type) to prevent mechanical contact during vibration.
For flame scanners using infrared detection, verify that the viewing window is not obstructed and that the scanner has clear sight line to the main flame. Clean any dust or soot from the scanner lens before commissioning.
Wiring Verification and Electrical Testing
Continuity and Resistance Testing
Before applying power to Controls & Safety circuits, verify continuity of all wiring connections using a multimeter set to resistance measurement. Test from the flame signal input terminals at the relay back to the flame detection module to confirm complete circuit. Perform similar checks for pressure switch circuits, igniter circuits, and solenoid valve control circuits.
Unexpected resistance readings often indicate loose connections or damaged wire insulation. Correct any issues before energizing the system.
Voltage Testing Under No-Load Conditions
With the system powered but not running (no burner ignition attempted), verify that the relay outputs are de-energized and that reset circuits function correctly. Test voltage at solenoid valve coils—they should read zero volts until the ignition sequence is initiated.
For systems using the Kromschroder BCU 570WC1F1U0K1-E, verify that the reset button functions properly and that the relay transitions through its defined sequence.
Commissioning and Safety Verification
Establishing Flame Signal Detection
Once wiring is verified, the first commissioning step is confirming that flame signal detection operates correctly. Initiate the ignition sequence and observe whether the flame detection module signals the safety relay. Many relays have indicator lights that confirm flame signal reception—document the timing of these transitions.
If flame signal is not detected during normal burner operation, the installation is not ready for handover. Troubleshoot before proceeding:
- Verify flame rod is properly positioned in the flame zone
- Check that flame detection wiring is not damaged or disconnected
- Confirm that the detection module is receiving correct electrical supply voltage
- For scanner-based systems, clean the viewing lens and verify clear sight line to flame
During commissioning, observe pressure switch behavior as the burner operates. The pressure switch should close when gas supply pressure rises above the setpoint and remain closed throughout normal operation. If the switch cycles on and off unpredictably, the setpoint may be incorrect or the pressure is unstable.
For systems using the Kromschroder DG 50U/6, verify that the SIL 3 safety integrity is maintained by confirming that the switch responds to pressure changes within specified time windows.
Safety Shutdown Verification
Perform controlled safety shutdown tests to verify that all protective circuits function:
- Interrupt the flame signal (cover the flame rod or block the scanner view) and confirm the system shuts down within the time specified in the safety relay documentation
- Remove or block the pressure switch signal and confirm gas supply shuts off
- For systems with reset buttons, verify that the relay locks out and requires manual reset after a safety shutdown
Document all response times and compare against manufacturer specifications. Any response slower than specified indicates a potential safety issue requiring investigation before release to the customer.
Load Testing Solenoid Valves and Igniters
With the burner operating normally, verify that solenoid valves and igniter circuits receive correct control signals. Measure voltage at solenoid valve coils during ignition sequence—voltage should match the coil rating (typically 24V or 120V).
For systems with the Honeywell VK 4105 C 1041 U modulating block, observe that gas flow responds smoothly to burner demand and that the feedback control system stabilizes the flame.
Documentation and Handover
Create Installation Records
Document every aspect of your installation:
- Component serial numbers and installation dates
- All measured voltages and resistance values from your electrical testing
- Flame signal detection response timing
- Pressure switch settings and measured response
- Safety shutdown test results
- Any deviations from standard procedures and how you addressed them
Provide these records to your customer as part of the system documentation. Future maintenance technicians rely on this information to diagnose problems and understand your installation approach.
Provide Clear Operating Instructions
When handing over a Controls & Safety system to an HVAC customer, ensure they understand:
- How to recognize normal operation (indicator lights, sounds, vibration patterns)
- What actions require manual reset (safety relay lockouts)
- Routine maintenance requirements (flame scanner cleaning, pressure switch testing)
- When to call for service (unexpected shutdowns, slow response, erratic operation)
Plan to return for a follow-up visit 30 days after installation. Check that all connections remain tight, measure voltage and resistance again to ensure no degradation, and observe system operation under various load conditions. Early issues often become apparent within the first month of operation.
Troubleshooting Common Installation Issues
Nuisance Pressure Switch Shutdowns
If the system shuts down unexpectedly based on pressure switch signals, verify that tubing connections are not kinked or partially blocked. Confirm that the switch setpoint matches your gas supply pressure during normal operation. A setpoint too close to normal operating pressure causes the switch to cycle on pressure fluctuations.
Flame Signal Not Detected
When the flame detection module fails to signal the relay during burner operation, first confirm that the burner itself is producing flame. If flame is present but not detected, reposition the flame rod or scanner to ensure it has adequate view of the flame. Check that the detection module is receiving correct supply voltage.
Slow Response Times
If safety shutdowns are delayed beyond manufacturer specifications, check that all wiring connections are tight. Corroded contacts or loose connections increase resistance in signal circuits, slowing response. Clean or replace any suspicious contacts.
With 35+ years of experience supporting HVAC contractors worldwide, 3G Electric recognizes that installation quality is the foundation of system reliability. By following these practical procedures and verifying each step, you ensure that Controls & Safety systems protect your customers' equipment and personnel from day one of operation.