Understanding Controls & Safety Component Interdependencies
Controls & Safety architectures in industrial burner systems operate as integrated networks where each component's performance directly affects system reliability. Maintenance teams must understand these interdependencies to diagnose failures accurately rather than replacing components unnecessarily.
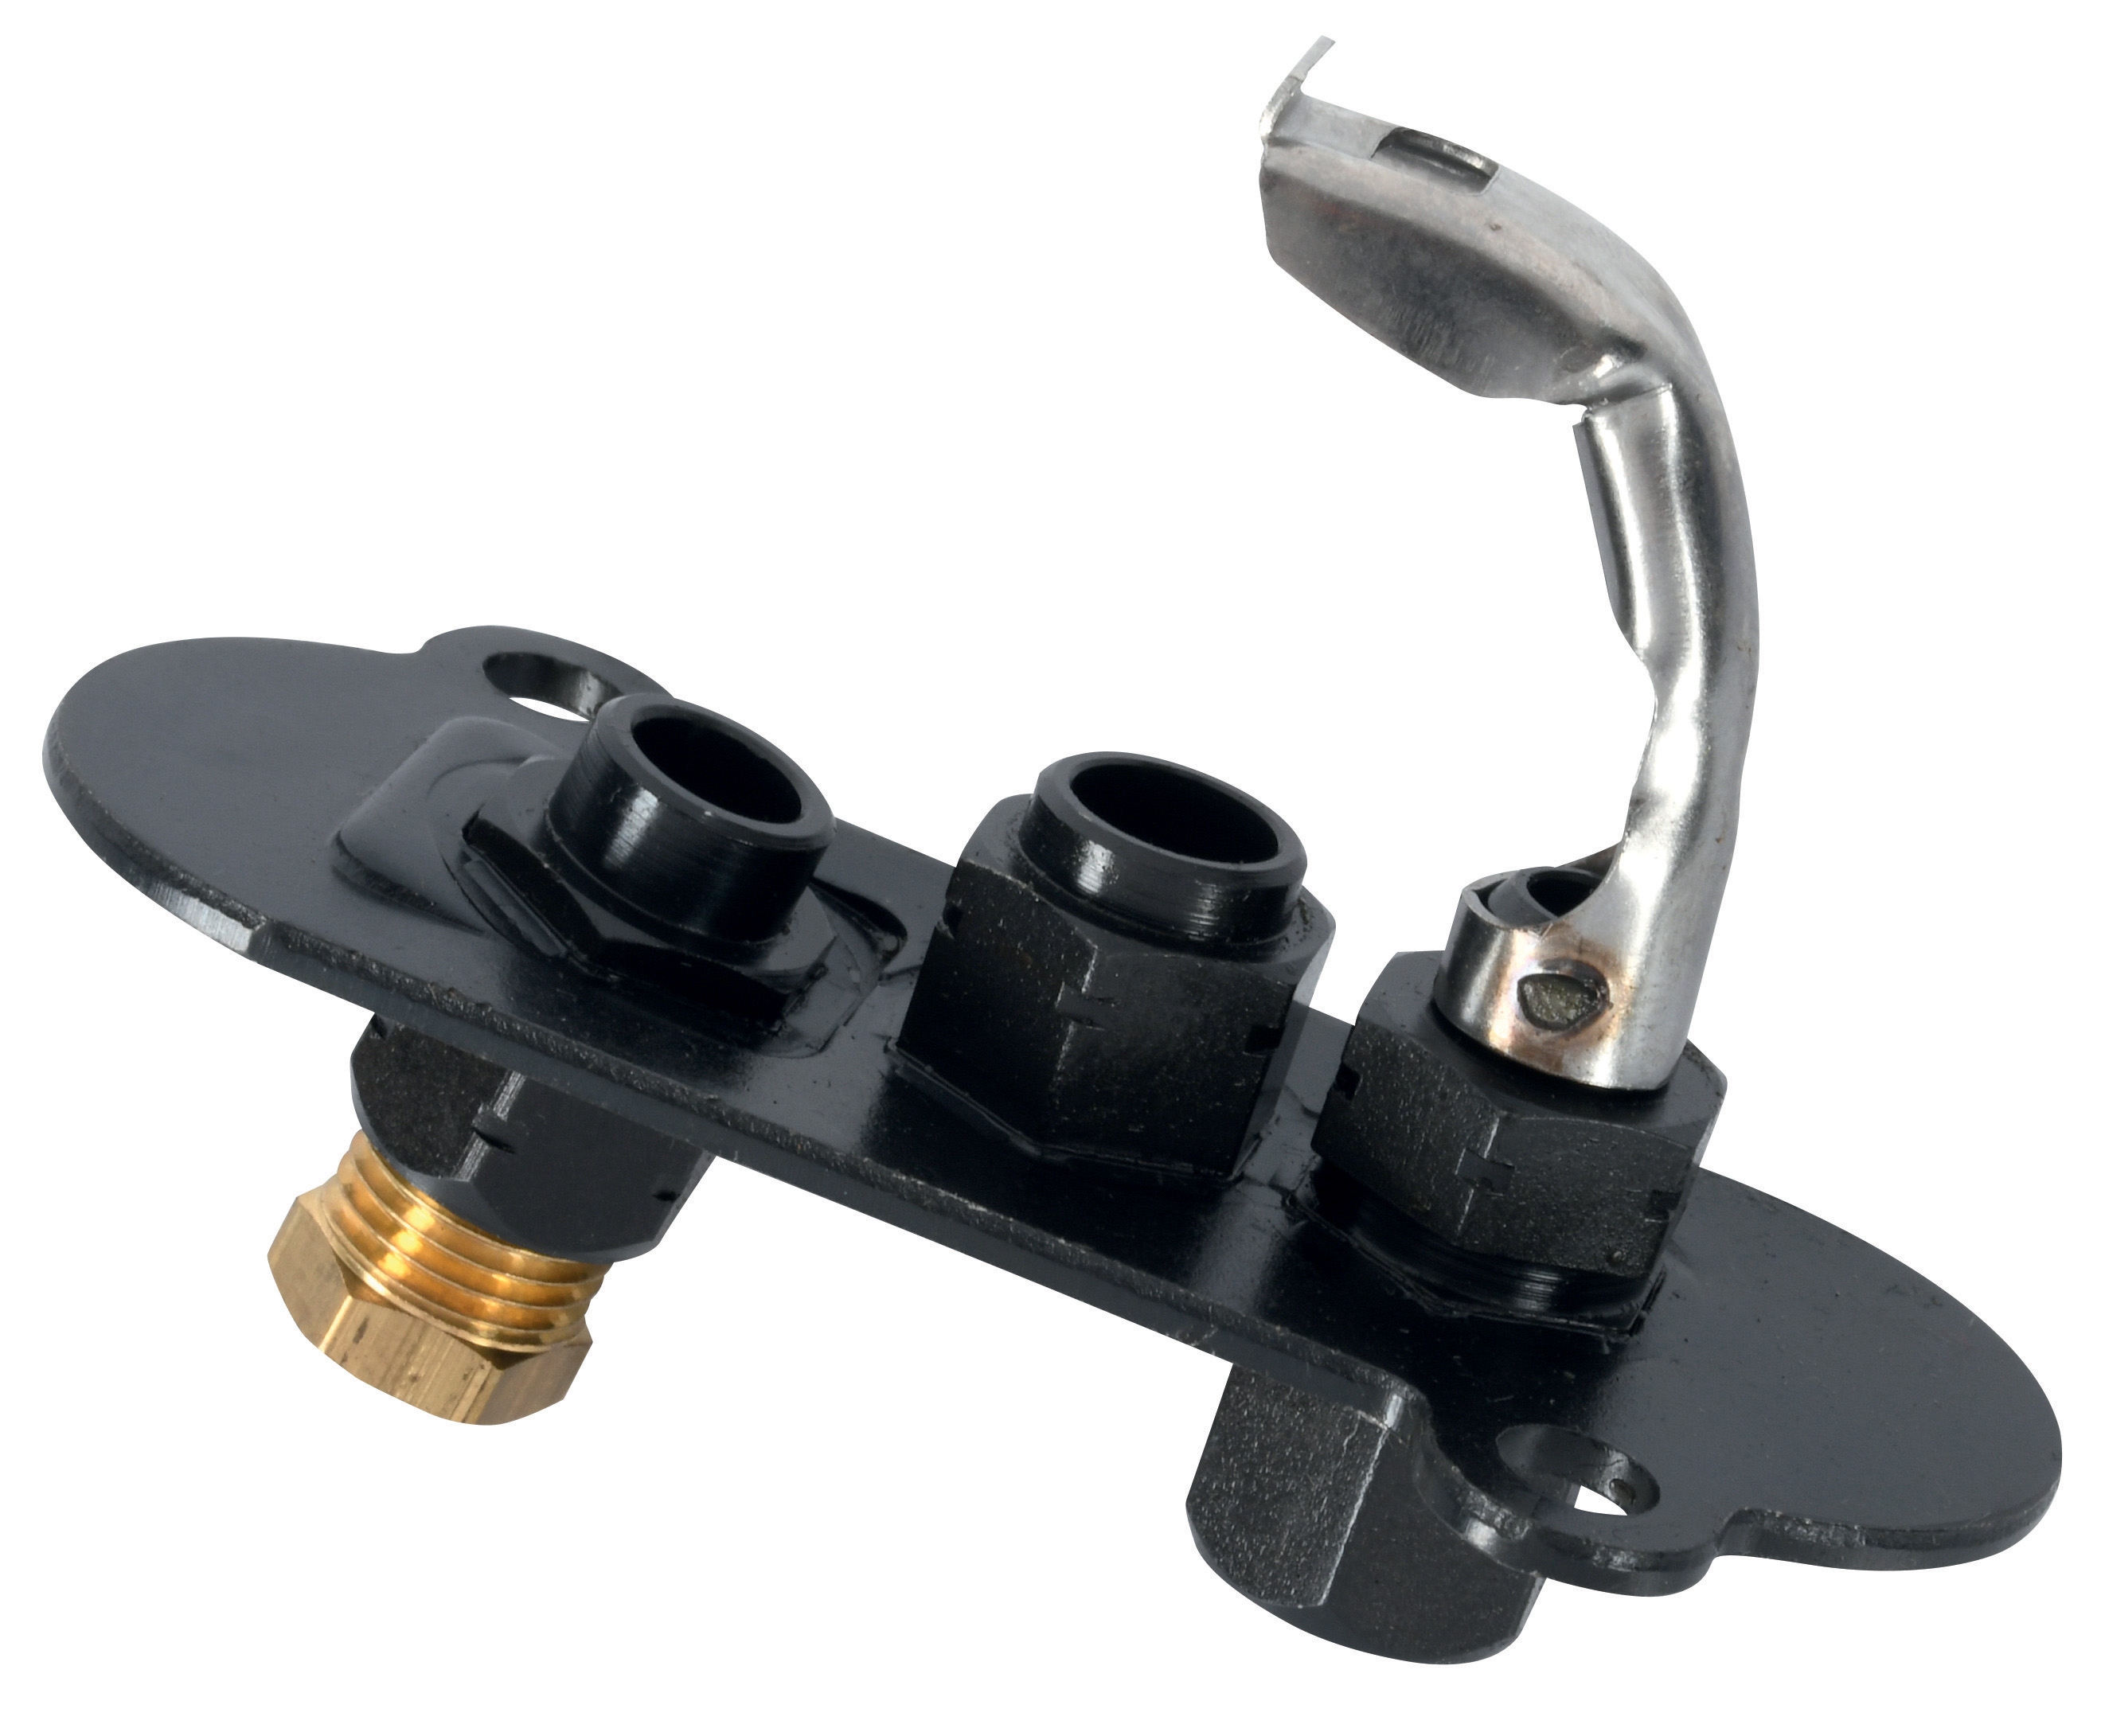
The pilot light system serves as the foundation for Controls & Safety operation. Models like the CBM 1-flame pilot light 0.150.082 and CBM pilot light 1 flame 0140026 function as both ignition sources and flame verification points. When a pilot light fails, the entire Controls & Safety chain breaks: flame detection sensors cannot confirm combustion, solenoid valves receive shutdown signals, and the burner enters lockout mode. However, distinguishing between genuine pilot light failure and flame detection signal loss requires systematic testing.
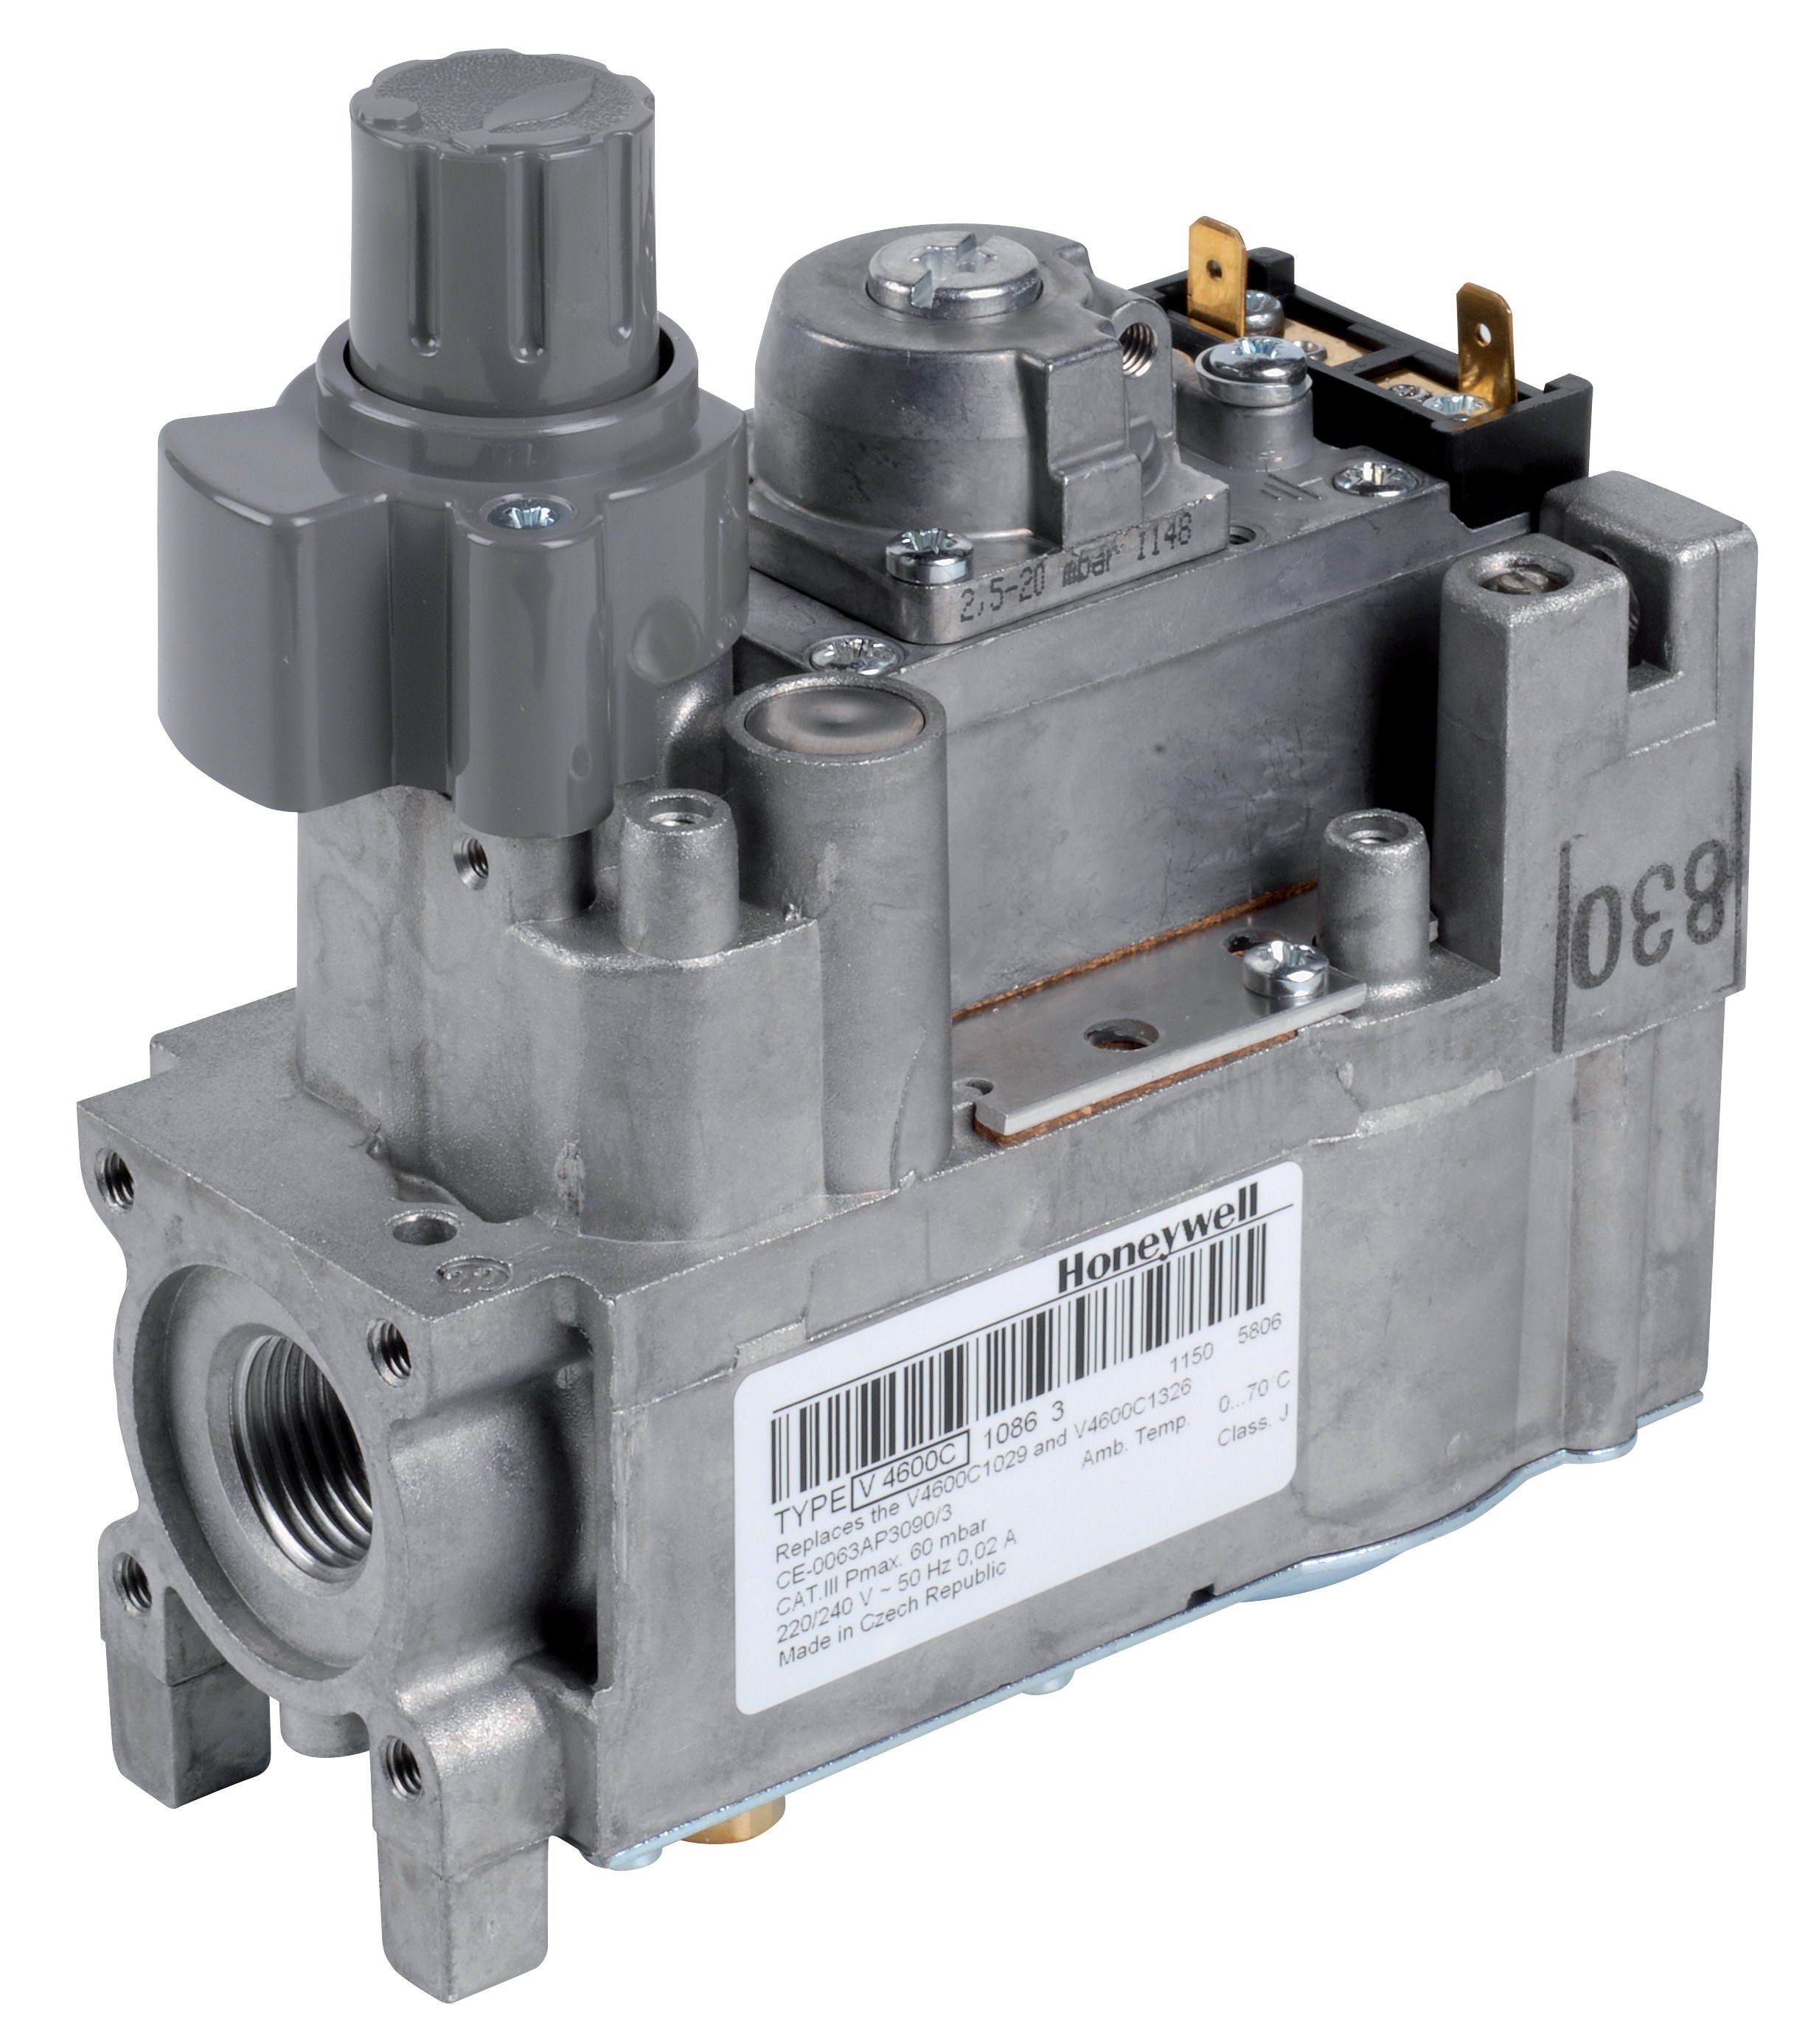
The solenoid valve acts as the Controls & Safety system's execution component. The CBM VCS 1E25R/25R05NNWL3/PPPP/PPPP double solenoid valve maintains precise gas flow control based on electrical signals from relay systems. When this component fails, operators typically observe delayed gas shutoff, incomplete gas cutoff, or failure to open on demand. Understanding whether the solenoid valve itself has failed or whether the controlling relay is sending incorrect signals prevents misdiagnosis.
Relay systems and bases—such as the CBM Relay CM391.2 30.5 1.2 mounted on the CBM Base LGK AGM17—form the logical control layer that processes inputs from flame detection circuits and safety interlocks. These components interpret sensor signals and convert them into solenoid valve commands. Maintenance teams often overlook relay diagnostics, instead replacing solenoids or pilot lights when relay contact deterioration causes the actual failure.
Systematic Diagnostics Protocol for Controls & Safety Failures
When a burner system enters lockout or operates erratically, maintenance teams must follow a structured diagnostic sequence that isolates which component layer has failed: sensing (flame detection), logic (relay control), or execution (solenoid/pilot).
Phase 1: Safety Shutdown Confirmation
Before any testing, confirm the system correctly enters safe shutdown state. When Controls & Safety systems detect a fault, solenoid valves must close completely, cutting fuel supply. Document whether the solenoid responds immediately or remains partially open. Delayed closure suggests solenoid deterioration; no closure indicates complete solenoid failure or electrical connection loss. This baseline test eliminates ambiguity: if the burner cannot reach safe shutdown, the solenoid valve has failed and requires immediate replacement—no further diagnostics needed.
Phase 2: Flame Detection Verification
Assume the solenoid valve operates correctly (from Phase 1 results). Measure flame detection circuit output voltage under normal operation and during intentional flame interruption. Most industrial systems use photo-resistive or infrared flame sensors that output measurable voltage when flame is present. When you briefly block or interrupt the pilot light flame, the detection voltage must drop sharply within 2-3 seconds. If voltage remains constant despite flame interruption, the flame sensor itself has failed or its optical path is obstructed (carbon buildup, soot accumulation, or lens fouling).
This test distinguishes genuine flame detection failure from false shutdowns caused by intermittent sensor connections or relay malfunctions. Maintenance teams frequently replace perfectly functional solenoid valves when the actual problem is a dirty flame sensor or loose connector.
Phase 3: Relay Contact and Coil Testing
With flame detection confirmed operational, test the relay's response to detection signals. Using a multimeter, measure coil resistance on the relay itself. Typical relay coils measure 200-600 ohms depending on voltage rating. Open-circuit readings (infinite resistance) indicate a failed coil; significantly lower readings suggest partial winding failure.
Next, apply power to the relay and confirm the coil energizes (listen for audible click; measure voltage drop across coil terminals). Then verify that contacts switch in response: pilot light circuits should change contact position as flame appears and disappears. Failed relay contacts remain stuck in one position regardless of coil state, preventing the system from responding to flame detection signals.
Phase 4: Solenoid Valve Functional Testing
If Phases 1-3 confirm flame detection and relay operation, the solenoid valve failure is genuine. However, before replacement, verify the valve coil has correct voltage supply. Measure voltage at the solenoid terminals with the relay energized. If voltage is absent or below specification (typically ±10% of rated voltage), the problem is electrical delivery, not the solenoid itself. Check for corroded connectors, broken wiring, or relay contact resistance issues.
If voltage is correct at the solenoid, test valve opening mechanically. Manual solenoid valves often have a test screw that allows manual actuation without electrical power. Actuate the valve manually to confirm internal passages open and fuel flows. If manual actuation succeeds but electrical actuation fails, the solenoid coil has failed. If both manual and electrical actuation fail, internal valve plugging or mechanical jamming has occurred—this solenoid requires replacement.
Preventive Monitoring and Component Life Cycle Management
Maintenance teams using 3G Electric's 35+ years of industry experience understand that Controls & Safety failures follow predictable degradation patterns. Implementing condition-based maintenance protocols prevents unexpected shutdowns.
Pilot Light System Monitoring
Pilot lights degrade gradually as combustion deposits accumulate. The flame becomes smaller, more yellow, and less stable months before complete flame loss. Maintenance teams should establish monthly visual inspections: the pilot flame should be steady, predominantly blue, and approximately 0.5-1.0 inches tall. Yellow or orange flame indicates improper air-fuel mixture or insufficient draft—both conditions that precede complete failure. Cleaning pilot light ports every 6 months using soft brass wire brushes removes deposits without damaging precision orifices.
Relay Contact Maintenance
Relay contact surfaces deteriorate through electrical arcing, mechanical wear, and oxidation. Every 12 months, inspect relay contacts under magnification for pitting (small craters in contact surface), discoloration, or residue buildup. Minor pitting requires only careful cleaning with a soft eraser; significant pitting requires relay replacement. More importantly, measure contact resistance using a multimeter set to low-ohm scale. Degraded contacts may show 10-50 milliohms resistance instead of the <1 milliohm specification. This degradation causes voltage drops that weaken solenoid valve energization, producing intermittent operation before complete failure.
Solenoid Valve Condition Assessment
Solenoid valves on the CBM VCS 1E25R/25R05NNWL3/PPPP/PPPP require annual coil resistance measurement and valve response time testing. Record baseline opening and closing response times during initial commissioning (typically 200-500 milliseconds). Increasing response times—say, 800-1200 milliseconds—indicate internal plunger stiction or coil degradation. This degradation precedes complete failure by 3-6 months, allowing planned replacement rather than emergency service calls.
Environmental Factor Monitoring
Industrial environments expose Controls & Safety components to temperature extremes, vibration, humidity, and chemical vapors. Relay bases like the CBM Base LGK AGM17 must be mounted on vibration-isolated surfaces to prevent terminal loosening. Solenoid connectors should be protected with silicone boots to prevent moisture intrusion that causes coil failures. Pilot light access panels should be sealed against dust infiltration that blocks optical paths.
Temperature monitoring is critical: relay coil resistance changes 0.4% per degree Celsius. If a relay coil measures correct resistance at 20°C but the burner room operates at 60°C, the coil resistance increases approximately 16%, reducing energization force. This causes contact chatter (rapid opening/closing) that damages contacts and produces erratic burner operation. Maintenance teams should verify relay operation across the expected temperature range.
Testing Procedures and Documentation Standards
Maintenance teams should document all Controls & Safety testing systematically. This documentation creates historical records that reveal degradation patterns and prevent recurrent failures.
Establishing Baseline Measurements
During system commissioning or after any Controls & Safety component replacement, record baseline measurements: relay coil resistance at operating temperature, solenoid valve response time, flame detection sensor output voltage, and pilot light flame characteristics. Store these values in equipment maintenance logs. Future measurements compared to baselines reveal degradation trends that precede failures.
Creating Diagnostic Decision Trees
Develop team-specific decision trees for the most common failures observed in your facility. For example: "If burner enters lockout after 10 minutes of operation, test flame detection voltage first (Phase 2), then relay contact resistance (Phase 3), then solenoid coil resistance (Phase 4)." This prevents random component replacement and accelerates failure identification.
Scheduling Preventive Component Replacement
Based on 35+ years of field data, relay contacts typically require replacement every 5-7 years depending on operation frequency; solenoid valve coils last 8-12 years; pilot lights operate reliably for 10+ years when properly maintained. Schedule replacement during planned maintenance windows rather than reacting to failures that disrupt production.
Conclusion
Controls & Safety diagnostics requires understanding component interdependencies and following systematic testing protocols. By implementing Phase-based diagnostics, establishing preventive monitoring, and maintaining detailed documentation, maintenance teams dramatically reduce unplanned downtime and avoid costly component replacement. 3G Electric's 35+ years supporting industrial equipment users worldwide has demonstrated that informed maintenance—not reactive replacement—delivers the most reliable, cost-effective Controls & Safety operations.