Understanding Pressure Switches in Controls & Safety Systems
Pressure switches are fundamental to Controls & Safety in industrial burner applications. They monitor fuel pressure, air pressure, and differential pressure to ensure safe ignition sequences and continuous operation. Unlike simple on/off switches, modern pressure switches—such as the Kromschroder DG 50U/6—integrate SIL 3 rated safety functions that demand precise calibration and regular verification.
With over 35 years of experience supplying industrial equipment globally, 3G Electric has supported maintenance teams through countless system failures traced back to uncalibrated pressure switches. The primary failure modes include drift (gradual shift in setpoint), hysteresis degradation, and loss of repeatability. These issues don't always trigger immediate alarms—instead, they create marginal safety conditions where the system operates but outside design parameters.
Understanding your pressure switch's design is the first step. The DG 50U/6, for example, features adjustable setpoints across multiple pressure ranges and meets EN 1854, FM, UL, AGA, and GOST-TR certifications. Before testing, confirm your switch specifications: rated pressure range, setpoint tolerance, hysteresis width, and whether it's direct-acting or pilot-operated.
Pre-Test Planning and Equipment Setup
Successful pressure switch testing begins with preparation. You'll need calibrated test equipment, safety protocols, and proper documentation.
Essential Equipment:
- Pressure test gauge (accuracy class 0.5 or better)
- Manual hand pump or electric pump with pressure controller
- Pressure regulator for fine adjustments
- Multimeter or dedicated switch test device
- Stopwatch for response time measurement
- Safety relief valve set 10% above maximum test pressure
- ISO 4406 filtered test fluid (mineral oil or nitrogen, depending on application)
- Review the pressure switch datasheet and setpoint specification from your system commissioning records
- Confirm the switch is isolated from the burner control circuit
- Verify test gauge calibration date (should be current, typically annual)
- Check for visible damage, corrosion, or loose connections
- Document baseline conditions: ambient temperature, current switch reading, and any known history of drift
- Ensure the burner system is shut down and cannot be accidentally started
- Install the safety relief valve in your test circuit upstream of the pressure switch
- Use appropriate hoses rated for test pressure (typically 1.5x maximum test pressure)
- Ensure all connections are secure before pressurizing
- Have a bleed valve ready to depressurize the system quickly if needed
- Never leave a pressurized test rig unattended
Temperature significantly affects pressure switch accuracy. Most specifications assume 20°C (68°F) as reference. If your ambient temperature differs by more than ±5°C, allow the switch to stabilize and apply temperature correction factors from the datasheet.
Step-by-Step Testing Procedure
This procedure applies to most industrial pressure switches, including the Kromschroder DG 50U/6, and typically requires 45 minutes per switch.
Step 1: Baseline Measurement
Connect your test gauge to the pressure switch input port. Slowly increase pressure in small increments (0.1 bar/step) while observing the switch electrical output. Use your multimeter set to continuity or relay mode. Record the exact pressure at which the switch closes (pickup pressure). Continue increasing pressure and then reduce it slowly to find the dropout pressure. The difference between pickup and dropout is hysteresis—typically 0.2–0.5 bar depending on switch type.
Step 2: Repeatability Test
Perform five complete on/off cycles (pressurize to pickup, release to dropout) and record each transition point. Acceptable repeatability is ±5% of setpoint or ±0.1 bar, whichever is larger. If variation exceeds these limits, the switch may be failing and requires replacement.
Step 3: Response Time Verification
For safety-critical applications, response time must be verified. Rapidly increase pressure from atmospheric to setpoint while simultaneously starting a stopwatch. Stop timing when the switch electrical output changes state. Record this time. Most industrial switches should respond within 50–200 milliseconds. If response time exceeds 300 ms, investigate causes: blocked pilot ports, viscous test fluid at low temperature, or internal component wear.
Step 4: Calibration Adjustment
If your pressure switch has adjustable setpoints (look for a calibration screw, typically under a locknut or tamper-evident seal), you may recalibrate. Always document the original setting first. Turn the adjustment screw in small increments (¼ turn) and retest after each adjustment. Most switches require 2–4 adjustments to achieve ±2% accuracy to the target setpoint. After achieving setpoint, lock the adjustment with the provided locknut and apply tamper-evident tape or paint if required by your safety standards.
Step 5: Differential Pressure Testing (if applicable)
For switches monitoring differential pressure (common in air/fuel ratio controls paired with systems like the Kromschroder BCU 570WC1F1U0K1-E burner relay), you'll need a differential pressure test setup. Apply pressure to both the high-pressure and low-pressure ports separately, then test the differential threshold. Document all three conditions: high-side only, low-side only, and both combined.
Documentation and Compliance Recording
Maintenance teams often skip documentation, yet it's essential for regulatory compliance, trend analysis, and warranty support.
Create a Test Report Including:
- Switch model, serial number, and location in system
- Test date, technician name, and ambient temperature
- Setpoint specification (from commissioning documents)
- Measured pickup pressure and dropout pressure
- Hysteresis value and tolerance acceptance
- Response time measurement (if applicable)
- Five repeatability cycle results
- Pass/fail determination with justification
- Any calibration adjustments made
- Next scheduled test date
- Cross-reference to any related burner control relay or safety relay (e.g., the Siemens LFL 1.622 if installed in your system)
Maintain a pressure switch history log in spreadsheet or CMMS format. Plot setpoint drift over time to predict failure windows. If a switch consistently drifts high (increasing setpoint), it typically indicates wear in the snap-action mechanism. If drift is downward, internal leakage or bellows degradation is more likely.
Troubleshooting Common Pressure Switch Issues
Drift Beyond Tolerance:
If a switch drifts but remains functional, check the test fluid condition first. Contaminated or viscous fluid can affect movement. Flush the switch with clean ISO 4406 grade 18/16/13 or better fluid. If drift persists after cleaning, recalibrate if adjustable, or schedule replacement.
No Electrical Response During Testing:
Verify continuity of wires and connections with your multimeter. Confirm your test gauge is actually pressurizing (open the pump valve fully). If pressure increases but the switch doesn't respond, the electrical contacts may be welded or the internal diaphragm may have ruptured. Replace the switch.
Intermittent Response or Chatter:
Pressure oscillations near the setpoint cause switches to cycle rapidly, appearing as electrical chatter. Install a pressure dampener (snubber) on the switch inlet. Check that your pressure source (pump) isn't hunting; a stable, smooth pressure rise is essential for accurate testing.
Hysteresis Too Wide:
If hysteresis exceeds specification (e.g., 0.8 bar when 0.4 bar is specified), the snap-action spring may be weakened. Recalibration may tighten hysteresis slightly, but replacement is often required to restore full performance.
Integration with Burner Control Systems
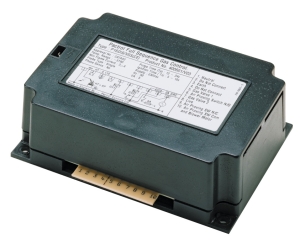
Pressure switches don't operate in isolation. In typical burner systems, they work alongside burner control relays like the Kromschroder BCU 570WC1F1U0K1-E, which monitors pilot flame and manages ignition sequences. When testing your pressure switch, verify that its output signal properly triggers the burner relay's safety logic.
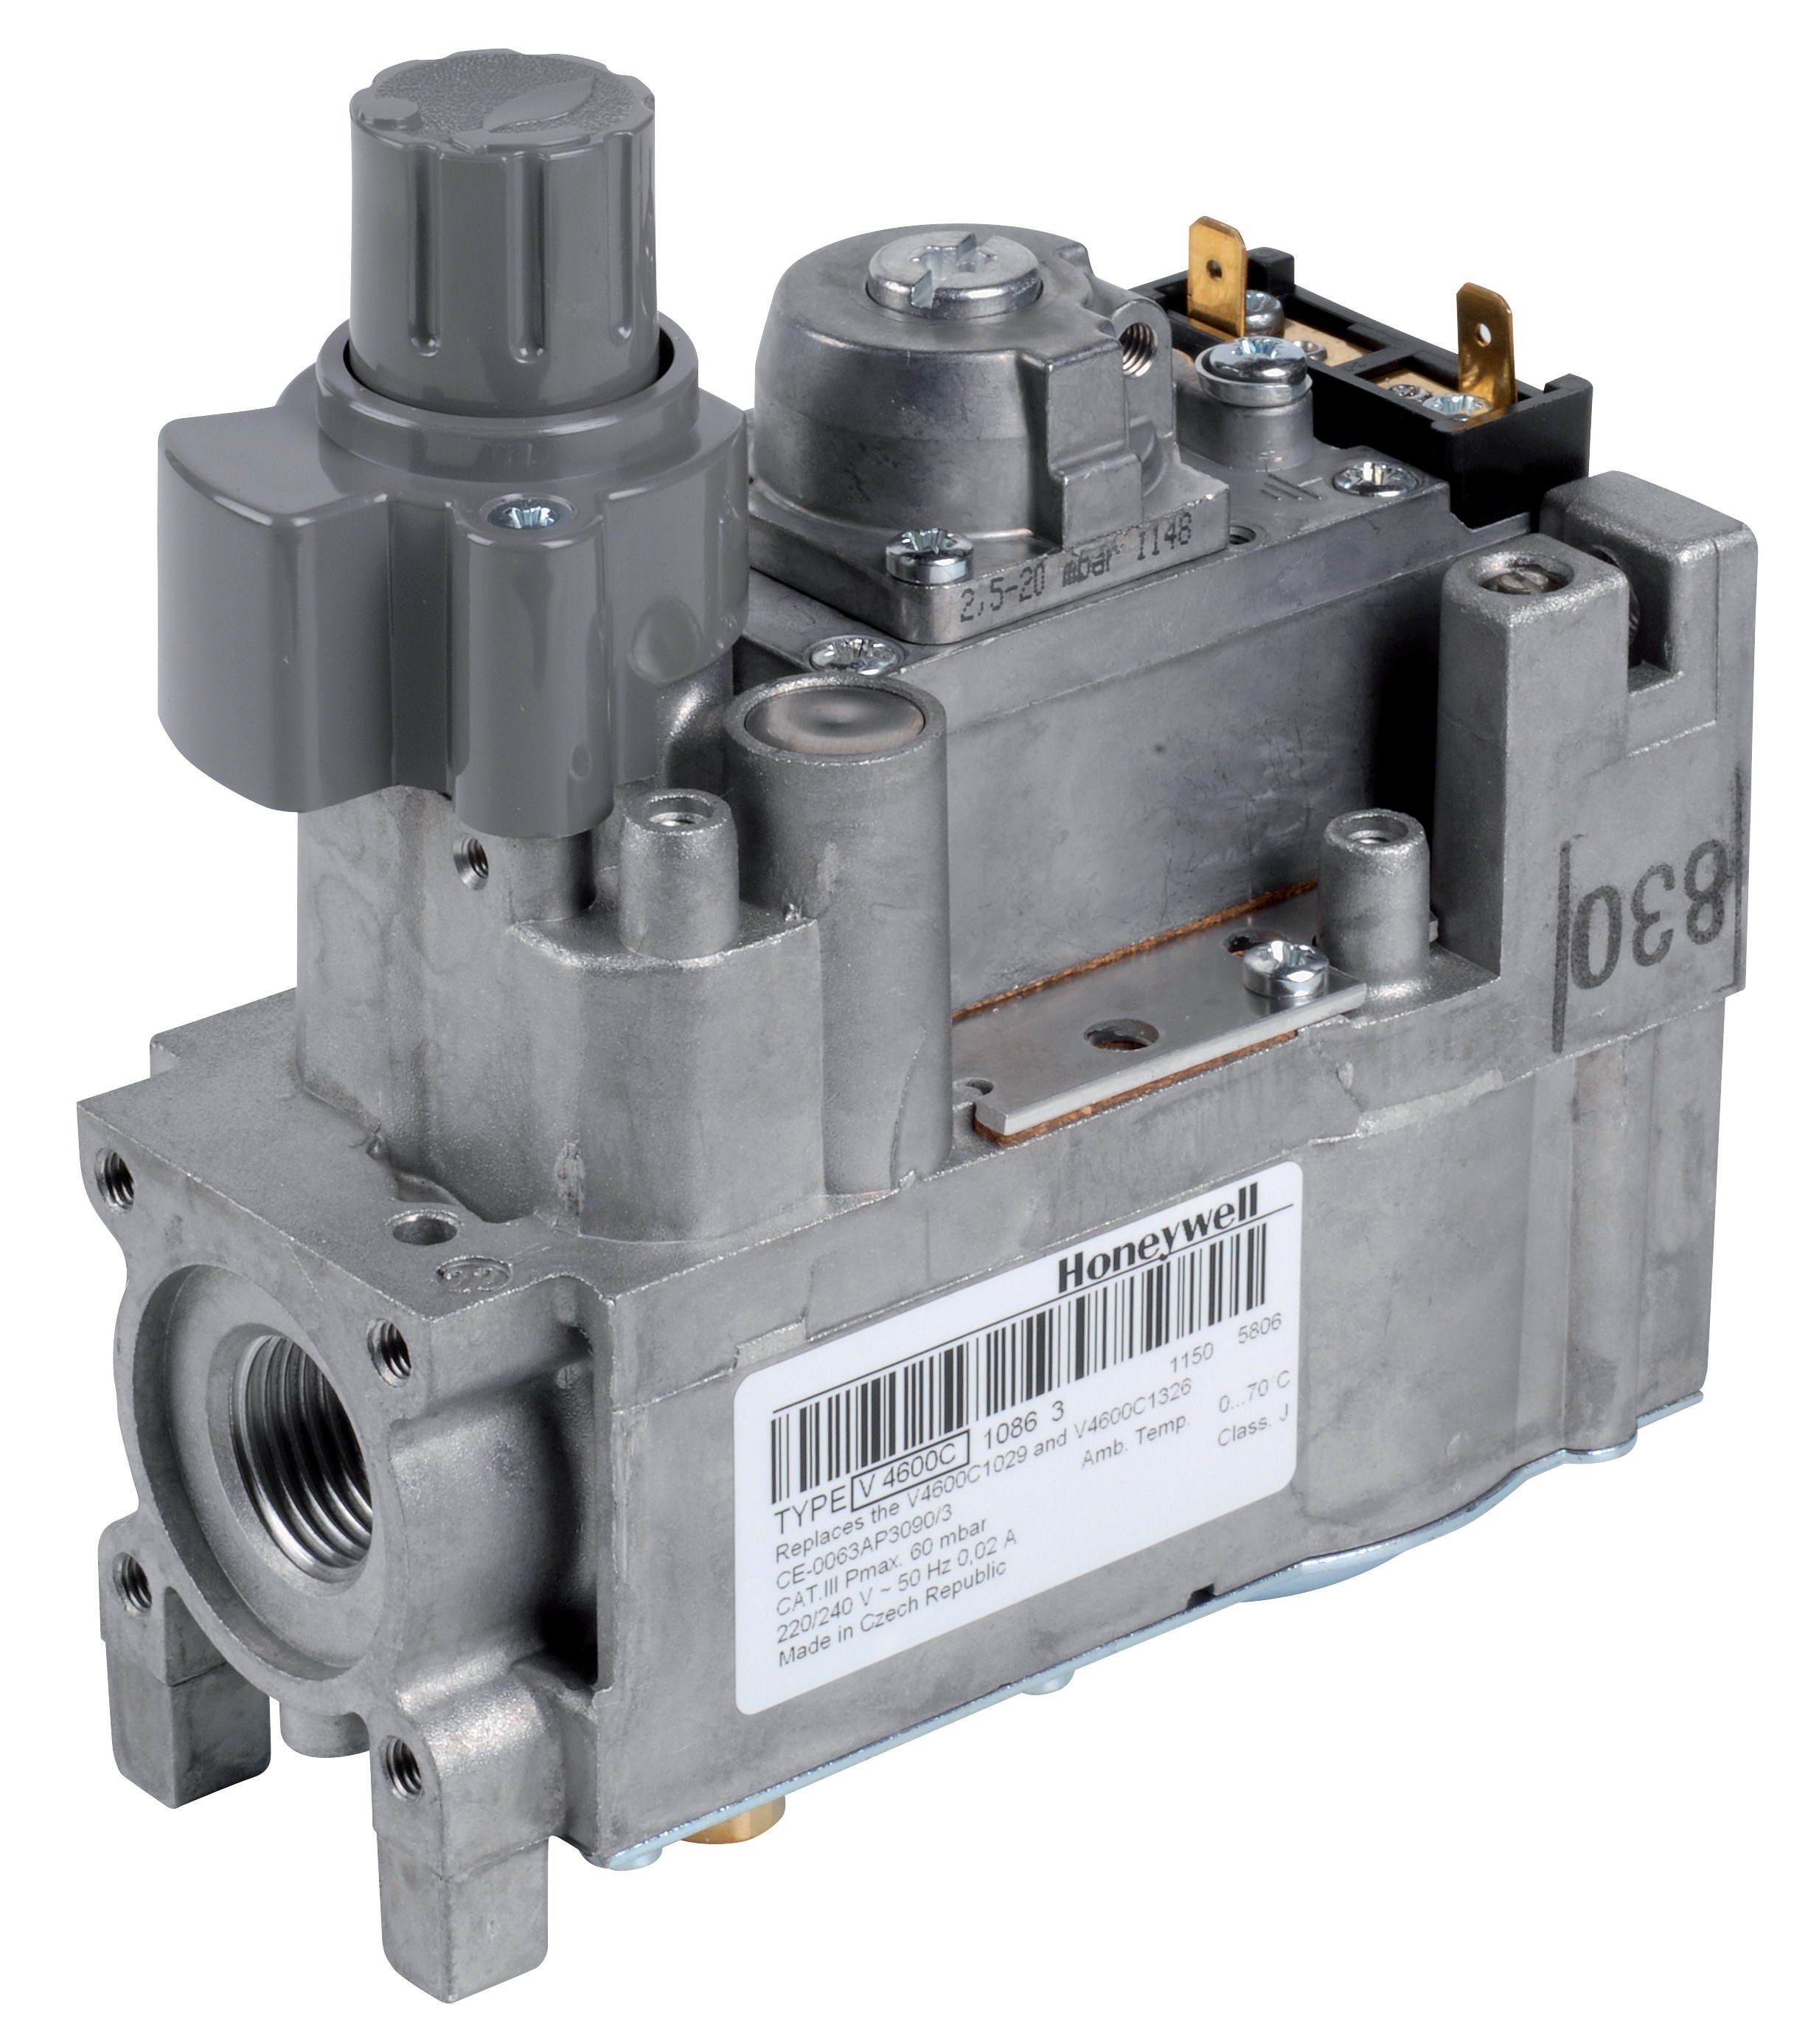
For modulating burner systems, pressure switches work with gas control blocks (e.g., the Honeywell VK 4105 C 1041 U) to maintain constant fuel delivery across varying load conditions. Test your pressure switch at both minimum and maximum operating loads to ensure it responds correctly across the full range.
In dual-fuel systems, separate pressure switches typically monitor gas and oil independently. Test each switch with its intended fuel type or equivalent test fluid to avoid false results from viscosity differences.
Maintenance Schedule and Regulatory Compliance
Industrial burner Controls & Safety standards (EN 746-2, EN 1854, and others) require periodic verification of safety components. 3G Electric recommends the following schedule based on 35+ years of field experience:
- Annual Testing: Standard industrial burners in moderate-duty applications
- Semi-Annual Testing: High-temperature or 24/7 continuous-duty systems
- After Any Burner Malfunction: To rule out pressure switch drift as a contributing factor
- Post-Commissioning: Baseline test within 30 days of system startup
- Pre-Seasonal: For seasonal burners (heating systems) before the high-demand season
Keep all test records for at least 5 years. Many insurance providers and regulatory bodies require proof of pressure switch verification during audits. Your records also establish a baseline for trending pressure switch performance across your facility.
Key Takeaways for Maintenance Teams
Pressure switches are precision safety devices that require proper testing discipline. By following the step-by-step procedures outlined here, you'll catch drift early, maintain SIL 3 compliance, and prevent the unplanned downtime that comes from undetected control failures. Invest in calibrated test equipment, document every result, and integrate pressure switch testing into your preventive maintenance calendar. With systematic testing practices, your burner system Controls & Safety performance will remain reliable and compliant for years to come.