Understanding Controls & Safety Electrical Architecture in Burner Systems
Controls & Safety systems in industrial burners rely on coordinated electrical signaling between safety relays, solenoid valves, and pilot light ignition circuits. Unlike flame detection or gas valve blockage issues, electrical control faults present subtly—systems may partially function, creating dangerous intermittent states that endanger equipment and personnel.
With over 35 years of experience distributing industrial control equipment globally, 3G Electric has observed that 40% of reported burner failures trace to relay coil degradation or solenoid valve driver circuit faults rather than mechanical blockages. This distinction matters because troubleshooting approach, component replacement strategy, and safety verification procedures differ significantly.
The two most critical components in Controls & Safety electrical chains are the safety relay (which interprets flame detection signals and sends go/no-go commands) and the double solenoid valve (which physically shuts down fuel supply based on relay decisions). When either component fails electrically, the burner enters a lockout state or operates unsafely.
Diagnosing Relay Coil and Contact Degradation
Symptom Recognition
Relay failures manifest as:
- Dead relay state: No clicking sound when safety circuit energizes; burner won't attempt ignition
- Chattering relay: Rapid clicking/buzzing during normal operation indicates unstable coil voltage or weak contact springs
- Partial closure: Relay energizes but contacts don't fully seat; pilot light receives insufficient voltage
- Delayed response: 1-3 second lag between safety signal and solenoid valve actuation
Step-by-Step Electrical Testing
Step 1 - Visual Inspection
Remove the relay module from its base socket (the CBM Base LGK AGM17 provides standard mounting). Inspect the relay coil for:
- Burn marks or discoloration around coil windings
- Visible corrosion on contact terminals
- Cracks in the plastic relay body
- Evidence of moisture ingress
Using a multimeter on the 200Ω scale:
1. Disconnect the relay from all power sources
2. Measure resistance across the coil terminals (typically marked A1 and A2)
3. Normal range: 150-250Ω for a 24V DC relay; 800-1200Ω for 230V AC coils
4. Infinite resistance (∞) indicates open coil circuit—relay failure
5. Resistance below 50Ω indicates shorted windings—replace immediately
Step 3 - Contact Resistance Verification
For the CBM Relay CM391.2 30.5 1.2, which controls solenoid valve circuits:
1. Set multimeter to 0.1Ω scale (or "diode" test mode on some models)
2. Measure across each contact pair while relay is de-energized
3. Contact resistance should be <0.5Ω; values of 2-5Ω indicate pitting or oxidation
4. Clean contacts with fine electrical contact cleaner on a cotton swab; if resistance remains high, replace relay
Step 4 - Coil Voltage Under Load
While the safety circuit is running:
1. Measure voltage at the relay coil terminals with a digital voltmeter
2. Minimum voltage requirement: 85% of nominal (for 24V: minimum 20.4V; for 230V: minimum 195V)
3. If actual voltage falls below minimum, the problem is upstream in the power supply or control transformer, not the relay itself
4. If voltage is correct but relay doesn't click, coil failure is confirmed
Replacement and Reseating
When relay testing confirms degradation:
1. Order the correct relay model (consult your equipment manual for exact specification)
2. Remove the old relay from its base socket with a gentle rocking motion
3. Inspect the base socket terminals for corrosion; clean if necessary
4. Insert the new relay straight down until it seats firmly with an audible click
5. Perform the entire electrical test sequence again on the new relay before returning to service
Troubleshooting Double Solenoid Valve Electrical Failures
Electrical vs. Mechanical Solenoid Faults
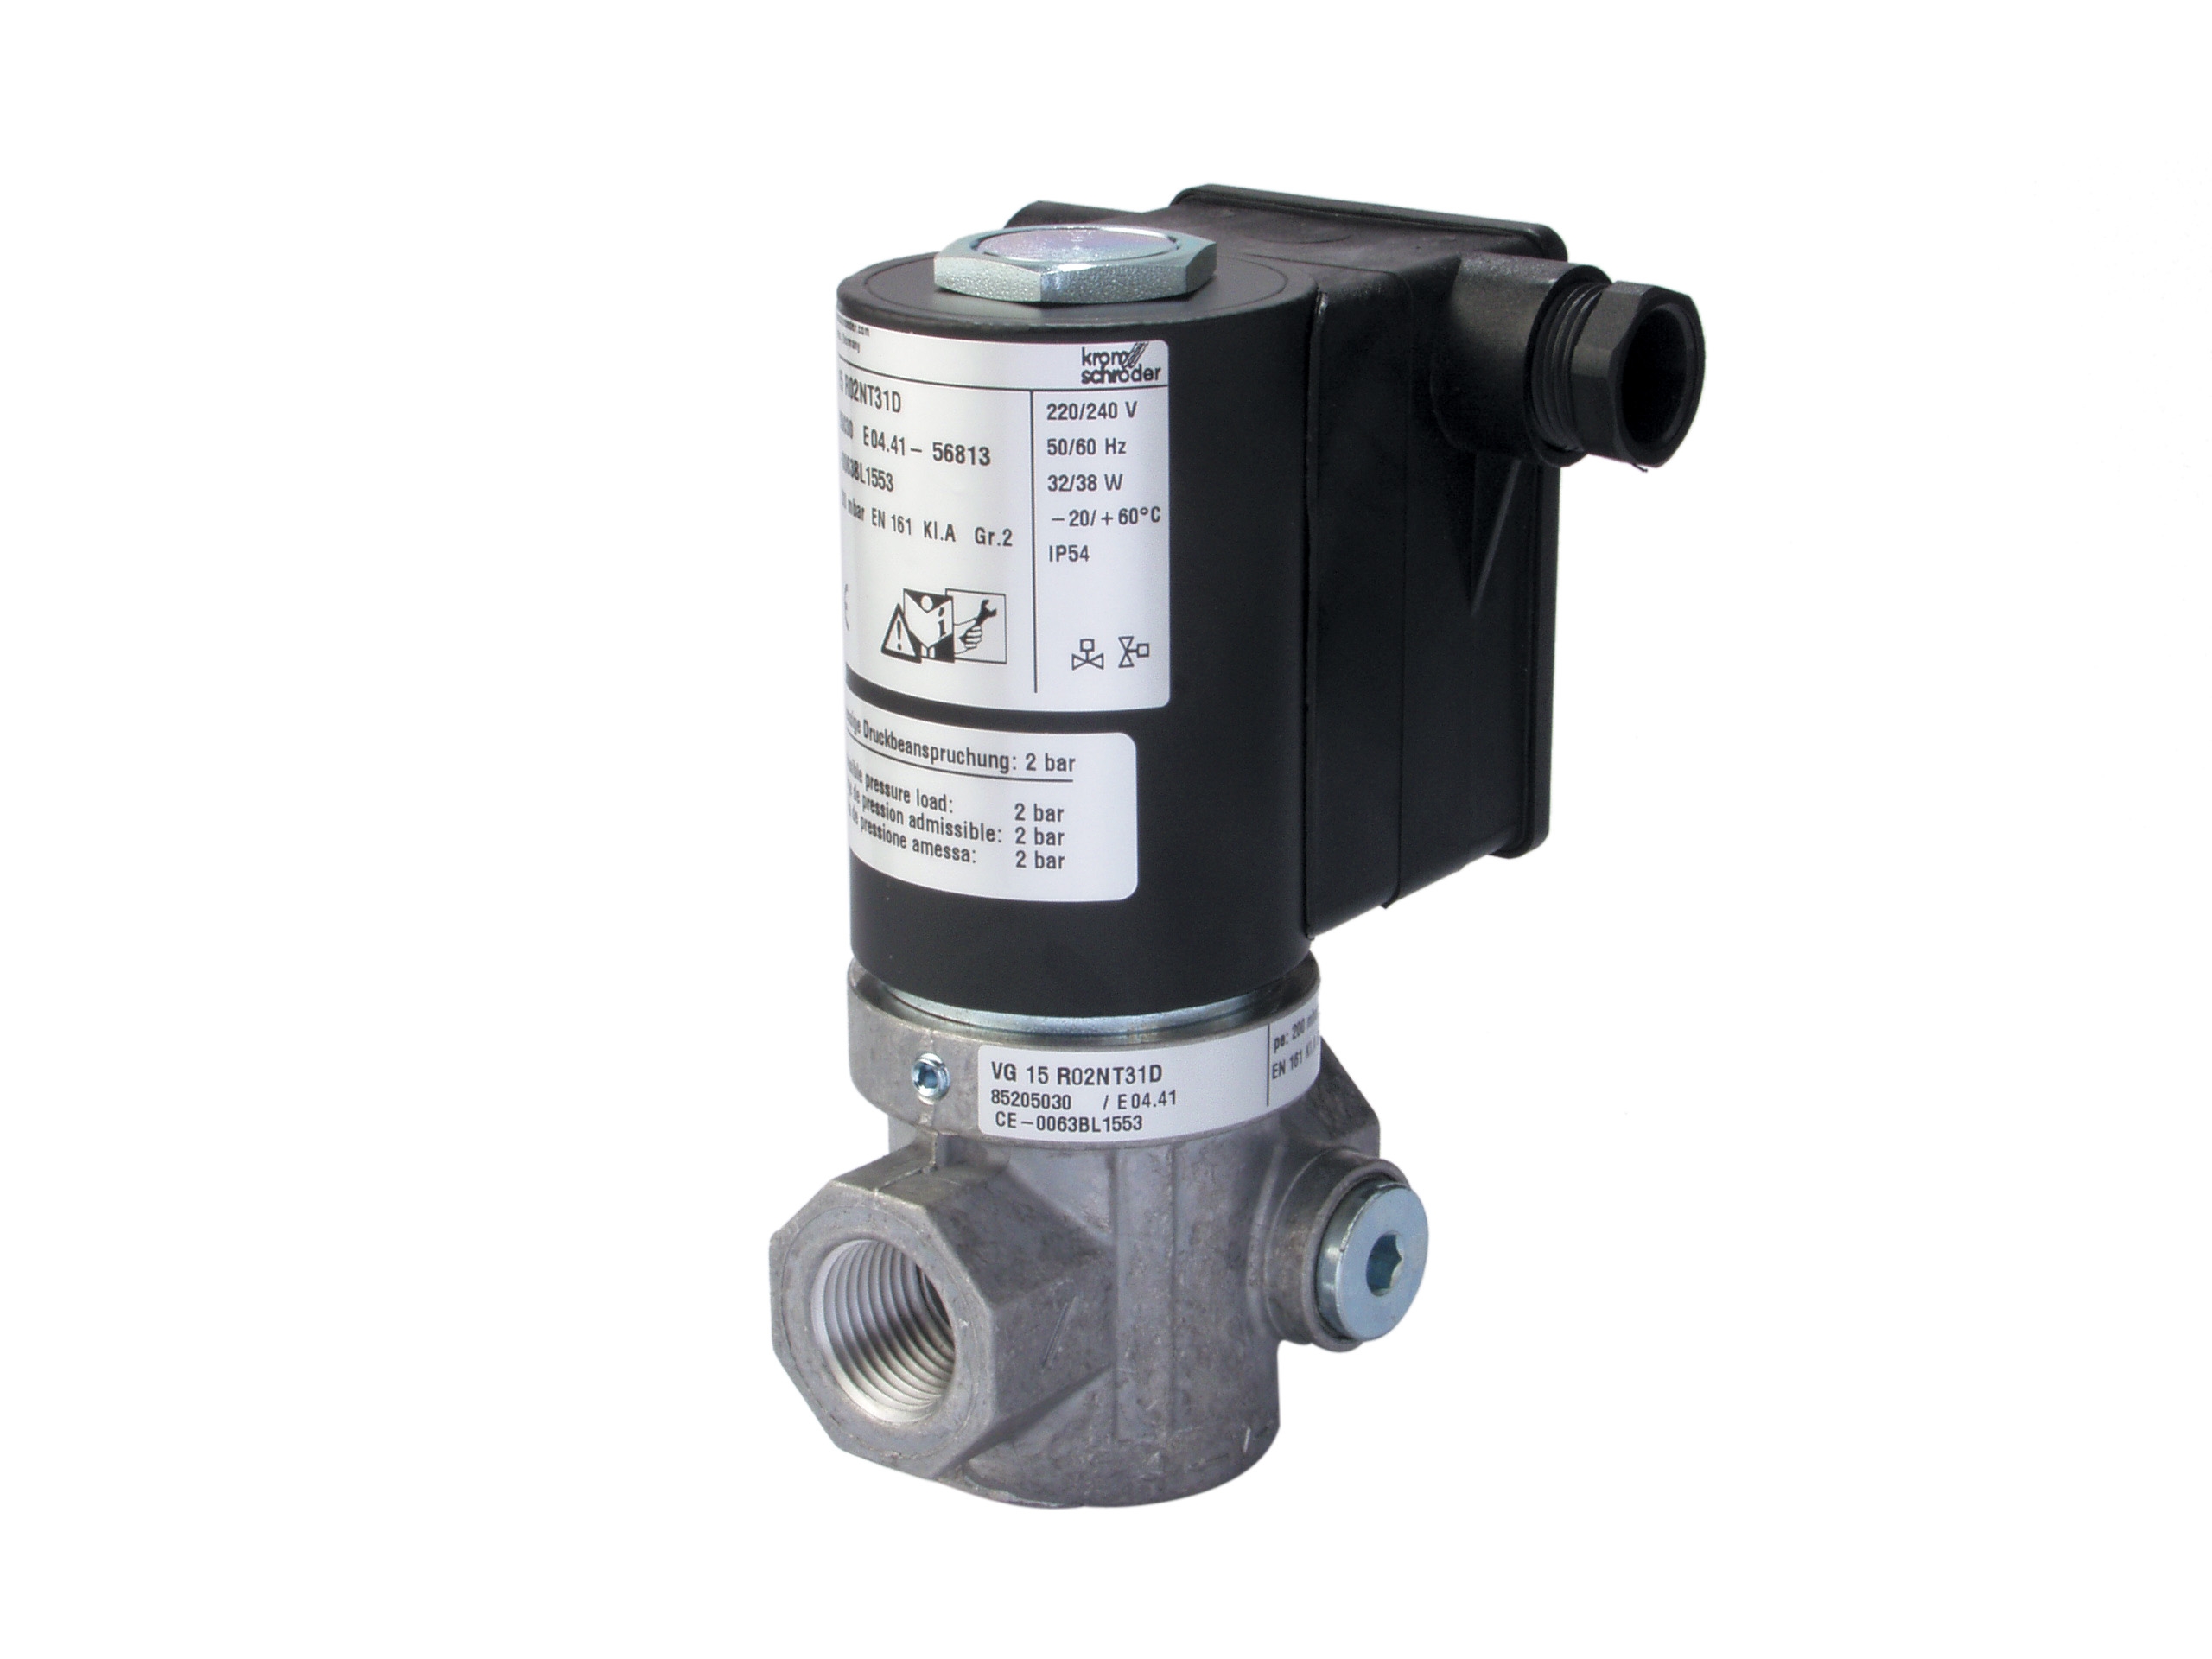
The CBM VCS 1E25R/25R05NNWL3/PPPP/PPPP double solenoid valve controls both main fuel supply and pilot gas through two independent solenoid coils. Electrical faults differ from mechanical blockage:
- Electrical: Coil won't energize, responds slowly, or loses hold
- Mechanical: Solenoid energizes but spool valve doesn't move or moves partially
Electrical Testing Sequence
Test 1 - Solenoid Coil Continuity
1. Isolate power to the burner system
2. Access the solenoid valve connector (typically a DIN 43650 or IP67 connector on the valve body)
3. Disconnect the connector
4. Measure coil resistance with multimeter:
- 24V DC coils: 20-30Ω
- 230V AC coils: 2000-3000Ω (or >10kΩ for some designs)
5. Infinite resistance (∞) = open coil circuit → valve requires replacement
6. Zero or very low resistance = shorted coil → immediate replacement required
Test 2 - Power Delivery at Valve Terminal
1. Reconnect the solenoid valve connector
2. Restore power to the burner system
3. Trigger the safety circuit to attempt ignition
4. Measure voltage across the solenoid coil terminals during the ignition attempt:
- 24V coils should see 24V ± 2V
- 230V coils should see 230V ± 10V
5. If voltage is absent or below 85% of nominal:
- Check the relay contacts (they control solenoid power)
- Test the contactor or contactor coil if one exists in the circuit
- Check for corroded or loose connectors in the power path
6. If voltage is correct but solenoid doesn't energize, the coil itself has failed
Test 3 - Response Time Measurement
A slow or intermittent solenoid response indicates coil winding degradation or partial short:
1. Isolate the burner in a safe test environment
2. Connect a digital oscilloscope probe to the solenoid power line
3. Trigger ignition and observe the voltage waveform
4. Normal response: voltage reaches nominal level within 50ms and holds steady
5. Degraded response: voltage rise takes 200-500ms or shows oscillation/ripple
6. No response: voltage never reaches coil terminals
Test 4 - Coil Temperature Check
After 30 seconds of continuous solenoid energization:
1. Carefully touch the solenoid coil body (without touching the spool or connector) using a non-contact infrared thermometer
2. Normal operating temperature: 40-60°C
3. Excessive heat (>80°C): indicates short circuit or excessive current draw; replace solenoid
4. If coil feels cool despite showing correct voltage and resistance, the solenoid spool may be mechanically stuck (separate mechanical troubleshooting applies)
Common Solenoid Electrical Failure Modes
Intermittent Energization (valve works occasionally, then stops):
- Indicates marginal coil condition or vibration-induced contact loosening
- Inspect all connectors for corrosion; clean with electrical contact cleaner
- Apply thin layer of contact grease to connector pins
- If intermittency persists after connection cleaning, replace solenoid coil
- Suggests coil winding insulation degradation reducing effective magnetizing force
- Test response time per Test 3 above
- If delay is confirmed electrical, order replacement solenoid
- Verify replacement coil type matches original specification exactly
- Mechanical sticking is primary cause, but check electrical first
- Measure voltage at solenoid terminals during "stop" signal—should drop to near 0V within 100ms
- If voltage remains at nominal levels when safety circuit commands shutdown, relay contacts are stuck closed
- Replace relay immediately; this represents a safety-critical failure
Pilot Light Ignition Circuit Electrical Diagnostics
Integration with Controls & Safety Architecture
Pilot light ignition circuits share the same safety relay outputs that control solenoid valves. When the relay output voltage is insufficient or unstable, pilot lights may fail to light despite appearing mechanically sound.
Testing Pilot Light Electrical Supply
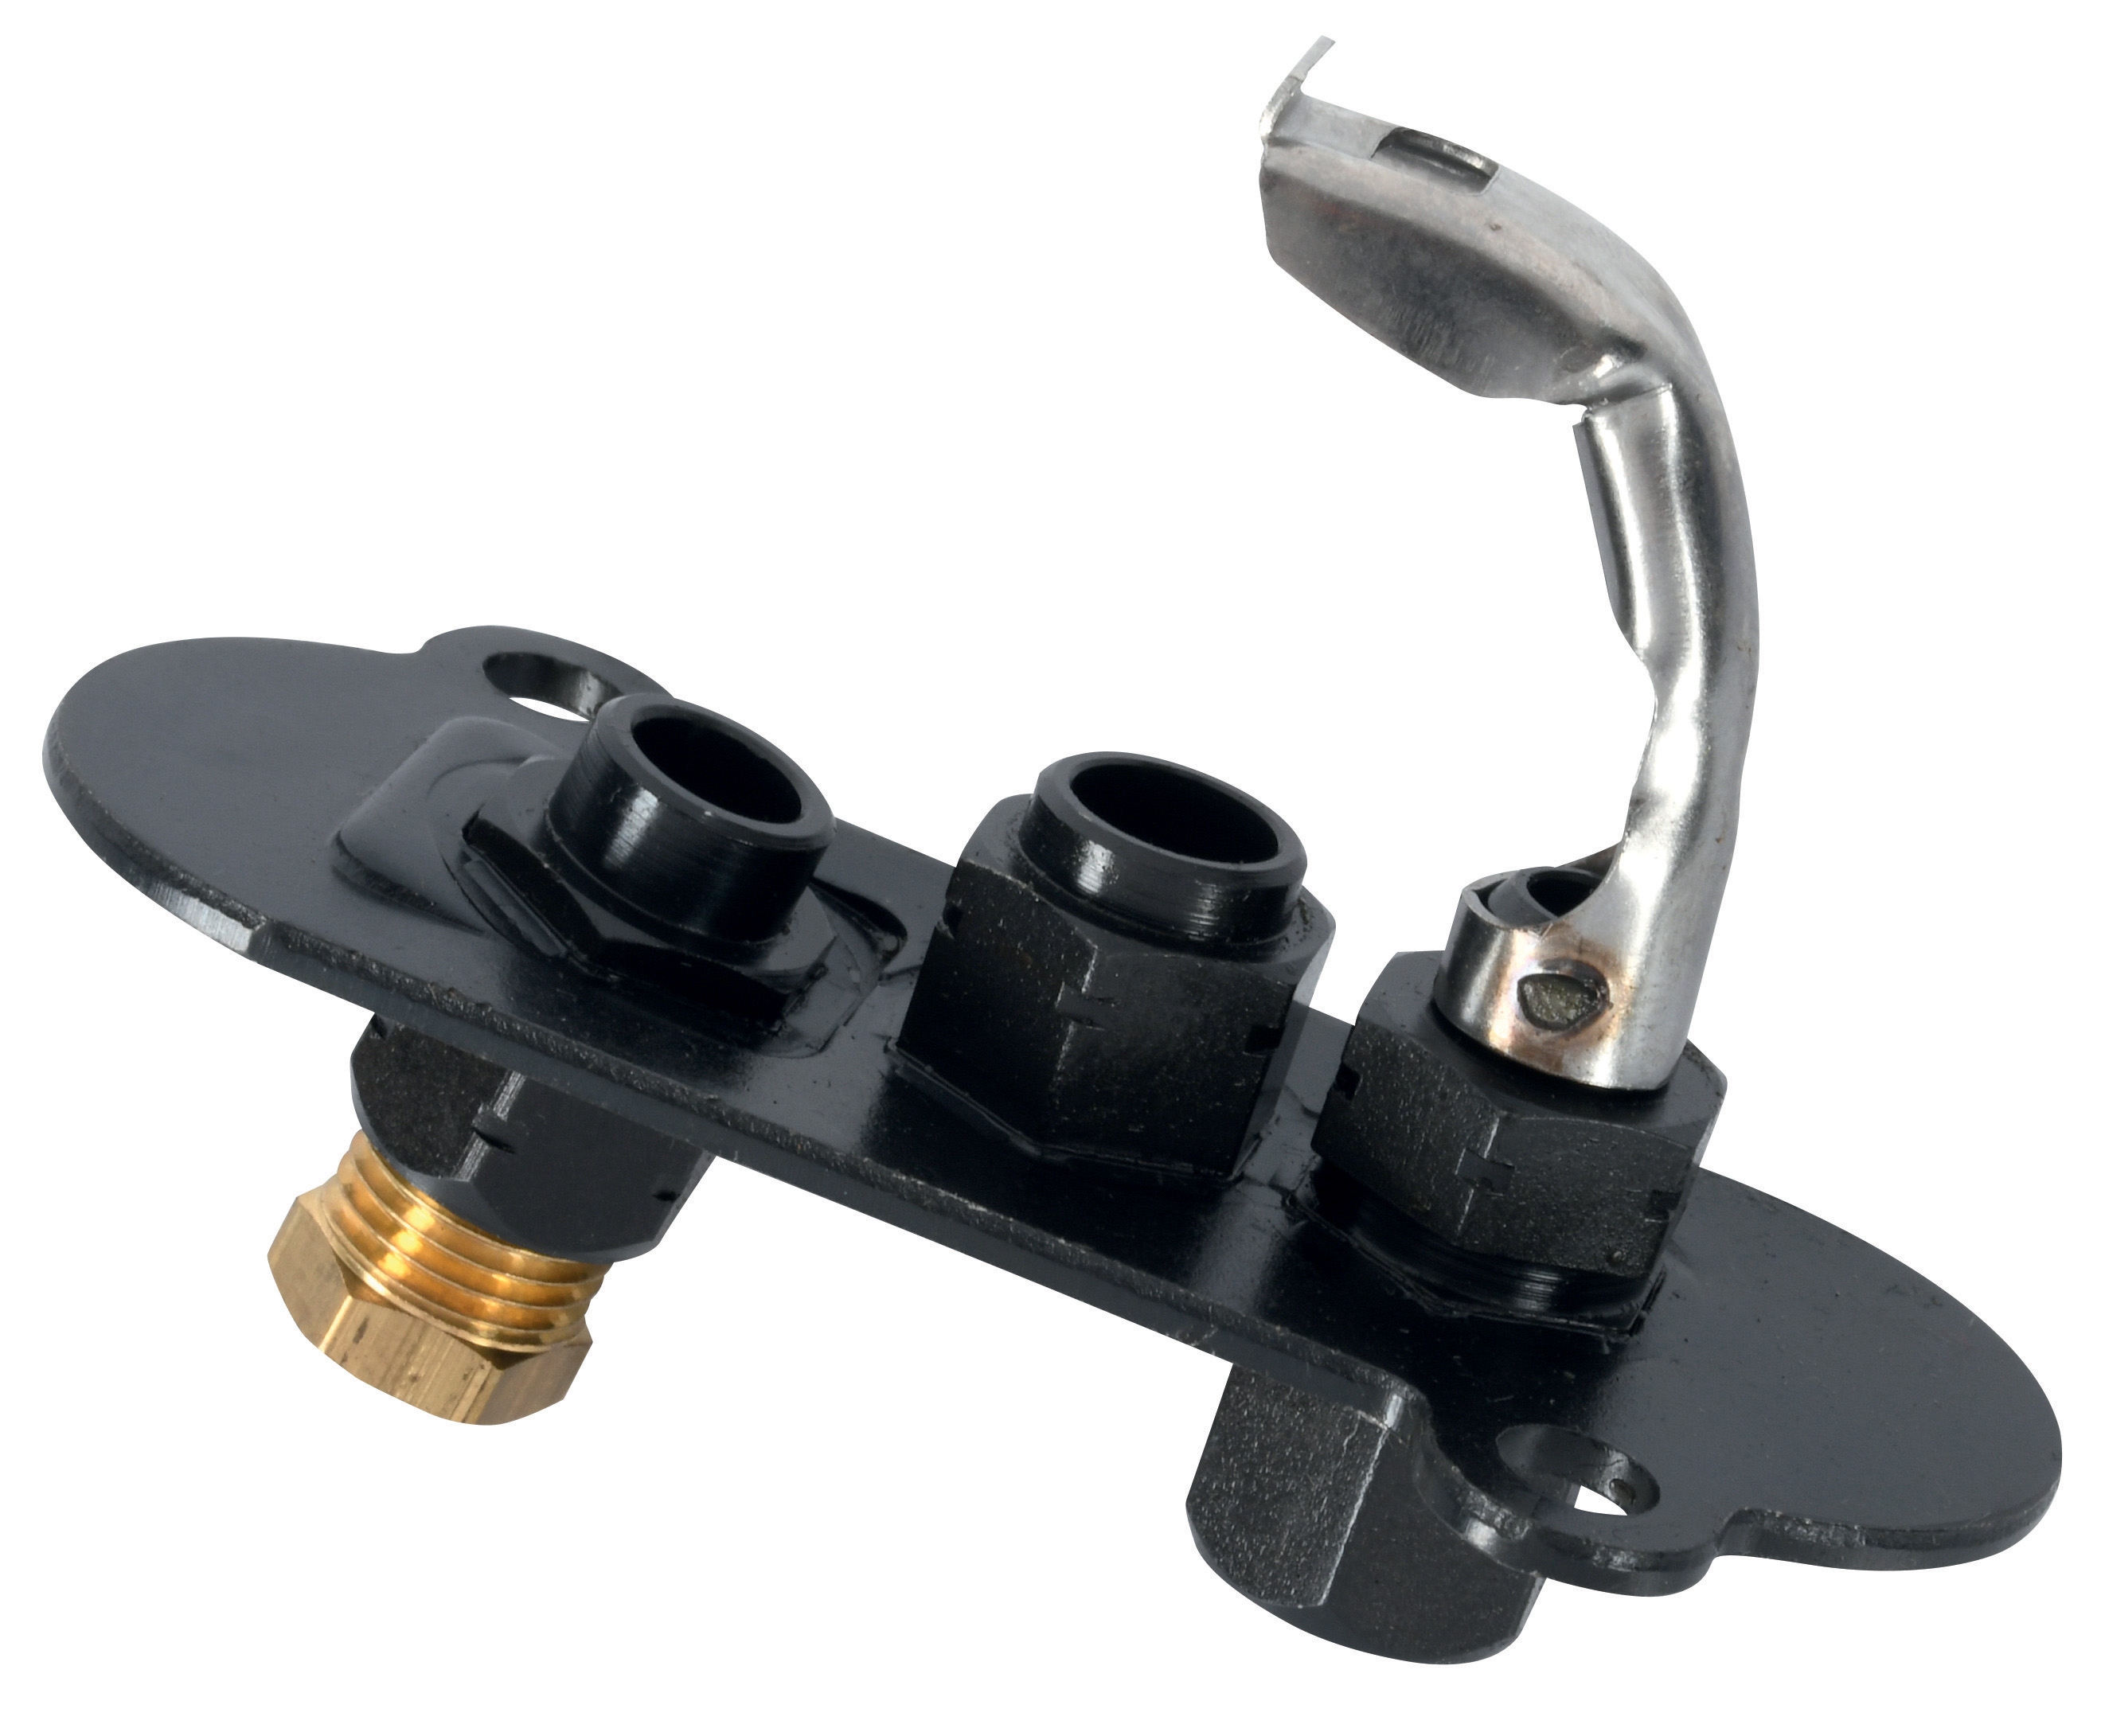
For systems using the CBM 1-flame pilot light 0.150.082 or CBM Pilot light 1 flame 0140026:
Test 1 - Pilot Ignition Circuit Voltage
1. Locate the pilot light ignition transformer or control module output terminals
2. During a burner ignition attempt, measure voltage at the spark electrode/ignition terminal
3. Typical requirements: 5-15kV peak voltage for spark ignition
4. If voltage is absent or severely reduced (<3kV), the ignition transformer or its power supply relay has failed
5. Verify the relay controlling ignition power is clicking (audibly) during ignition attempt
Test 2 - Ignition Ground Path
A broken or corroded ground connection prevents ignition despite adequate voltage:
1. Measure resistance from the spark electrode to the pilot light ground lug
2. Should be <1Ω
3. If resistance is 10Ω or higher, clean the connection with a wire brush
4. Retest; if resistance remains high, the spark electrode may be cracked (replace pilot light assembly)
Test 3 - Pilot Light Flame Sensor Electrical Continuity
Once pilot light ignites, a flame sensor (usually a rod or cell) must provide feedback to the safety relay:
1. De-energize the burner system
2. Measure resistance of the flame sensor element (typically 50-200Ω when cool)
3. If measurement shows open circuit (∞Ω), the sensor element is broken; replace pilot light assembly
4. If resistance is normal, the issue is likely in the relay amplifier circuit, not the sensor
Maintenance Teams' Action Plan and Parts Inventory
Preventive Maintenance Schedule
Monthly Tasks:
- Visually inspect all relay bases and solenoid valve connectors for corrosion
- Check relay coil terminals for loose or discolored connections
- Listen for abnormal relay clicking patterns (continuous buzzing indicates problems)
- Perform ohm resistance testing on all safety relays per the procedure in Section 2
- Clean solenoid valve connectors with electrical contact cleaner
- Verify relay response times during test ignition cycles
- Replace all safety relays proactively (even if tests show acceptable resistance) in systems older than 5 years
- Inspect pilot light spark electrodes for pitting or cracks; replace if visible damage exists
- Perform full voltage and timing tests across entire Controls & Safety circuit
Recommended Component Stock
Based on 3G Electric's 35+ years of field experience, maintenance teams should maintain spare inventory of:
- CBM Relay CM391.2 30.5 1.2 (2-3 units per site)
- CBM Base LGK AGM17 (1-2 units for socket replacement)
- CBM VCS 1E25R/25R05NNWL3/PPPP/PPPP double solenoid valve (1 unit for emergency replacement)
- CBM 1-flame pilot light 0.150.082 or CBM Pilot light 1 flame 0140026 (1 unit for quick swap)
Component lifecycle expectations:
- Safety relays: 3-5 years in continuous-duty applications
- Solenoid valve coils: 5-8 years with proper voltage regulation
- Pilot light assemblies: 2-4 years depending on ignition frequency
Safety Verification After Parts Replacement
1. After installing replacement Controls & Safety components, perform a full safety lockout test: manually trigger the flame detection circuit failure (or remove flame sensor) and verify the safety relay commands solenoid valve closure within 2 seconds
2. Verify pilot light ignites on first attempt in at least 3 consecutive ignition cycles
3. Confirm solenoid valve closes immediately when "stop" signal is issued
4. Document all testing and parts replacement in equipment maintenance log
5. Do not return equipment to service until all three safety verification steps pass