Understanding Measurement & Detection Probe Failures in Singapore's Industrial Context
Measurement & Detection systems form the backbone of industrial process control across Singapore's manufacturing, HVAC, and facility management sectors. When temperature probes, pressure transmitters, or flow measurement devices fail, the consequences ripple through production schedules and system efficiency. With over 35 years of experience distributing industrial equipment across Asia-Pacific markets, 3G Electric has observed that probe and transmitter failures account for approximately 40% of unplanned downtime in critical industrial applications.
The tropical climate in Singapore—characterized by high humidity, temperature fluctuations, and salt-air corrosion near coastal facilities—creates unique challenges for measurement & detection equipment. Additionally, rapid industrialization has led to increased complexity in multi-sensor systems where data consistency between interconnected probes becomes critical. This troubleshooting guide addresses the most common failure modes, diagnostic procedures, and remediation strategies that industrial professionals in Singapore must understand to maintain operational reliability.
Section 1: Diagnosing Signal Loss and Electrical Connection Failures
Common Symptom: No Signal Output or Intermittent Readings
Signal loss is the most frequently reported issue affecting measurement & detection systems. When a temperature probe or differential pressure transmitter stops communicating with your control system, the root cause often traces to one of five specific failure points.
Step 1: Verify Physical Connections
Begin with the most fundamental check: inspect all connection points. For devices like the Dwyer 616KD-13V-TC differential pressure transmitter, trace the signal wiring from the process connection back to your control panel. Look for:
- Corroded or oxidized terminals (common in Singapore's humid environment)
- Loose crimped connections on the barbed fittings
- Water ingress into electrical connectors (particularly in condensation-prone areas)
- Pinched or abraded wiring near mechanical vibration sources
Use a multimeter to measure continuity across suspicious connections. If voltage is present at the transmitter but absent at the controller, the issue lies in the wiring path rather than the sensor itself.
Step 2: Check Power Supply to the Transmitter
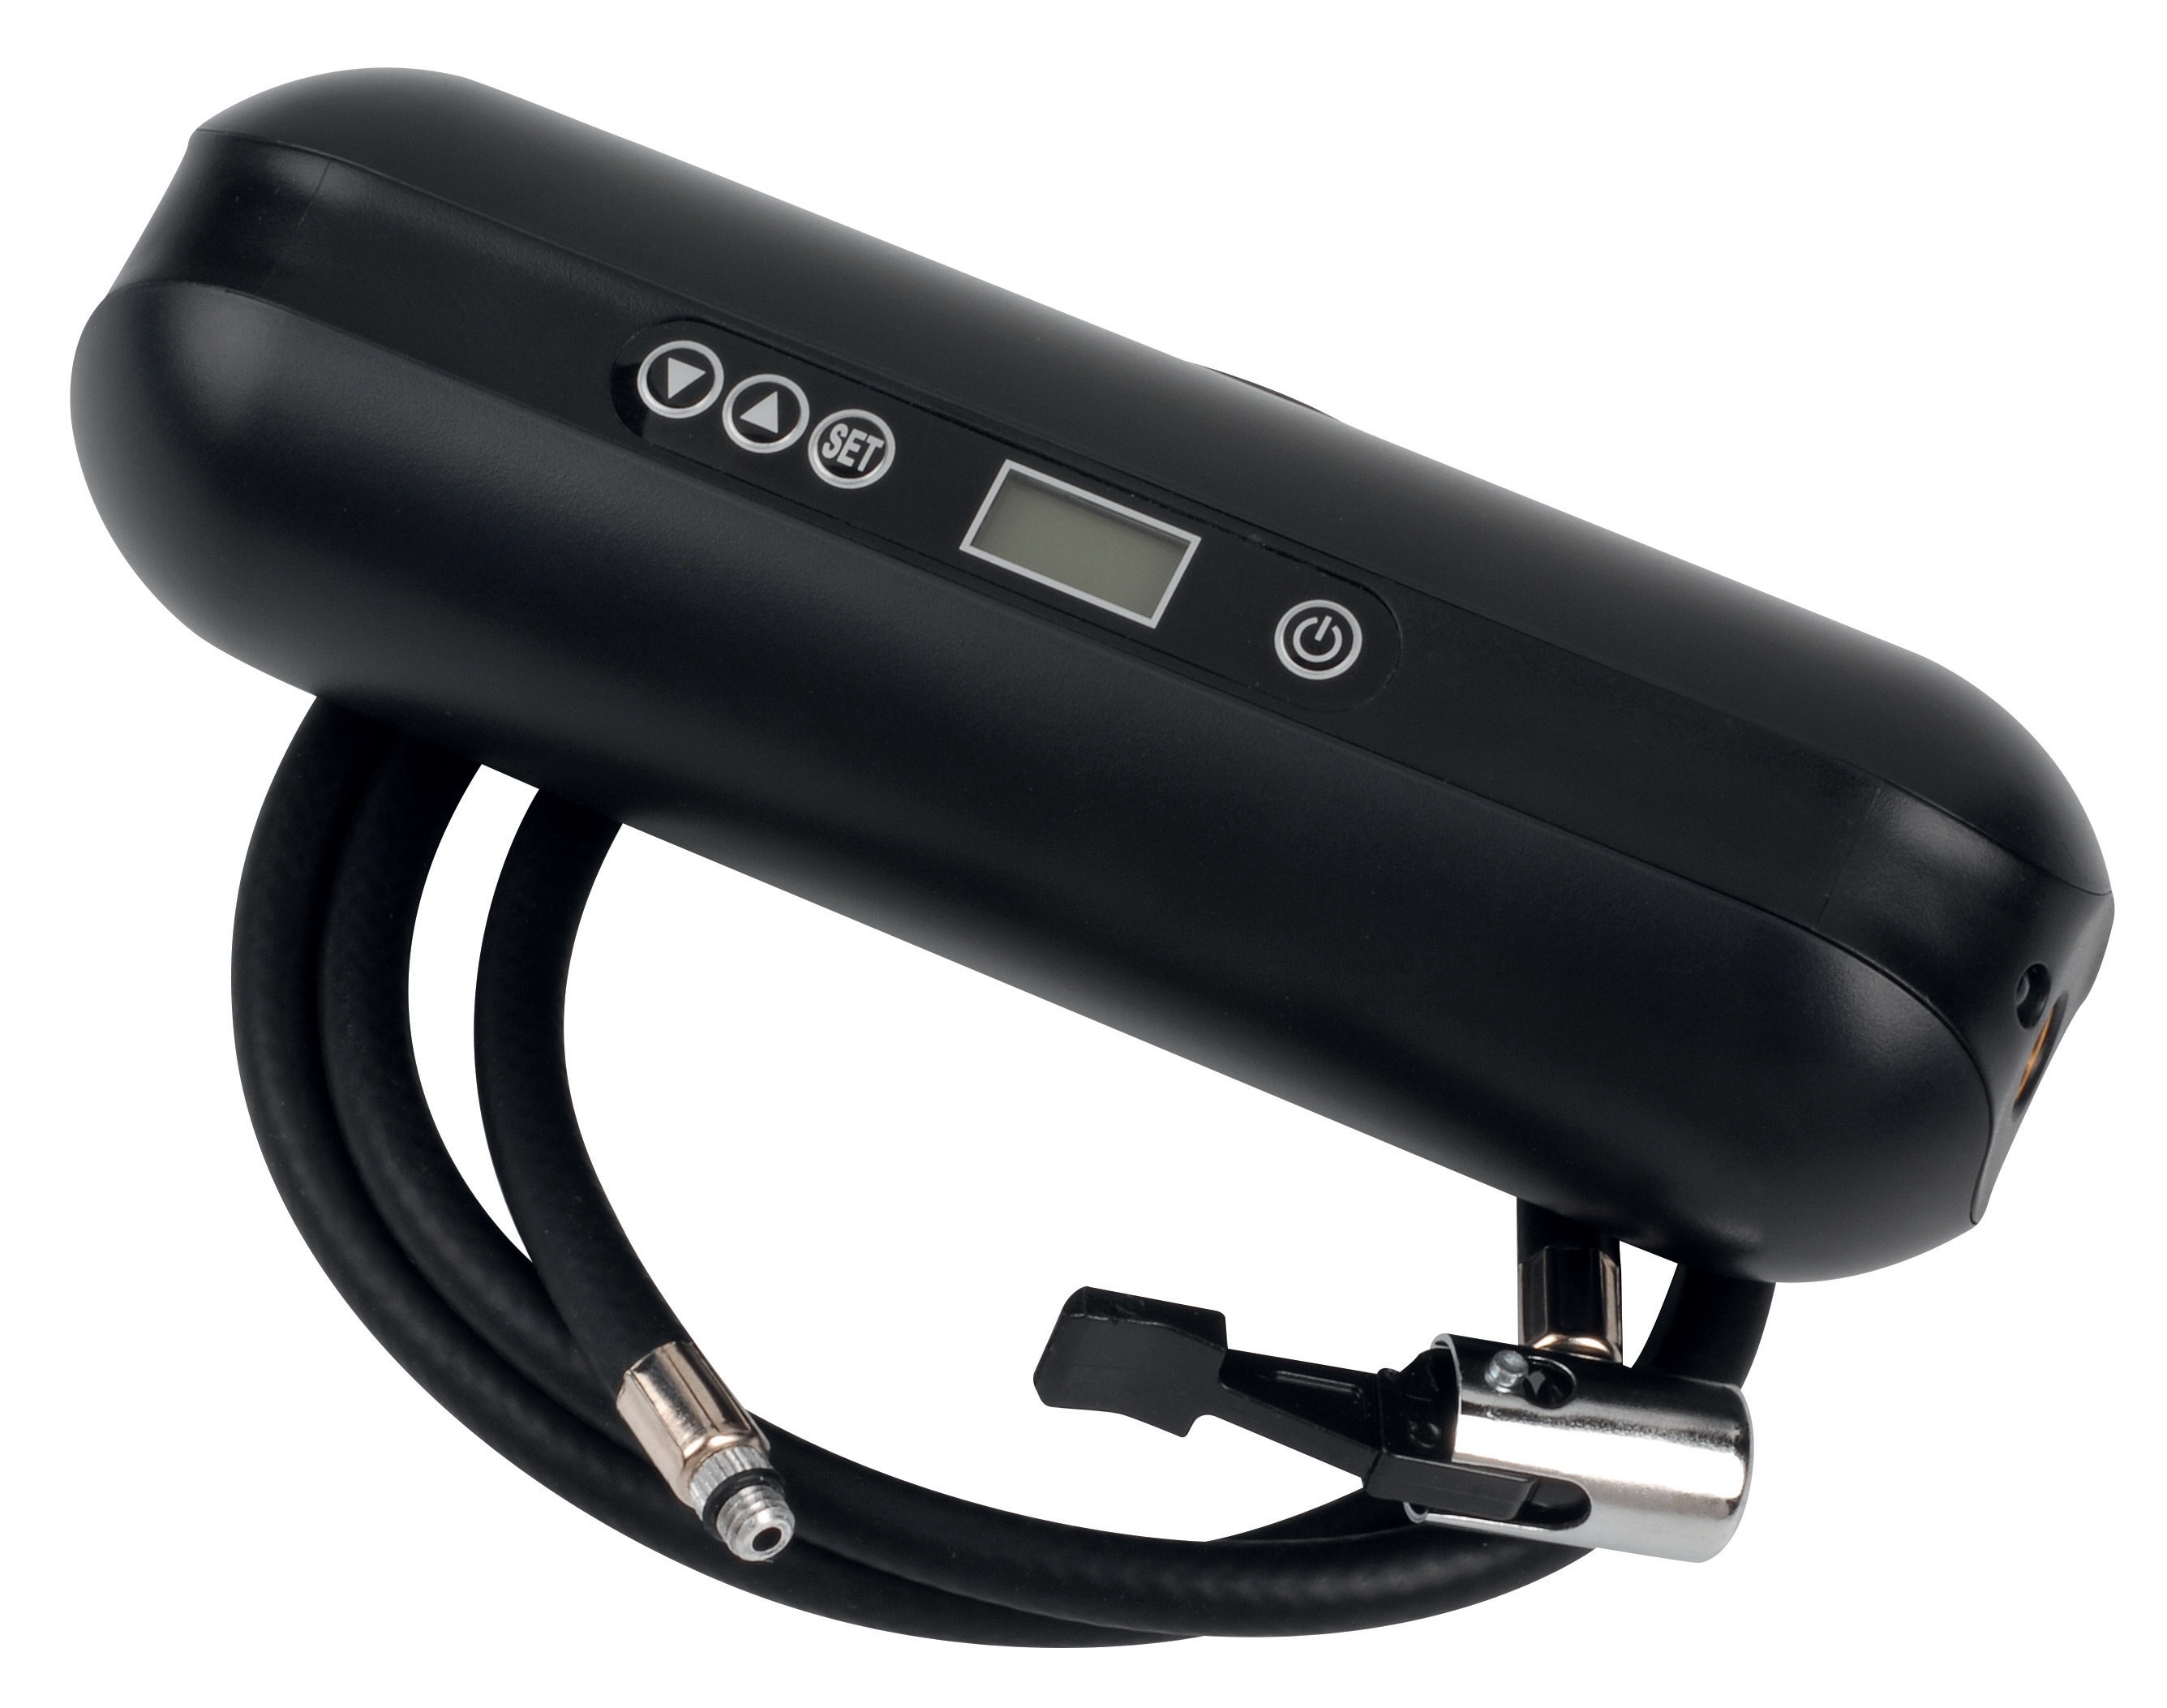
Measurement & Detection transmitters require stable power to function. For the Dwyer 616KD-13V-TC, verify that your power supply delivers consistent voltage within specifications. Fluctuating supply voltage—common in facilities with reactive motor loads—can cause intermittent signal dropout.
Measure the voltage at the transmitter's power terminals while the system operates under full load. If voltage drops below acceptable ranges, your facility may need:
- Dedicated power conditioning for sensitive measurement equipment
- Uninterruptible power supply (UPS) backup for critical sensors
- Isolation transformers to prevent ground loop issues
For differential pressure transmitters measuring liquid levels or pressure differentials, blockage in the impulse tubing prevents proper signal transmission. This is especially critical in Singapore's industrial applications where:
- High ambient temperatures cause fluid evaporation in tubing runs
- Moisture condensation freezes in cold measurement legs
- Particulate buildup (common in refinery or food processing facilities) restricts flow
Inspect the 3–5 mm tubing connections on your transmitter. Gently blow compressed air through the impulse lines (after isolating them from process pressure). If you detect restriction, you'll need to flush or replace the tubing assembly.
Section 2: Temperature Probe Accuracy Drift and Calibration Recovery
Common Symptom: Temperature Readings Drifting Slowly Over Time
Temperature measurement & detection probes like the Dwyer PT100 OHM RTD probe maintain accuracy specifications when properly maintained. However, accuracy drift occurs gradually and often goes unnoticed until system performance degrades.
Understanding RTD Drift in Tropical Environments
Platinum Resistance Temperature Detectors (RTDs) are sensitive to mechanical stress and thermal cycling. Singapore's climate—where ambient temperatures can swing 15–20°C between day and night, and HVAC systems cycle continuously—accelerates drift in several ways:
1. Thermal Stress on the Sensing Element: Repeated heating and cooling cycles cause micro-fractures in the platinum wire, increasing resistance and shifting calibration points.
2. Contamination of the Sensing Cavity: Moisture ingress or corrosive vapors compromise the protective ceramics surrounding the sensing element. The Dwyer PT100 probe's ±0.6% accuracy at 0°C can degrade to ±2.0% or worse if the sensing cavity becomes contaminated.
3. Mechanical Strain from Thermal Expansion: The flexible copper capillary on the DWY14040 model prevents catastrophic failure but still experiences strain. If mounted without proper strain relief, this accelerates electrical resistance changes.
Diagnostic Procedure: Quick Calibration Check
You don't need expensive laboratory equipment to detect RTD drift. Perform a two-point verification:
1. Ice Bath Test (0°C Reference): Fill a thermos with crushed ice and distilled water. Immerse the probe to a depth matching its specified immersion length. A properly functioning RTD should read between -0.6°C and +0.6°C at this point (per the DWY14040 specification).
2. Boiling Water Test (100°C Reference): Use a calibrated digital thermometer to verify boiling point (accounting for elevation). Your RTD should read within ±0.6°C of true boiling point. Significant deviation indicates drift requiring recalibration or replacement.
If drift exceeds ±1.5°C, the probe has reached end-of-life. Attempting to recalibrate RTD elements beyond their drift tolerance will produce unreliable results. Your facility should maintain a spare probe on-hand—the Dwyer PT100 model's -35.5 to +115.5°C range covers virtually all HVAC and industrial process applications in Singapore.
Prevention Through Proper Installation
Reduce future drift by implementing these installation practices:
- Mount probes in thermowells that provide mechanical protection and allow periodic removal for recalibration
- Ensure probe immersion depth matches the specified 65mm length to achieve the accuracy rating
- Avoid installing probes in areas subject to vibration or direct mechanical impact
- Use strain relief fittings at the thermowell entrance to prevent copper capillary flexing
Section 3: Pressure Gauge Accuracy and Mechanical Failure Troubleshooting
Common Symptom: Gauge Pointer Stuck, Erratic Readings, or Constant Full-Scale Deflection
Pressure measurement & detection gauges like the Preciman stainless steel vertical pressure gauge operate mechanistically, making them vulnerable to specific failure modes that digital transmitters avoid.
Identifying Mechanical Obstruction vs. Sensor Failure
When a Preciman 63mm dial gauge reads constantly high or the pointer sticks at one position, determine whether the problem is mechanical or hydraulic:
Mechanical Pointer Jam: Gently tap the gauge face with a plastic hammer. If the pointer moves and settles to a new position, internal friction (often from debris inside the case) is restricting movement. Do not operate the gauge in this condition; the pointer may be damaging the dial mechanism with each swing.
Stuck Process Connection: The G1/4 stainless steel connection port may be blocked by:
- Mineral deposits from hard water (extremely common in Singapore's water supply)
- Corrosion products (white or blue-green oxidation) from dissimilar metals contacting the copper alloy wetted parts
- Debris trapped in the impulse line feeding the gauge
Isolate the gauge from process pressure using the isolation ball valve (if installed). Disconnect the impulse line and try to flush it with distilled water and a small-diameter rod. Persistent blockage requires impulse line replacement rather than gauge repair.
Accuracy Drift Assessment
The Preciman gauge maintains ±1.6% accuracy across its 0–40 mbar range when properly calibrated. To verify accuracy:
1. Use a calibrated digital pressure transmitter placed at the same impulse point as the mechanical gauge
2. Compare both readings across at least three pressure levels (0%, 50%, and 100% of range)
3. Mechanical gauges showing more than ±2.0% deviation across range have reached end-of-life
Unlike electronic transmitters, mechanical gauges cannot be recalibrated and must be replaced. Given Singapore's industrial density and supply-chain efficiency through distributors like 3G Electric, spare gauges should be maintained on-site for critical applications.
Corrosion Prevention in Tropical Climates
The stainless steel construction of the Preciman gauge resists general corrosion but can still suffer galvanic corrosion when connected to carbon steel impulse lines or brass fittings. Prevent this by:
- Using stainless steel impulse tubing matched to the gauge material
- Specifying stainless steel isolation ball valves at the gauge inlet
- Avoiding direct contact between dissimilar metals; use nylon washers or isolating sleeves
Section 4: Flow Measurement Probe Diagnostics and Static Pressure Verification
Common Symptom: Flow Rate Readings Inconsistent or Trending Low Over Time
Average flow probes, such as the Dwyer MAFS-16 metal average flow probe, measure static and total pressure to calculate air velocity through duct systems. Flow measurement failures often stem from probe blockage rather than sensor electronics.
Understanding Probe Plugging in HVAC Systems
The MAFS-16's 16 cm length creates multiple sensing ports along its axis to capture velocity profile across the duct cross-section. When flow readings decline gradually, particulate accumulation inside these ports is likely responsible:
- Fiberglass insulation fibers breaking free from aged duct lining
- Dust accumulation from inadequate air filter maintenance
- Coagulated cleaning compounds from recent system treatments
Connect a differential manometer across the probe's high and low pressure ports. Compare the measured pressure drop to baseline readings from your commissioning records. If pressure drop has decreased by more than 20%, the probe requires cleaning.
Cleaning and Recovery Procedure
Do not attempt to clean the MAFS-16 internally; metal probes can be easily damaged by wire brushes or chemical solvents. Instead:
1. Isolate the probe from the transmitter measurement system
2. Reverse the air flow through the duct (operate in exhaust-only mode if your system allows)
3. Allow 30 minutes of reverse flow at reduced fan speed—particulates will migrate backward through the probe ports
4. Return to normal operation and re-measure baseline pressure drops
If this procedure fails to restore baseline readings, the probe's internal tubing has degraded and requires replacement.
Duct Traverse Verification for Measurement & Detection Accuracy
Before assuming the flow probe has failed, verify that it's positioned correctly in the duct. The MAFS-16 must be installed perpendicular to flow direction and positioned at the duct's geometric center. Misalignment causes systematic measurement errors:
- Probes angled 10° off-perpendicular read 2–3% low
- Probes installed too close to elbows or dampers read erratically due to turbulent flow patterns
- Probes in ducts with velocity gradients (asymmetric distribution) require multi-point averaging
Perform a manual duct traverse using a hand-held anemometer at five points across the duct cross-section. Average these readings and compare to your MAFS-16 output. Significant deviation indicates mounting issues rather than probe failure.
Preventive Maintenance and System Reliability
Measurement & Detection system reliability depends on structured maintenance rather than reactive troubleshooting. Implement these practices:
Quarterly Verification Program: Schedule quarterly spot-checks of critical measurement points using portable instruments. This catches drift before it affects system control.
Documentation and Baseline Records: Maintain commissioning baseline readings for all probes and transmitters. This enables rapid drift detection and justifies replacement decisions to management.
Inventory Spare Components: Stock spare probes, transmitters, and gauges matched to your critical applications. The cost of spares is negligible compared to production loss from measurement failures.
Humidity and Temperature Control in Electrical Rooms: Keep measurement transmitter installation areas below 60% relative humidity and within 15–35°C to minimize electrical connector corrosion and electronics drift.
With systematic troubleshooting and preventive practices, measurement & detection systems can operate reliably for 3–5 years in Singapore's challenging industrial environment. When replacement becomes necessary, 3G Electric's inventory of Dwyer, Preciman, and CBM equipment ensures rapid system restoration.