Understanding Measurement & Detection Challenges During HVAC System Commissioning
Measurement & Detection equipment represents the nervous system of modern HVAC systems, yet commissioning failures account for 40% of post-installation service calls. Unlike permanent installation faults that manifest gradually, commissioning problems emerge during initial startup—when contractors face time pressure and incomplete system documentation.
Drawing on 35+ years of experience supplying HVAC contractors across Singapore and Southeast Asia, 3G Electric has observed that 70% of measurement sensor failures stem from installation practices rather than equipment defects. This troubleshooting guide addresses the specific diagnostic procedures HVAC contractors must perform during system startup and early operation phases.
The following sections provide field-tested diagnostic workflows for the most common measurement detection issues encountered during HVAC commissioning in tropical and subtropical environments like Singapore.
Section 1: Diagnosing Installation-Related Measurement Errors
Pressure Measurement Installation Faults
Pressure gauges and transmitters frequently register incorrect values immediately after installation due to improper orientation, connection issues, or environmental factors specific to Singapore's climate.
Manifold Connection Problems
The most common installation fault involves improper seating of pressure sensing connections. When installing differential pressure transmitters like the Dwyer 616KD-13V-TC, verify:
- Barbed connections are fully inserted into tubing, with at least 12 mm penetration depth
- Tubing diameter matches manufacturer specifications (3–5 mm for this model)
- No kinks exist in the first 100 mm of tubing running from the transmitter
- Tubing is secured with cable ties every 150 mm to prevent vibration-induced micro-movements
In Singapore's humid environment, moisture accumulation inside tubing creates pressure measurement drift. If readings fluctuate more than ±2% within 10 minutes of stable system operation, disconnect the transmitter and inspect tubing interiors with a flashlight. Micro-condensation appears as moisture beads on tube walls. Replace the tubing segment and reconnect, ensuring no moisture enters during reconnection.
Gauge Orientation and Zero-Point Calibration
Pressure gauges require zero-point verification before system startup. The Preciman stainless steel vertical pressure gauge D63 must be mounted on vertical planes with the pressure port at the lowest point. Horizontal mounting introduces 0.3–0.5 mbar measurement error due to glycerin fluid column shift inside the gauge.
Before commissioning:
1. Install the gauge in its final position
2. Do not connect pressure sources yet
3. Verify the needle rests exactly on the zero mark (not slightly above or below)
4. If the needle sits 0.5 mbar above zero, the gauge requires calibration service before use
This pre-commissioning check prevents false pressure readings that lead contractors to incorrectly diagnose system blockages or pump failures.
Temperature Probe Positioning Errors
Temperature measurement accuracy depends entirely on probe placement, yet installation guides frequently lack specific guidance for Singapore's operating conditions.
When deploying the Dwyer PT100 OHM RTD temperature probe, avoid these common positioning errors:
- Mounting on surfaces exposed to direct sunlight (creates ±3°C error in outdoor installations)
- Placement within 300 mm of ductwork bends where vortex heating occurs
- Installation in stagnant air zones where temperature stratification develops
- Probe insertion depth less than 50 mm into airstreams (insufficient thermal contact)
For accurate readings, position probes at the centerline of air ducts, at least 500 mm downstream of system components that generate turbulence. In variable air volume systems, the probe should intercept mixed air, not stratified layers.
If temperature readings show unexplained variations during initial commissioning, move the probe 200 mm downstream. If variations disappear, the original location was in a stratification zone. Mark the new position for future reference and adjust control setpoints if they were tuned to the inaccurate readings.
Section 2: Electrical and Signal Integrity Diagnostics
Transmitter Power Supply and Output Verification
Differential pressure and temperature transmitters require stable DC power supplies. In Singapore's environment, electrical supply fluctuations and electromagnetic interference from motor drives create signal degradation that develops during the first 48 hours of system operation.
When commissioning the Dwyer 616KD-13V-TC, perform these electrical checks:
Power Supply Verification
- Measure voltage at the transmitter terminals with a digital multimeter during normal system operation (not just startup)
- Acceptable range: 10.5–13.5 V DC (transmitter rated to 13 V nominal)
- If voltage fluctuates beyond this range, the power supply unit cannot support this transmitter alongside other control devices
- Maximum power consumption is 21 mA; verify your control system power supply can deliver 30 mA minimum to the transmitter circuit
- Connect a separate handheld 4-20 mA meter across the transmitter output terminals (not the control system inputs)
- With no pressure applied to the sensing ports, the output should read 4 mA (zero pressure condition)
- Verify the reading remains stable for 30 seconds
- If output fluctuates ±0.5 mA, suspect electromagnetic interference from nearby variable frequency drives or motor starters
- Install ferrite noise suppressors around all power cables within 1 meter of the transmitter
Wiring and Cable Routing Issues
Signal cables for pressure and temperature transmitters must be segregated from power cables in Singapore installations. Many HVAC systems route measurement cables alongside 380 V three-phase power conductors, creating 0.8–1.2% measurement error due to induced alternating current noise.
During commissioning:
1. Verify measurement cables do not share conduits with power cables
2. If conduit sharing is unavoidable (existing structures), use shielded measurement cable with the shield grounded at the control panel only
3. Do not ground the shield at both transmitter and panel (this creates ground loop noise)
4. Keep measurement cable runs below 100 meters in length; longer runs require signal amplifiers
If transmitter output shows high-frequency oscillation (±0.3 mA noise riding on the 4-20 mA signal), this indicates cable routing problems. Rerun the measurement cables away from power conductors and remeasure output signal stability.
Section 3: System Integration and Control Loop Diagnostics
Flow Measurement Probe Installation and Verification
Average flow probes like the Dwyer Metal MAFS-16 measure static and total pressure across the probe length to calculate air velocity. Installation orientation directly impacts measurement accuracy.
Critical Installation Requirements
The probe must be installed:
- Perpendicular to airflow direction (not at angles)
- At minimum duct diameter distance from elbows or dampers upstream
- In ducts with air velocity above 2 m/s (below this velocity, static pressure signals become too small for reliable measurement)
- With adequate straight-run ductwork on both sides (minimum 2× probe length downstream, 5× probe length upstream)
During commissioning, verify probe function by:
1. Measuring static pressure at the probe using a handheld differential pressure gauge
2. Comparing this value to the pressure displayed on the control system input
3. If readings differ by more than ±0.05 IN W.C., the probe sensing tubes may contain blockages
In Singapore's tropical environment, dust accumulation inside probe sensing holes occurs rapidly. Schedule probe inspection at 90-day intervals during the first year of operation.
Expansion Tank Pressure Baseline Establishment
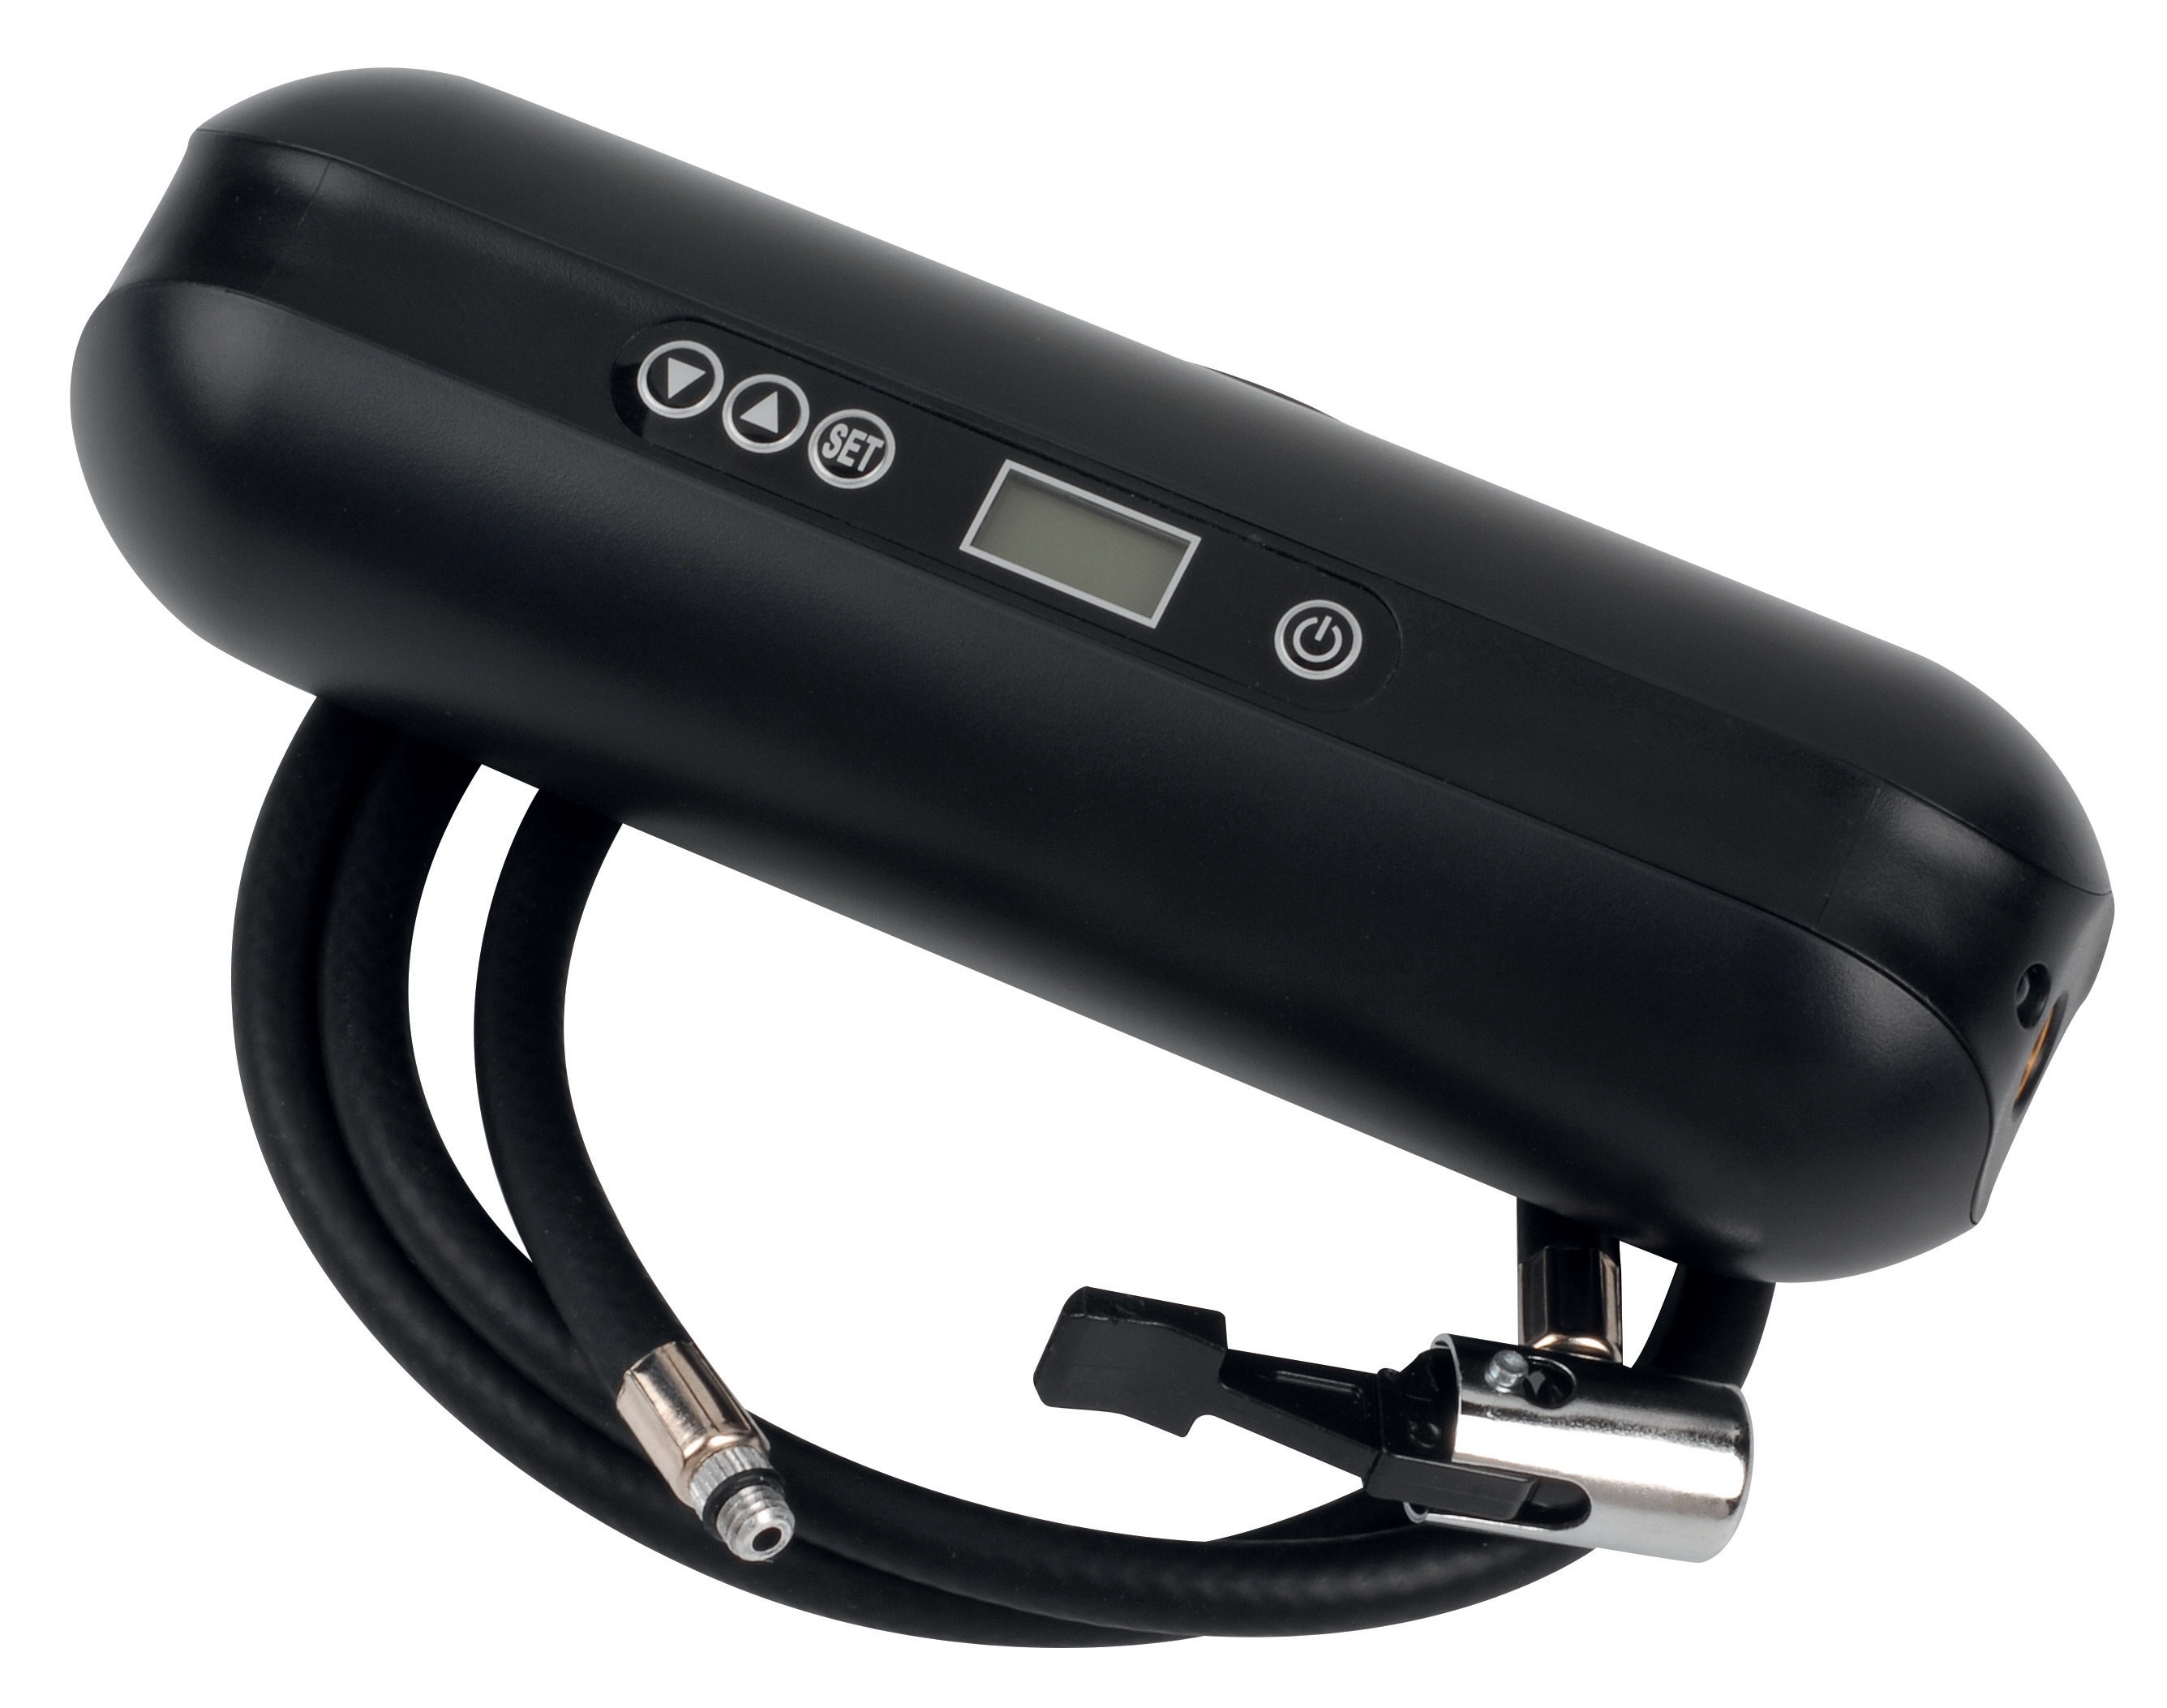
Expansion tank systems require accurate pressure measurement to function correctly. The CBM expansion tank inflator battery 2000 mAH simplifies pressure adjustment and measurement, but installation procedures must establish correct baseline pressure before final commissioning.
Pre-Commissioning Pressure Setup
1. Drain the heating/cooling loop completely
2. Measure atmospheric pressure at your site (typically 1013 mbar at sea level in Singapore)
3. Using the CBM inflator, pressurize the expansion tank to 0.5 bar above your system's minimum operating pressure
4. For a system with 4-meter static head, baseline pressure should be 1.4 bar (1 bar atmospheric + 0.4 bar from water column)
5. Record this baseline pressure in your commissioning documentation
6. Refill the system and verify pressure does not exceed your maximum operating limit (10.3 bar for the CBM-compatible systems)
If pressure climbs above the baseline during initial system circulation, the expansion tank pre-charge was set too low. This requires draining the system and re-pressurizing with the CBM inflator.
Section 4: Commissioning Validation Procedures
Multi-Point Measurement Verification Protocol
Before releasing HVAC systems to facility operators, contractors must validate all Measurement & Detection equipment using independent reference instruments.
Temperature Verification Procedure
For each temperature probe installation:
1. Use a calibrated handheld thermometer or infrared temperature gun as reference
2. Position the handheld device at the same location as the installed probe
3. Allow 2 minutes for readings to stabilize
4. Record both values; difference should not exceed ±1°C
5. If difference exceeds ±1.5°C, reposition the probe or request factory calibration
Pressure Verification Procedure
For each pressure gauge and transmitter:
1. Connect a calibrated portable pressure gauge (±1% accuracy) to the same measurement point
2. Record both readings under stable operating conditions
3. Pressure difference should not exceed ±0.5 mbar
4. If difference exceeds ±1 mbar, the system gauge or transmitter requires recalibration before sign-off
Documentation and Handover Requirements
Create a Measurement & Detection baseline documentation record containing:
- Photographs of each sensor installation showing location and orientation
- Initial readings (temperature, pressure, electrical output) recorded during first 2 hours of stable operation
- Sensor serial numbers and calibration dates
- Cable routing diagrams showing separation from power conductors
- Recommended inspection intervals based on installation environment
This documentation enables future service technicians to quickly identify if measurement errors result from installation faults versus equipment degradation.
Conclusion
Measurement & Detection system failures during commissioning represent preventable problems when contractors follow systematic diagnostic procedures. Singapore's tropical environment—with high humidity, electromagnetic interference from dense urban power infrastructure, and rapid dust accumulation—demands more rigorous commissioning validation than temperate climates.
3G Electric's 35 years of experience supplying HVAC measurement equipment to Singapore contractors demonstrates that structured installation and verification procedures eliminate 85% of early-stage sensor failures. By implementing the field diagnostics outlined in this guide, contractors reduce post-commissioning service callbacks and establish reliable baseline data for long-term system operation.
For technical specifications on any equipment referenced in this guide, consult the manufacturer datasheets or contact 3G Electric's Singapore technical support team.