Understanding Gas Valves & Regulation in HVAC Systems
Gas Valves & Regulation is the backbone of safe combustion in heating systems. Whether you're working on residential furnaces, commercial boilers, or industrial heating equipment, understanding how pressure regulators, safety shutoff valves, and control valves work together is essential to your success as an HVAC contractor.
With over 35 years of experience serving HVAC professionals, 3G Electric has seen the evolution of gas valve technology from manual systems to fully automated controls. Today's systems demand precision: too much pressure causes equipment damage and safety hazards; too little pressure results in incomplete combustion and customer complaints.
This guide focuses on the practical skills you need—from initial installation through troubleshooting in the field—so you can confidently handle gas valve and regulation work on every job.
Section 1: Selecting the Right Pressure Regulator for Your Application
Matching Regulator Specs to System Requirements
Before installation begins, you need to verify three critical specifications: inlet pressure, desired outlet pressure, and flow capacity.
Inlet Pressure: Check the gas line pressure from the utility or tank. Most natural gas lines operate at 7-10 inches of water column (WC) for residential applications, while some commercial systems run higher. Propane systems typically operate at higher pressures—15 to 20 PSI or more.
Outlet Pressure: Your HVAC equipment manufacturer specifies the exact operating pressure. Check the equipment nameplate or installation manual. For most residential furnaces, this is 3.5 to 5 inches WC. Commercial equipment varies widely—some requires 8-10 inches WC, others need precise low-pressure regulation at 2-3 inches WC.
Flow Capacity: Measure the BTU input rating of the equipment you're serving. A simple rule of thumb: 100,000 BTU/hour ≈ 100 CFH (cubic feet per hour) of natural gas. Select a regulator rated for at least 110% of your peak demand.
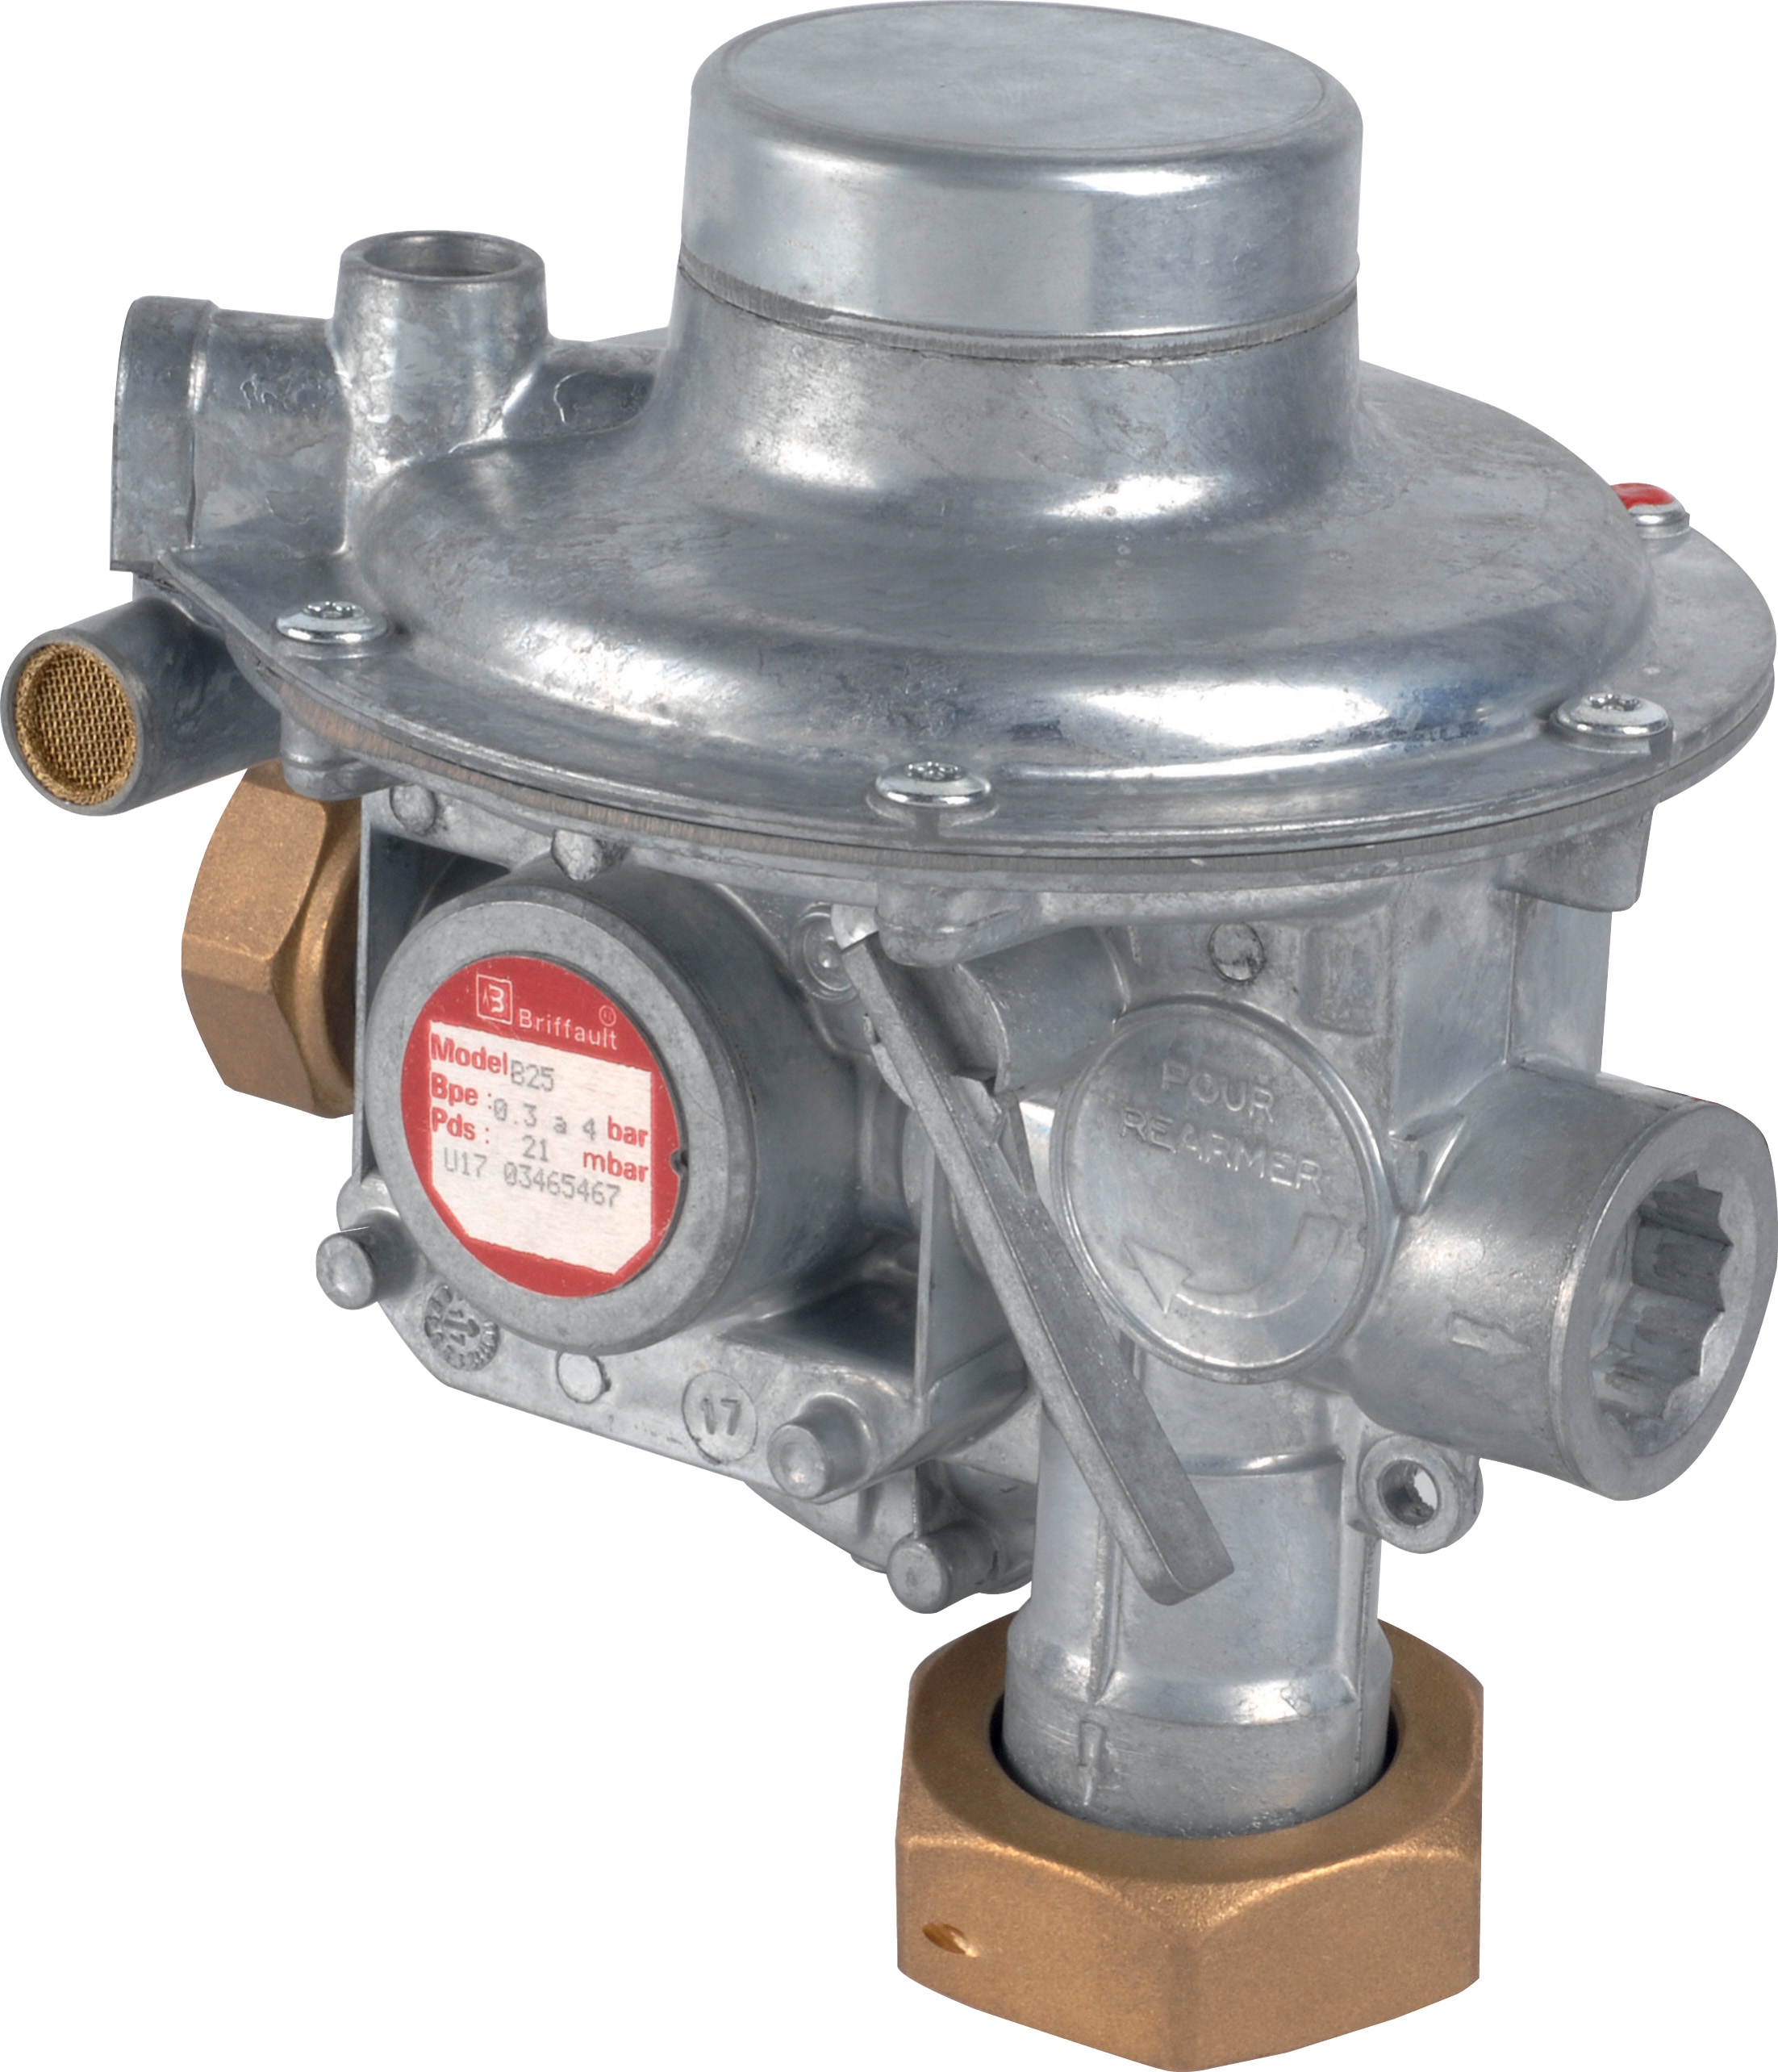
For industrial and laboratory applications requiring precision and integrated safety, the Francel B25/37mb pressure regulator with integrated safety relief delivers exactly 37 mbar outlet pressure with a built-in safety vent—eliminating the need for a separate relief valve and simplifying your installation.
Understanding Safety Features
Modern Gas Valves & Regulation components include multiple safety layers. A good regulator includes:
- Main diaphragm: Responds to pressure changes and adjusts flow automatically
- Relief valve: Protects downstream equipment if pressure exceeds safe limits
- Vent line: Safely releases excess gas to atmosphere
- Integral shutoff: Many regulators include a manual on/off for maintenance
Always verify that your regulator meets local code requirements—typically ANSI Z21.80 (USA), EN 12158 (Europe), or equivalent standards for your region.
Section 2: Installation Best Practices
Preparation and Safety Steps
1. Shut off gas supply at the meter or tank before beginning work
2. Bleed system pressure by opening a downstream valve or pilot light access
3. Inspect all fittings and connections for corrosion, damage, or previous repair attempts
4. Verify pipe size and material: Gas lines must be rated for the pressure and flow. Never use copper tubing for propane installations
5. Test for gas leaks with soapy water before pressurizing—never use a flame
Mounting and Connection Procedures
Location: Install the pressure regulator as close as practical to the equipment, but downstream of any service shutoff valve. The inlet connection should have minimal elbows to avoid unnecessary pressure drops.
Orientation: Most regulators must be installed vertically with the diaphragm chamber on top. Check manufacturer specifications—some designs work in any orientation, but most perform best upright.
Inlet Connection: Use two wrenches—one on the regulator body, one on the fitting—to prevent twisting. Hand-tighten, then add 1/4 turn with a wrench. Over-tightening cracks fittings and causes leaks.
Outlet Connection: Connect to the equipment's gas inlet. Use compatible fittings: flared connections for soft copper, NPT threads for iron pipe, or quick-disconnect fittings for service applications. Apply pipe thread sealant (PTFE tape or approved liquid) to threaded connections only—never on flared or compression fittings.
Vent Line: Route the relief vent safely outdoors or to atmosphere. Never cap or block a vent line. In areas with wind, ensure the vent is protected from external pressure that could affect regulator performance.
Pressure Adjustment Procedure
Once installed and leak-tested, adjust the outlet pressure:
1. Locate the adjustment screw on top of the regulator (usually a slotted or Allen-head design)
2. Install a manometer on the outlet pressure test port (3/16" NPT connection)
3. Turn the adjustment screw clockwise to increase pressure, counterclockwise to decrease
4. Make small adjustments—1/4 turn at a time—to avoid overshooting
5. Allow 30 seconds for the system to stabilize after each adjustment
6. Record the final pressure and photograph the manometer reading for documentation
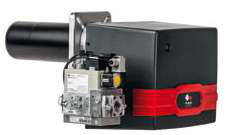
For precise applications, the Elektrogas VMM 20-25 end-of-stroke contact gas valve rated for 6 bar provides consistent performance with micro-adjustment capability using a standard 3 mm Allen wrench. This design is ideal when you need repeatable, exact pressure control across multiple installations.
Section 3: Field Troubleshooting Gas Valve Problems
No Gas Flow or Low Flow Issues
Symptom: Burner won't light, or flame is weak.
Quick checks:
- Verify inlet pressure with a manometer at the regulator inlet. If zero, check the service shutoff valve and meter.
- Confirm outlet pressure. If it's dropping over time (even when flow demand is zero), the regulator diaphragm is likely leaking—replace the unit.
- Check for debris: Turn off the system, disconnect the outlet fitting, and look inside for corrosion or sediment. Flush if necessary.
- Test the vent line: A blocked vent prevents the regulator from responding. Blow compressed air through it (away from people) to clear any obstructions.
High Pressure or Pressure Spikes
Symptom: Burner flame is excessively large, or audible "whoosh" when igniting.
Quick checks:
- Verify outlet pressure immediately with a manometer. High pressure can damage equipment and create a safety hazard.
- Check if the downstream equipment (solenoid valve, control module) is holding the regulator outlet closed. This causes the relief valve to activate. Verify that downstream valves open properly when the call for heat is active.
- Inspect the vent line again for partial blockage, which can prevent proper relief valve operation.
Pressure Fluctuations During Operation
Symptom: Pressure drifts up and down, causing flame modulation or instability.
Common causes:
- Undersized regulator: If the regulator's rated capacity is less than system demand, it can't stabilize pressure. Check flow calculations against regulator specs.
- Vent line too small or restrictive: The relief vent needs to pass gas freely. Use 1/4" or larger copper tubing with gentle bends—no kinks.
- Dirty filter regulator: If your system includes a filter-regulator combination, the filter element may be clogged. Replace the cartridge and retest.
- Worn internal components: After 5-10 years of service, the regulator's diaphragm and spring weaken, causing instability. Replacement is often more cost-effective than troubleshooting.
Section 4: Maintenance and Longevity
Scheduled Inspection Protocol
Incorporate these checks into your maintenance visits:
Annual inspection:
- Measure inlet and outlet pressure and compare to equipment specs
- Listen for hissing (indicates a vent leak)
- Inspect all fittings visually for corrosion or damage
- Test downstream equipment response to pressure changes
- Replace inline gas filters to prevent sediment reaching the regulator
- Check the relief valve by gradually increasing inlet pressure and listening for a pop sound—this confirms the relief mechanism is responsive
- Verify vent line routing and ensure it's not blocked or kinked
- Pressure cannot be adjusted to within ±0.5 inch WC of target
- Relief valve won't hold—pressure creeps up even with the adjustment screw backed off
- Visible corrosion on the regulator body or fittings (indicates moisture intrusion)
- Age over 10 years in continuous-use commercial applications (8-10 years is conservative)
Documentation Best Practices
Keep records that include:
- Equipment nameplate and BTU rating
- Regulator model and serial number
- Inlet pressure (recorded at meter or tank)
- Outlet pressure (recorded at test port)
- Adjustment screw position (note if marked with paint for reference)
- Date of installation and any subsequent service
- Any defects or unusual conditions observed
This documentation helps you identify patterns—for instance, if a customer's regulator needs pressure adjustment every visit, replacement may be needed soon. It also protects you if questions arise about system history.
Upgrading Aging Systems
If you encounter older equipment with manual pressure taps and basic regulators, consider recommending an upgrade. Modern regulators with integral safety relief and better diaphragm materials improve performance and reduce maintenance. The initial cost is small compared to the value of better reliability and fewer service calls.
3G Electric's 35+ years of experience serving HVAC contractors means we stock both classic designs for repair work and current models for new installations. Whether you need a precision laboratory-grade regulator like the Francel B25/37mb or standard commercial components, we can help you find the right match for your application.