Understanding Measurement & Detection in HVAC Systems
Measurement and detection systems are the nervous system of modern HVAC installations. They continuously monitor temperature, pressure, and airflow to maintain comfort and efficiency. For Singapore contractors, these systems operate under challenging conditions—high humidity, rapid temperature swings, and salt-laden air near coastal installations.
With over 35 years of experience supplying HVAC equipment across the region, 3G Electric has observed that measurement and detection failures account for roughly 40% of HVAC service calls. Most failures are preventable through proper diagnosis and maintenance.
This troubleshooting guide focuses on the four critical measurement and detection functions in HVAC systems: differential pressure sensing, temperature measurement, system pressure monitoring, and airflow detection. Understanding how these components interact helps contractors identify root causes quickly rather than replacing components unnecessarily.
Section 1: Diagnosing Temperature Probe and RTD Failures
Temperature measurement errors are among the most common issues affecting HVAC system performance. When a building feels too hot or cold despite thermostat settings, the problem often lies with the sensing element rather than the control logic.
Common Temperature Measurement Problems:
- Slow response to setpoint changes – The building takes 30+ minutes to reach target temperature
- Oscillating temperatures – Readings swing ±3°C continuously around setpoint
- Flat-line readings – Temperature sensor shows no variation despite actual room condition changes
- Offset errors – Readings consistently differ from handheld measurement by 2-5°C
The Dwyer Probe AVG PT100 OHM RTD is a reliable choice for HVAC applications, offering ±0.6% accuracy across a wide operating range (-35.5 to +115.5°C). When troubleshooting temperature-related issues, follow this diagnostic sequence:
Step 1: Visual Inspection
Examine the probe installation location. PT100 RTD sensors require proper immersion depth—ideally 5-10 cm of the sensing element must be in contact with the medium being measured. In Singapore's humidity, check for:
- Condensation on connector terminals (indicates need for protective boot)
- Mineral deposits or salt accumulation on the probe tip
- Loose connection at the transmitter terminal block
- Physical damage to the capillary tube connecting sensor to transmitter
Using a digital multimeter, measure resistance at the RTD terminal block:
- At 0°C, a PT100 sensor should read approximately 100 ohms
- At 20°C, approximately 107.8 ohms
- At 50°C, approximately 119.4 ohms
Step 3: Response Time Verification
Apply a known temperature change (ice bath at 0°C or warm water at 40°C) near the probe. The transmitter output should respond within 10-15 seconds for immersion probes. If response takes 60+ seconds, the probe element may be coated with buildup requiring cleaning or sensor replacement.
Step 4: Offset Comparison
Compare RTD readings against a calibrated handheld thermometer placed in the same air stream. A discrepancy exceeding ±1°C suggests drift requiring recalibration or replacement.
Section 2: Pressure Measurement and Differential Pressure Sensor Troubleshooting
Pressure measurement and detection systems monitor filter loading, ductwork static pressure, and refrigerant conditions. Singapore's coastal salt-laden environment accelerates corrosion of wetted surfaces, making pressure measurement failures increasingly common.
Typical Pressure Measurement Faults:
- Erratic readings – Pressure fluctuates wildly despite stable system conditions
- Zero offset drift – Gauge shows 0.5–1.5 mbar even when system is idle
- No response to system load changes – Readings remain flat as fan speed or load varies
- Intermittent signal loss – Transmitter output drops to 4 mA occasionally
The Preciman Stainless Steel Vertical Pressure Gauge D63 provides direct analog indication with ±1.6% accuracy for low-pressure HVAC monitoring. The Dwyer Transmitter 616KD-13V-TC offers electronic detection for 0–1 IN W.C differential pressure.
Diagnostic Procedure for Analog Gauges:
1. Verify Gauge Connection – Ensure the sensing line is not kinked or pinched. Remove blockages by gently flushing with clean mineral oil (not water, which can corrode stainless internals).
2. Check Gauge Damping – Most HVAC gauges include a snubber valve to reduce needle bounce. Verify the snubber is not overtightened (maximum 1 turn after contact). Over-damping causes delayed response; under-damping causes flutter.
3. Assess Mechanical Zero – With the system off and isolation valve open to atmosphere, the needle must rest exactly at zero. If offset, the gauge internal mechanism requires replacement—adjustment is not reliable for ±1.6% accuracy maintenance.
4. Inspect Isolating Blockage – In high-humidity environments, moisture can freeze in the sensing port during early-morning operation. Install a small inline moisture trap or upgrade to a gauge with integrated isolation and snubber like the Preciman model.
Diagnostic Procedure for Electronic Transmitters:
1. Verify Power Supply – The Dwyer 616KD-13V-TC requires stable 13V DC supply with <21 mA draw. Confirm the controller provides 13V ±0.5V at the transmitter terminal. Voltage sag below 12.5V causes erratic output.
2. Test Sensor Isolation – Disconnect one barbed process connection and apply known pressure using a hand pump or compressed air. Output should change proportionally:
- 0 IN W.C input = 4 mA output
- 0.5 IN W.C input = approximately 12 mA output
- 1.0 IN W.C input = 20 mA output
3. Inspect Barbed Connections – The 3–5 mm tubing connections are prone to separation in vibrating installations. Check for:
- Tubing slippage (pull gently; should not move)
- Cracks in tubing from repeated flexing
- Moisture inside the tube (indicates water ingress requiring flushing)
4. Check for Partial Blockage – Dust, refrigerant oil, or mineral deposits partially block the 0.8 mm internal passages in many transmitters. Gently blow clean, dry nitrogen through the sensing ports. Do not use pressurized air or water.
Section 3: Airflow Detection and Flow Probe Diagnosis
Flow measurement failures cause uncomfortable hot and cold spots, energy waste, and system cycling issues. The Dwyer Metal Average Flow Probe MAFS-16 measures static and total pressure across 16 cm of probe length to compute airflow velocity.
Airflow Detection Problem Symptoms:
- Balancing issues – Supply dampers cannot achieve design airflow despite full opening
- Velocity reading faults – Flow control transmitter shows zero velocity despite audible fan noise
- System hunting – Dampers oscillate continuously trying to maintain setpoint flow
- Unreliable turndown – System cannot accurately measure flow at reduced fan speeds
1. Verify Probe Orientation – The probe must face directly into airflow. In ductwork, the probe's total pressure port (typically marked) faces upstream. Misorientation causes 40–60% measurement error. Check installation drawings and realign if necessary.
2. Assess Ductwork Disturbances – Flow probes require stable velocity profiles. If installed within 5 duct diameters downstream of an elbow, ductwork junction, or damper, velocity profile distortion corrupts readings by 15–25%. Recommend relocation 8+ diameters from disturbances, or install flow straightener mesh.
3. Inspect for Blockage – Dust buildup on probe sensing holes restricts airflow, reducing pressure differential and causing low velocity signal. Use a soft brush or compressed air (maximum 3 bar) to clean the probe holes. In Singapore's dusty environment, cleaning should occur every 3 months for frequently operating systems.
4. Check Sensing Line Routing – Long sensing tubing from probe to transmitter introduces lag and damping. Verify:
- Tubing is free of kinks or coils
- No water traps exist in horizontal runs (even small dips cause lag)
- Tubing diameter matches probe barb specification (typically 6 mm)
- Both pressure lines are connected—missing one line causes zero flow reading
5. Validate Differential Pressure – With the flow probe installed and operating at full fan speed, the differential pressure should typically be 5–25 Pa (0.02–0.1 IN W.C). If differential pressure is <2 Pa, the ductwork system is oversized or airflow is severely reduced. If differential pressure exceeds 40 Pa, the probe may be partially blocked.
Section 4: Expansion Tank and System Pressure Detection Integration
Hydraulic HVAC systems (chilled water loops, heating loops) require accurate pressure monitoring. Initial commissioning pressure settings are critical—incorrect pressures cause water hammer, pump cavitation, and expansion tank failure.
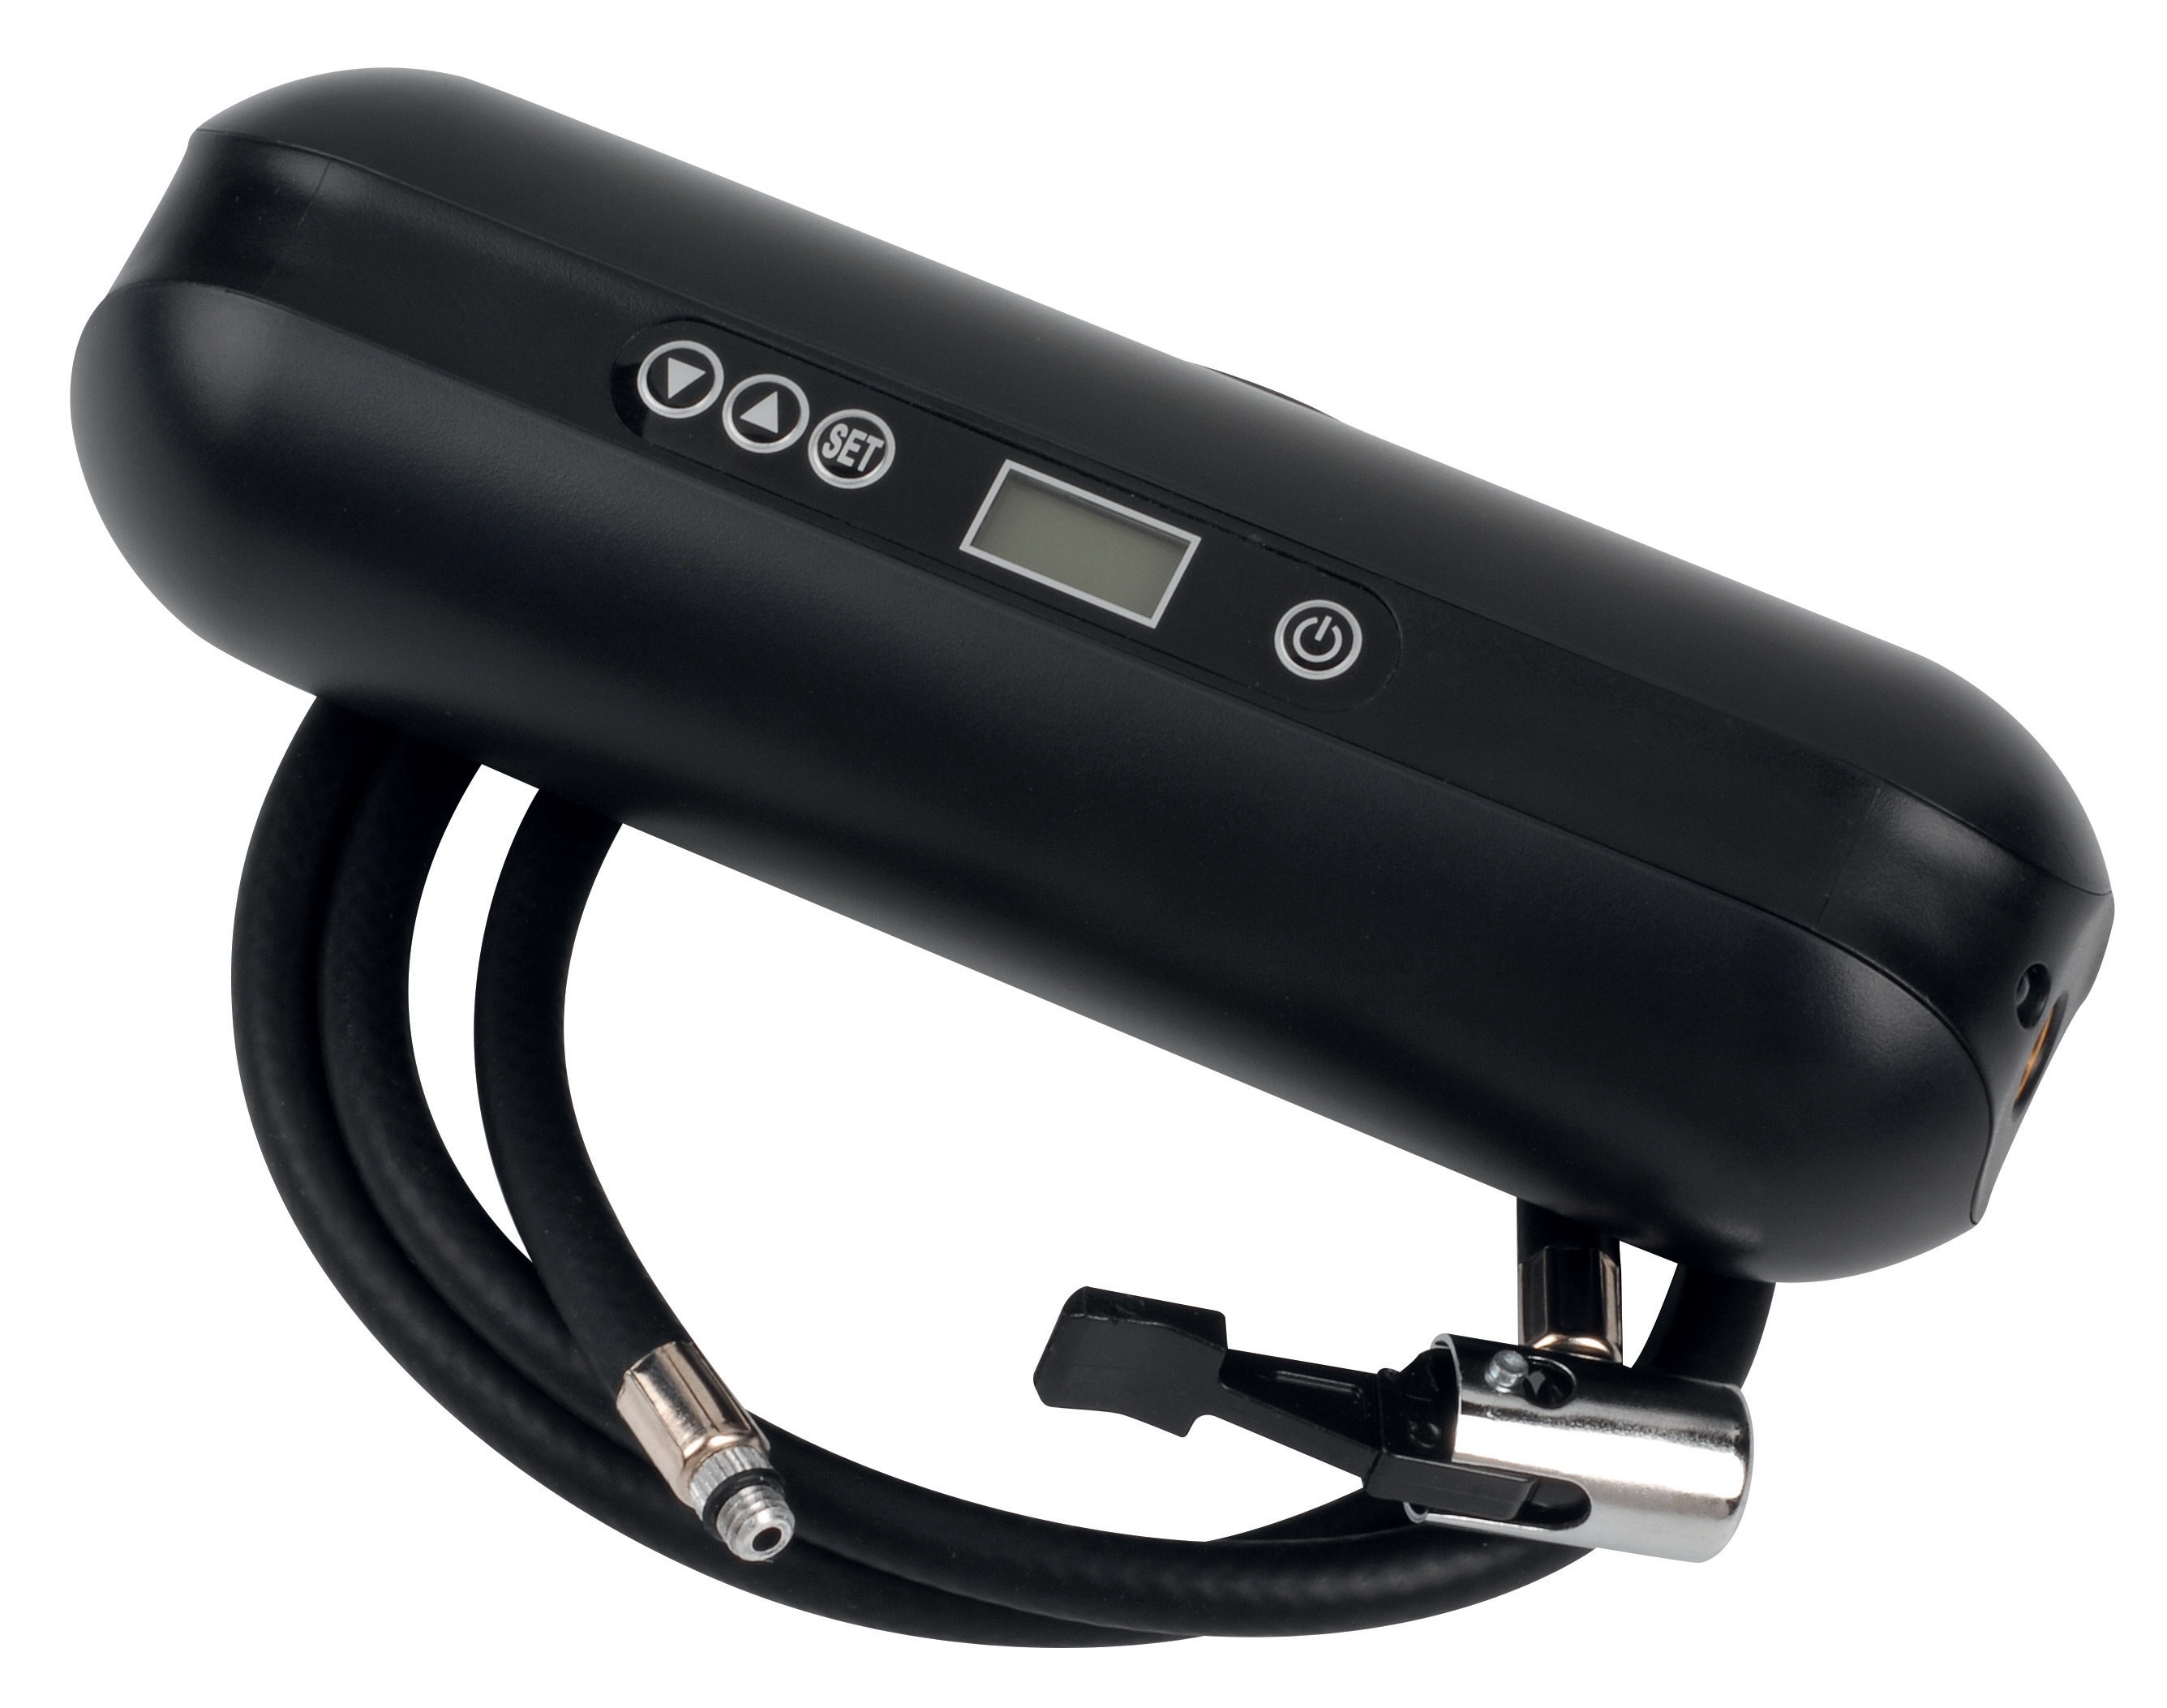
The CBM Expansion Tank Inflator Battery 2000 mAH supports initial system pressurization at 10.3 bar maximum, and helps contractors verify system static pressure in cooling tower and chiller applications.
Pressure Detection Issues in Hydronic Systems:
- Pump cavitation noise – Occurs when static pressure drops below vapor pressure
- Water hammer shock – Sudden pressure spikes when isolation valves close
- Expansion tank precharge loss – System static pressure slowly decreases over weeks
- Gauge fluctuation under load – Pressure bounces ±2–3 bar as pump cycles
1. Verify Static Pressure Setting – With circulating pump OFF and system temperature stable at ambient, measure static pressure at the system isolation valve:
- Minimum static pressure = (water column height in meters × 0.01) + 0.3 bar
- For a 2-meter vertical rise: 0.02 + 0.3 = 0.32 bar minimum
- Add 0.5 bar safety margin → target 0.8–1.0 bar static pressure for most small systems
2. Check Expansion Tank Precharge – Isolation the expansion tank and measure nitrogen pressure with the CBM Inflator. Precharge pressure should equal the minimum static pressure (typically 0.8–1.0 bar). If precharge is missing or low, the tank absorbs expansion volume incorrectly, causing safety relief valve discharge.
3. Inspect Gauge Damping Under Operating Conditions – Start the pump and observe pressure gauge fluctuation:
- Normal fluctuation: ±0.2–0.5 bar
- Excessive fluctuation (>1.0 bar): Indicates cavitation, check for water temperature, pump speed, or air in system
- Continuous climbing pressure during operation: Relief valve malfunction; reduce pump curve or verify system wasn't overfilled
4. Verify Sensor Ranges Match System Design – A pressure transmitter rated 0–10 bar controlling a system operating at 2 bar has poor resolution (2 mA of the 4–20 mA signal spans 0.2 bar). Request transmitter with tighter range (0–5 bar preferred) for better control accuracy.
Maintenance and Prevention Best Practices
For HVAC contractors in Singapore's tropical environment:
- Monthly cleaning – Pressure gauge snubbers and airflow probe sensing holes accumulate dust and salt residue
- Quarterly calibration verification – Compare mounted sensors against handheld calibration standards
- Semi-annual connector inspection – High humidity accelerates terminal corrosion; apply dielectric grease to all sensor connections
- Documentation – Record baseline readings (temperature offsets, zero-pressure readings, expansion tank precharge) during commissioning for rapid fault identification
By systematically working through these measurement and detection diagnostics, contractors avoid costly component replacement and build reputation for reliable troubleshooting. 3G Electric stocks replacement sensors and gauges throughout Singapore—contact our distributor network to confirm availability of the specific models referenced in your systems.