Understanding Gas Valves & Regulation in Industrial Operations
Gas Valves & Regulation systems form the backbone of safe and efficient industrial gas distribution. Whether managing acetylene lines, natural gas feeds, or compressed air systems, plant managers must understand how these components function and where failures commonly occur. Over 35 years supplying industrial equipment across Asia-Pacific, 3G Electric has seen firsthand how proper gas valve maintenance and regulation can prevent emergency shutdowns, safety incidents, and productivity losses.
In Singapore's humid, high-temperature environment, gas valve and regulator performance degrades faster than in temperate climates. Salt air corrosion, condensation buildup, and thermal stress accelerate seal wear and internal component deterioration. This guide equips you with diagnostic procedures to catch problems early and repair strategies to restore safe operation.
Section 1: Identifying Pressure Regulation Failures
Common Symptoms of Regulator Malfunction
Pressure regulation failures manifest in predictable ways. Monitor for these warning signs:
- Outlet pressure drift: Pressure fluctuates without load changes or decreases gradually over hours despite stable inlet pressure
- Hunting or oscillation: Outlet pressure cycles up and down continuously, indicating the regulator cannot stabilize output
- Inability to reach set pressure: Output remains below target even with inlet pressure adequate
- Excessive outlet pressure: Pressure exceeds safe limits, suggesting internal valve damage or seal failure
- Audible hissing or whistling: Indicates gas leakage through seals or vents
- Regulator body frost or condensation: Shows gas is expanding rapidly through internal leakage
Diagnostic Procedure for Pressure Drift
Step 1: Establish baseline readings
Connect a digital pressure gauge to the regulator outlet. Record readings at 15-minute intervals over 2 hours with no demand on the system. Acceptable variance is ±5% of set pressure. Greater drift indicates internal component wear.
Step 2: Test inlet pressure stability
Install a gauge on the inlet side. If inlet pressure is unstable, the regulator cannot compensate—replace the upstream pressure source or check for leaks in supply lines. If inlet is stable but outlet drifts, the regulator internals are failing.
Step 3: Perform the closure test
Close the outlet isolation valve and monitor for pressure drop in the outlet chamber. Any drop indicates the regulator valve seat is leaking. Compare against manufacturer specifications; most designs allow <0.5 bar/hour drop.
Step 4: Inspect for external leaks
Apply soapy water solution around all seams, adjustment screws, and vent ports. Bubbles indicate leakage points. Mark locations for repair planning.
Pressure Regulator Recovery Options
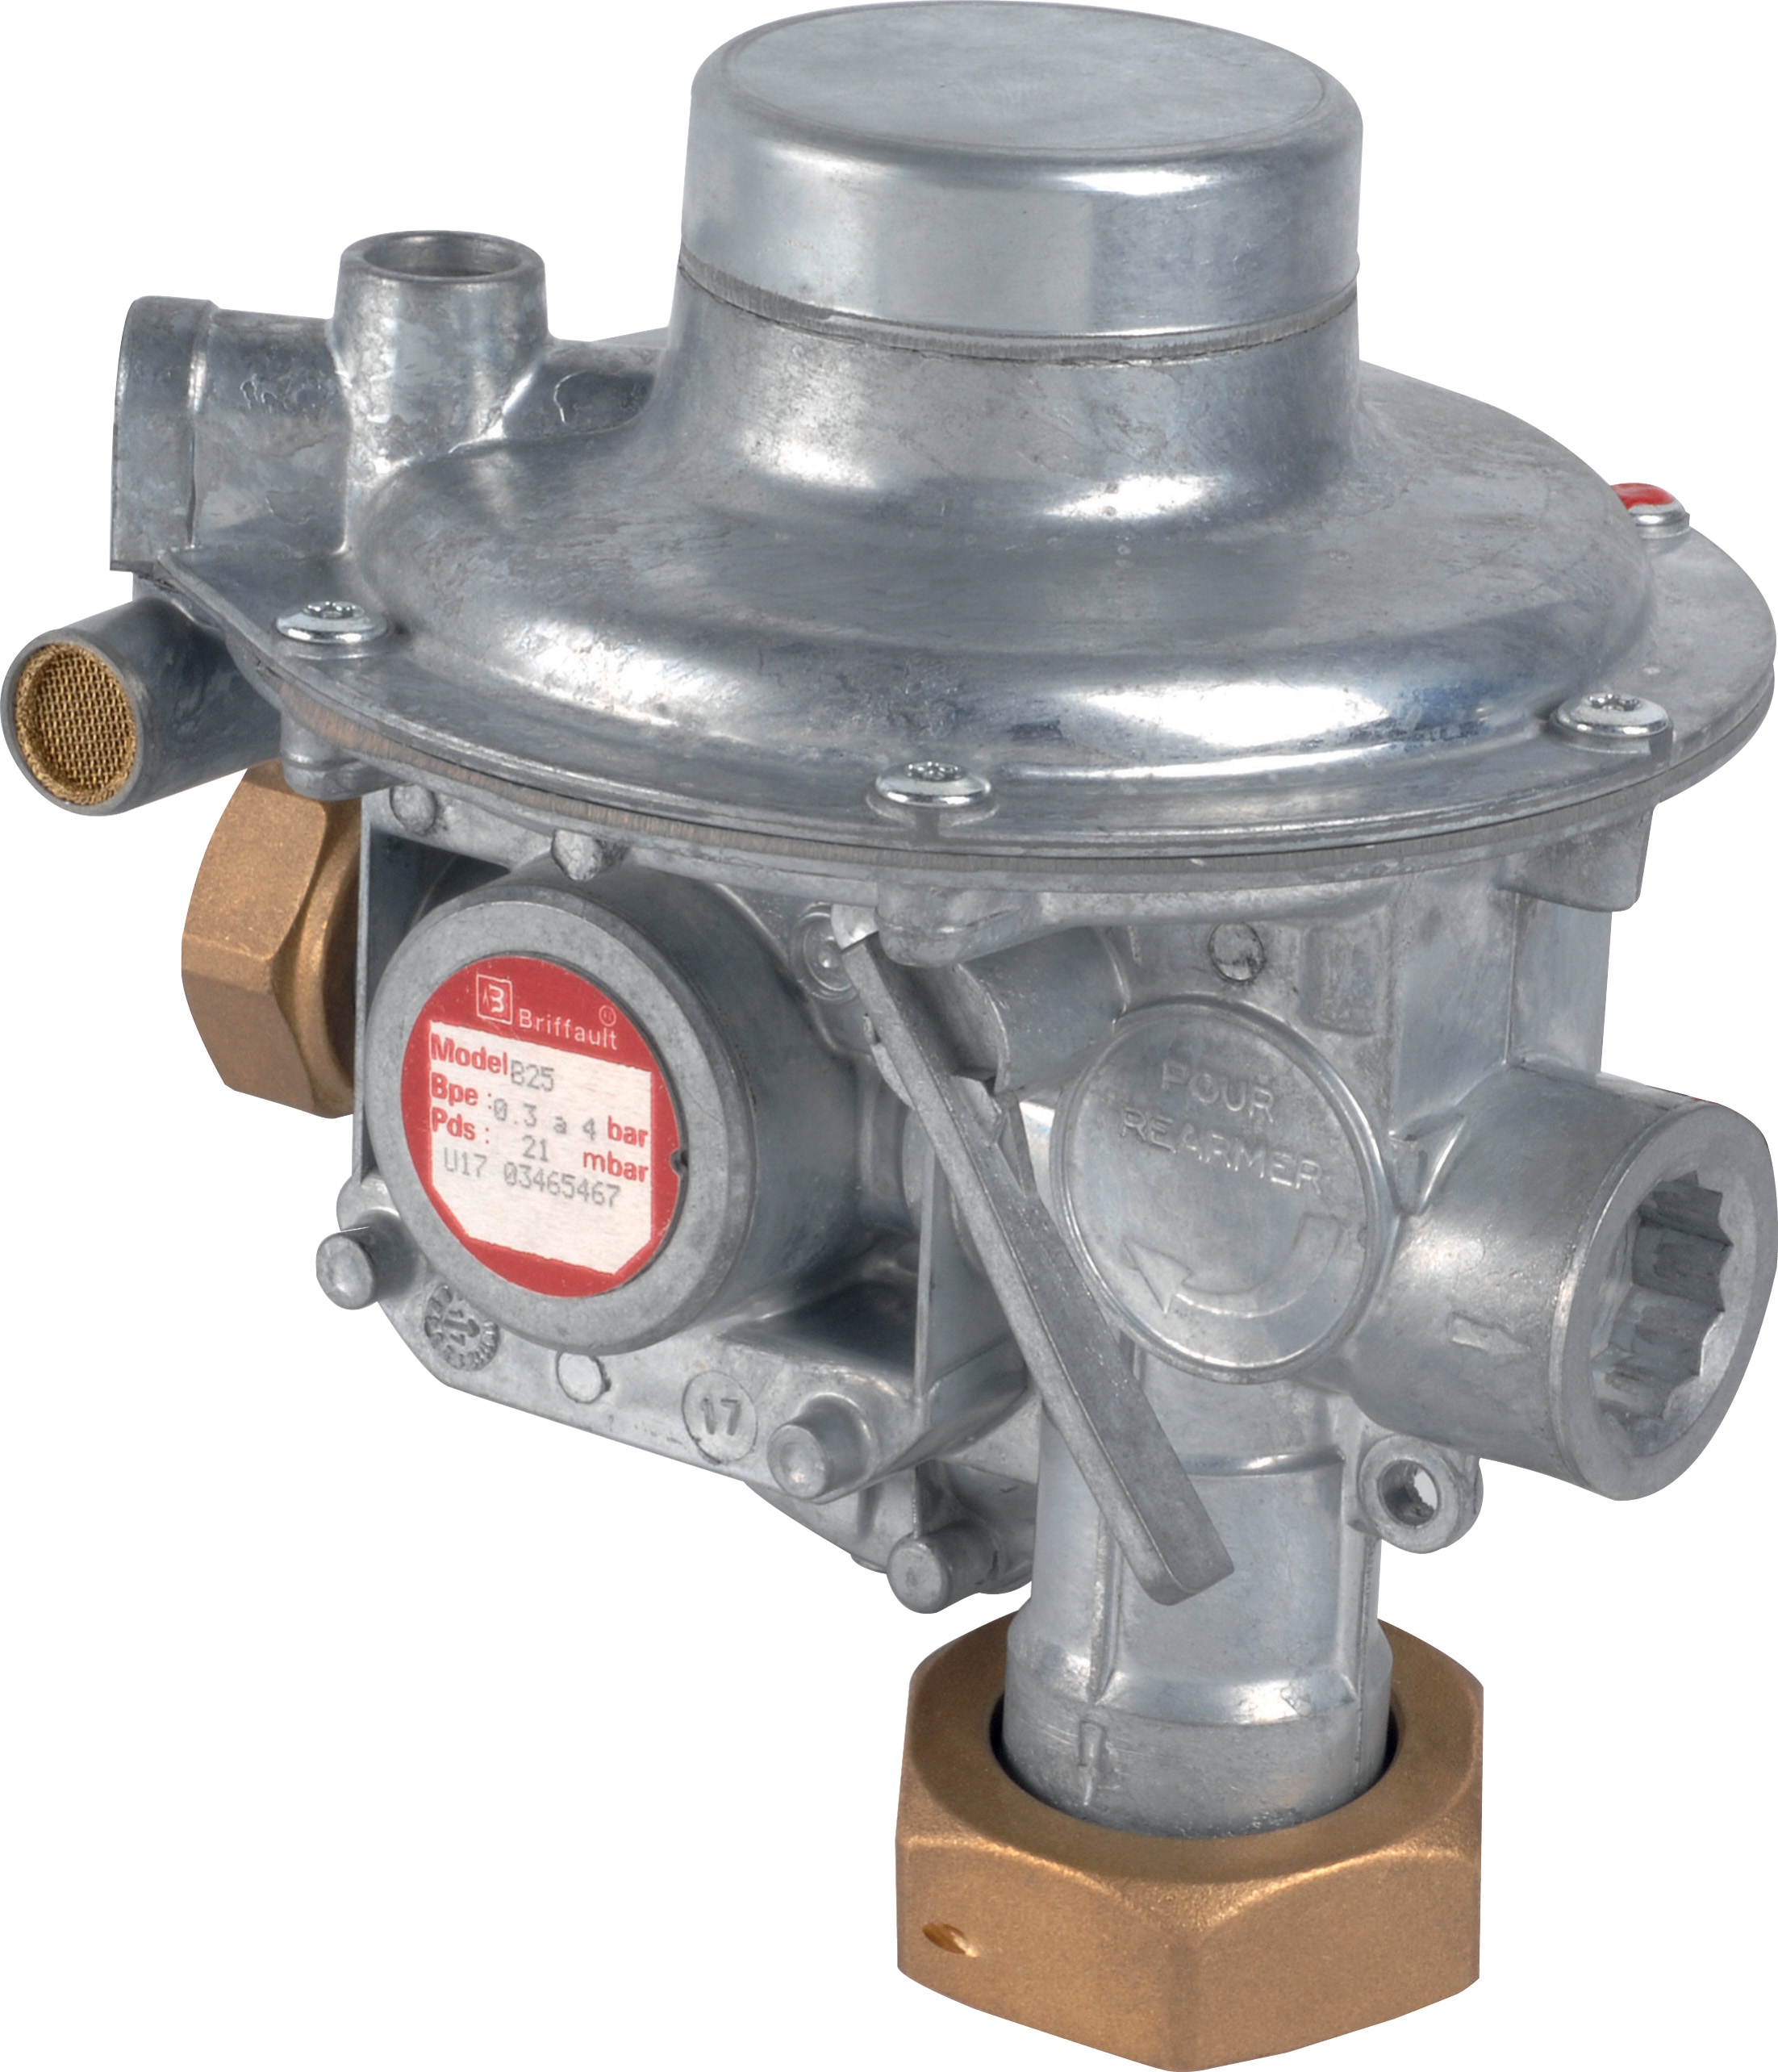
For the Francel B25/37mb with integrated safety relief (Francel B25/37mb pressure regulator), the 37 mbar outlet design requires precise calibration. If drift occurs:
- Gentle cleaning: Turn off supply, depressurize fully, then carefully clean the adjustment stem and internal passages using filtered air. Do not disassemble seals.
- Adjustment verification: Using the adjustment screw, slowly reduce pressure by ¼ turn and observe stabilization over 30 minutes. Over-adjustment causes excessive vent flow.
- Seal replacement: If cleaning fails to restore stability, the diaphragm or seat seals require replacement. Order a complete seal kit to avoid multiple service calls.
Section 2: Diagnosing End-of-Stroke Control and Safety Valve Issues
Understanding End-of-Stroke Contact Functions
End-of-stroke control valves like the Elektrogas VMM 20-25 serve critical safety functions in pneumatic and gas systems. These devices activate at the end of a cylinder stroke or when preset pressure is reached, signaling actuators or triggering safety interlocks. Failure to activate creates dangerous situations where equipment cannot shut down properly.
Symptom Recognition
- No electrical signal at end of stroke: Equipment doesn't stop or alarm fails to activate
- Intermittent signaling: Contact activates unpredictably or requires multiple actuations
- Pressure activation delayed: Safety pressure threshold is reached but contact still closed
- Mechanical sticking: Manual actuation is difficult or requires excessive force
- Solenoid coil nonresponsiveness: Electrical continuity test shows broken coil
Testing Procedure for End-of-Stroke Valves
Step 1: Visual inspection
Examine the valve body for cracks, corrosion, or mechanical deformation. Check that all port connections are secure and free of scale deposits. For the Elektrogas VMM 20-25, verify the adjustment screw (requiring a 3 mm Allen wrench) is not overtightened or loose.
Step 2: Electrical continuity testing
Using a multimeter, measure resistance across the contact terminals. Expected resistance during normal state is typically >1 MΩ (open circuit). During actuation, resistance should drop to <10 Ω (closed circuit). If resistance remains high during actuation, the contacts are dirty or worn.
Step 3: Pressure activation test
Slowly increase system pressure while observing the electrical signal with a multimeter. Record the exact pressure at which the contact closes. Compare against the valve's rated setting (e.g., 6 bar for the VMM 20-25). If activation occurs 0.5 bar or more above rated pressure, internal spring wear or seal degradation is occurring.
Step 4: Manual actuation verification
Manually push the valve plunger or actuator button and listen for a distinct click. The mechanical response must be crisp and immediate. Sluggish response suggests the internal poppet is sticking due to corrosion or deposit buildup.
Recovery and Adjustment Strategies
For minor contact contamination, careful dry-brush cleaning of the contact surfaces with a soft brush may restore function. For the Elektrogas VMM 20-25:
- Turn system pressure to zero and close isolation valves
- Locate the 3 mm adjustment socket on the valve body
- Turn ¼ rotation counterclockwise to reduce activation pressure if it's drifting high
- Retest pressure activation
- Never force the adjustment beyond ½ turn in either direction
If contacts remain intermittent after cleaning or adjustment exceeds safe limits, replace the valve. Contact degradation is irreversible and poses safety risks.
Section 3: Seal Integrity, Leakage Diagnosis, and Preventive Maintenance
Why Seal Failures Accelerate in Tropical Climates
Singapore's environment—high humidity, salt-laden air, and temperatures consistently above 28°C—aggressively attacks gas valve seals. Elastomer compounds (nitrile, viton) absorb moisture, swell, and lose elasticity. Corrosion deposits scratch seal surfaces, creating micro-channels for gas leakage. Unlike temperate regions where seals may last 5 years, Singapore installations often require replacement every 2–3 years.
Systematic Leakage Detection Protocol
Visual inspection phase
Examine all valve connections, adjustment stems, and union fittings for:
- Condensation or frost on metal surfaces (indicates rapid gas expansion through leaks)
- Discoloration or salt deposits around fitting threads
- Obvious cracks or pinhole defects in valve body
Mix water with a small amount of dish soap to create a bubble solution. Apply liberally to suspected leak points:
- Diaphragm seams and edges
- Adjustment screw penetrations
- All threaded connections (use a thread sealant tape check—look for degraded tape)
- Vent port openings
Bubbling indicates active leakage. Mark each location with a waterproof marker. Even small bubbles demand attention, as they worsen under pressure and thermal cycling.
Pressure drop testing
Isolate the valve between two shutoff blocks. Pressurize to rated working pressure and close both isolation valves, trapping gas in the valve. Record outlet pressure immediately and at 1-hour intervals. Industry standard allows <10% pressure loss per 24 hours for general duty valves. Exceed this and internal seals are failing.
Leak Location-Specific Remedies
Stem leaks (adjustment screw area)
Often caused by over-tightening during previous maintenance. Turn off supply, depressurize, then use an adjustable wrench to tighten the packing nut ¼ turn. Retest. If leakage persists, the stem packing requires replacement—order a maintenance kit from your distributor.
Union fitting leaks
These are the most common external leaks. Turn off supply and depressurize fully. Using two wrenches (one to hold the valve body, one on the fitting), loosen the union ¼ turn and retighten firmly. Often the connection was not sealed properly initially. If tightening fails, disconnect the union, inspect the ferrule for scratches or corrosion, and replace if damaged. Reassemble with fresh thread sealant tape (at least 3 wraps, applied clockwise).
Vent port leaks
The Francel B25/37mb includes a 10 mm vent size for safety relief discharge. If you observe leakage or hissing from the vent, it indicates the relief valve is opening—pressure is too high. This is actually the safety feature functioning correctly, but it signals an outlet pressure control problem (address using Section 1 procedures). Do not block or plug the vent port.
Preventive Maintenance Schedule for Singapore Plants
- Monthly: Visual inspection and soap solution testing of all external connections
- Quarterly: Pressure drop testing and comparison against baseline readings
- Semi-annually: Complete adjustment stem and packing nut inspection; replace thread sealant tape on all unions
- Annually: Send regulator to certified service center for internal seal inspection and replacement if wear is detected
- As-needed: After any pressure spike or system emergency shutdown, inspect and test immediately
Section 4: Troubleshooting Flow Anomalies and System Integration Issues
Understanding Flow-Pressure Relationships
Plant managers often confuse pressure regulation with flow control. A regulator maintains stable outlet pressure regardless of demand. However, downstream obstruction, undersized piping, or filter saturation creates false pressure drops that appear to be regulation failures.
Key diagnostic principle: If outlet pressure is stable and correct, but equipment downstream is underperforming, the problem is NOT the regulator.
Flow Problem Diagnosis Tree
Is outlet pressure correct and stable?
- YES → Problem is downstream of the regulator. Proceed to Step 2.
- NO → Pressure regulation is failing. Return to Section 1 procedures.
Physically open each valve by turning the handle parallel to the pipe. Some operators partially close valves during low-demand periods and forget to reopen them. This is the most common "regulator failure" our service team encounters.
Is the outlet filter/strainer clean?
Locate the filter element (typically located immediately after the regulator). If you observe condensation on the filter bowl or the system pressure drops significantly from regulator outlet to equipment inlet, the filter is saturated. Drain the filter bowl and replace the element. Moisture accumulation is severe in Singapore; monthly filter inspections are prudent.
Check for ice or hydrate formation
When gas expands rapidly (especially at high regulator outlet flow rates), pressure drop causes cooling. Water vapor in the gas can freeze or form solid hydrates that block passages. This appears as sudden pressure loss after periods of heavy use. Remedy: Install a water removal filter upstream of the regulator and ensure adequate inlet air drying.
Measure actual flow rate
Connect a calibrated flow meter to the regulator outlet with the system at normal operating pressure. Compare actual flow to equipment manufacturer specifications. If actual flow is 20% or more below specification despite correct pressure, internal regulator ports are partially blocked. This requires professional cleaning or replacement.
Integration Testing After Repairs
Once you repair or replace a gas valve or regulator, never return the system to full operation without verification:
1. Pressure verification: Confirm outlet pressure at regulator matches system design specification
2. Safety relief test: Slowly increase pressure beyond the set point (if the regulator has integrated relief) and confirm relief venting occurs within 10% of rated pressure
3. Load test: Operate downstream equipment for 30 minutes at normal demand and verify pressure remains stable within ±5%
4. Documentation: Record baseline pressure and flow readings in your maintenance log for comparison during future diagnostics
Recommended Valve and Regulator Solutions from 3G Electric
With over 35 years of experience supplying industrial equipment throughout Asia-Pacific, 3G Electric maintains a curated inventory of gas valves and regulators proven in tropical environments. For Singapore operations:
- The Francel B25/37mb pressure regulator delivers reliable laboratory and industrial gas distribution with integrated safety relief, ideal for precise pressure applications requiring 37 mbar outlet stability
- For pneumatic end-of-stroke control requiring EN 161 compliance, the Elektrogas VMM 20-25 end-of-stroke contact valve at 6 bar rated pressure provides dependable signal activation with simple 3 mm Allen wrench adjustment
- High-pressure applications benefit from Italian-engineered Pratissoli valve and hose assemblies, with complete fittings for plug-and-play integration: Pratissoli ZT06B1000353, Pratissoli ZT03A0200152, and Pratissoli ZT04A0100202 systems
3G Electric's technical team can assess your specific system requirements and recommend the right components for Singapore's challenging climate conditions.
Final Recommendations
Gas valve and regulation failures need not surprise plant managers who establish systematic diagnostic and maintenance routines. The procedures outlined above—pressure drift testing, seal integrity verification, and flow anomaly diagnosis—require only basic tools and 30–60 minutes of technician time but prevent the 8–16 hour emergencies that disrupt production.
Begin by documenting baseline pressure and flow readings for every regulator in your facility. Perform monthly soap solution inspections and quarterly pressure drop tests. When symptoms appear, refer to this guide's diagnostic tree rather than replacing components randomly. Nine times out of ten, the problem is a loose connection, saturated filter, or minor seal degradation—not a failed regulator requiring replacement.
For technical support or to discuss your specific gas system challenges, 3G Electric's equipment specialists are available to review your application requirements and recommend solutions matched to Singapore's industrial environment.
