Introduction: Why Controls & Safety Diagnostics Matter for Maintenance Teams
Controls & Safety systems represent the critical intersection where equipment functionality meets operational security. For maintenance teams managing industrial equipment across multiple facilities, understanding how to systematically diagnose control failures—rather than simply replacing components—separates reactive maintenance from predictive excellence.
3G Electric's 35+ years of experience distributing industrial equipment globally has revealed a consistent pattern: most unplanned shutdowns stem not from component failure, but from inadequate diagnostic procedures during preventive maintenance. When maintenance teams lack structured testing protocols, they either over-replace functional components (inflating costs) or under-diagnose latent failures (risking safety incidents).
This guide addresses the critical gap between understanding what Controls & Safety components do and knowing how to verify they're functioning correctly in the field.
Section 1: Systematic Testing Protocols for Control Circuits
Pre-Diagnostic Visual Inspection
Before introducing electrical testing equipment, implement a visual assessment checklist:
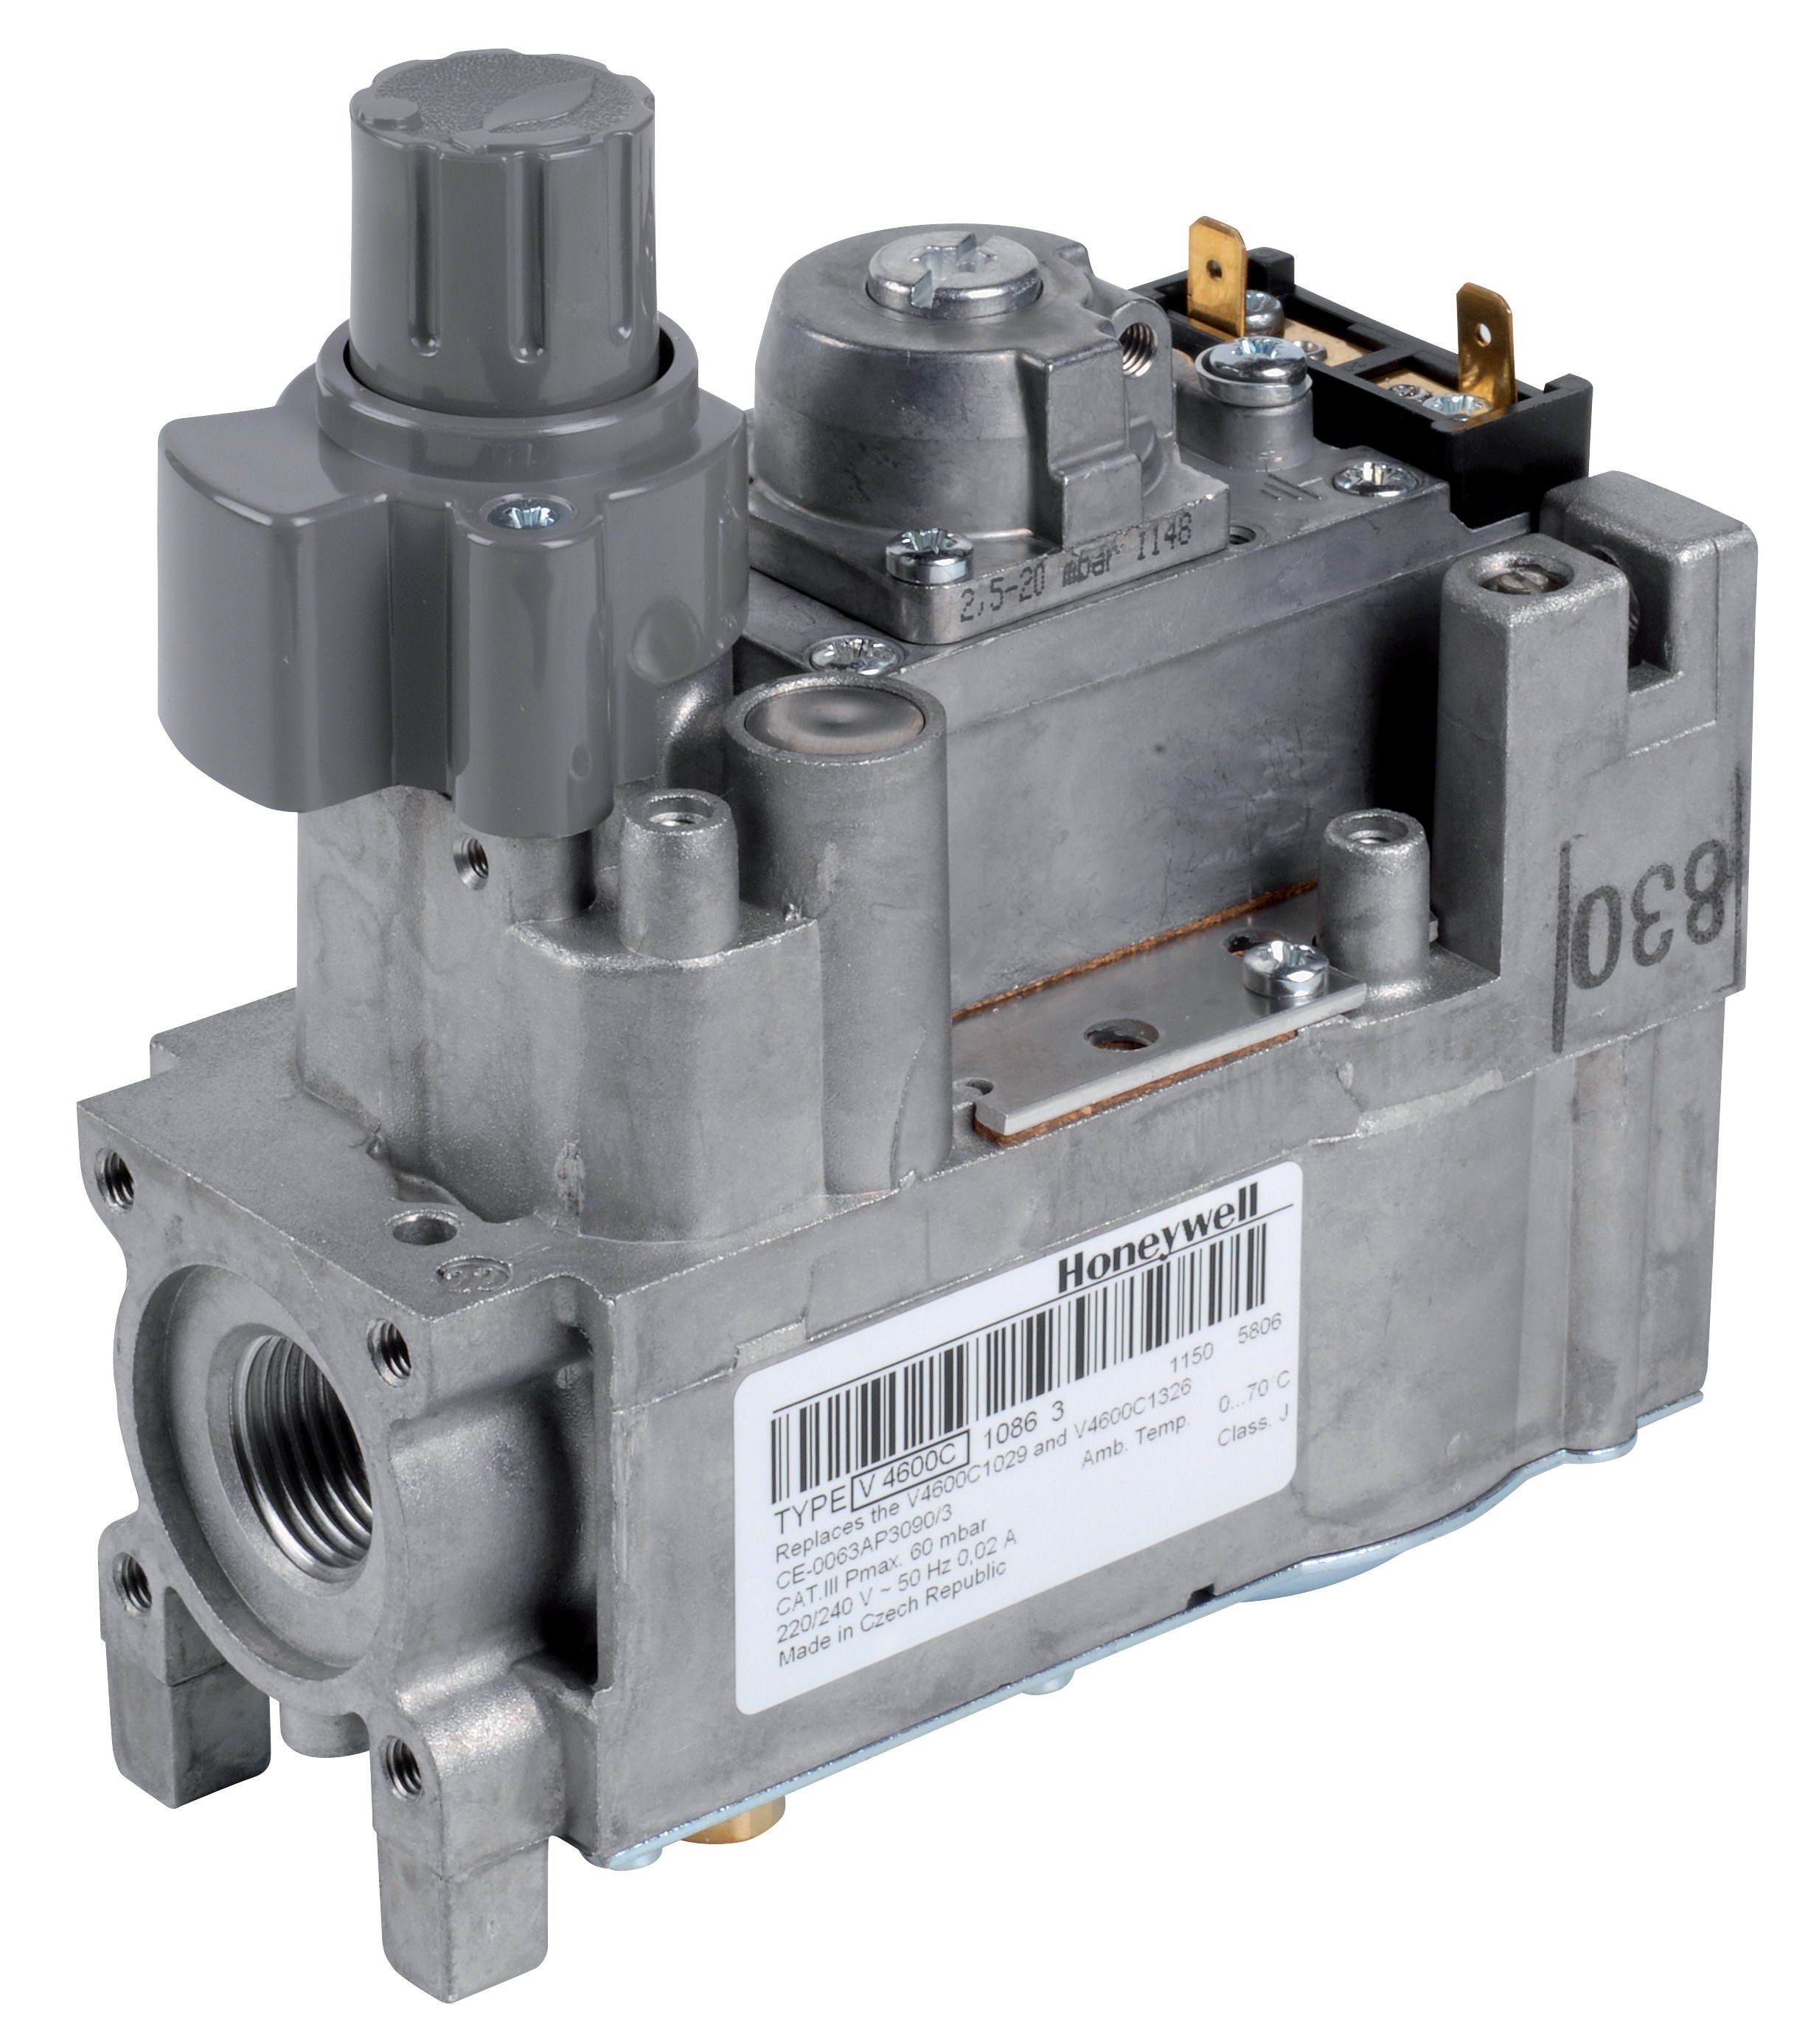
- Connector condition: Inspect all solenoid valve connections for corrosion, pitting, or loose terminals. CBM solenoid valves like the VCS 1E25R/25R05NNWL3 double solenoid valve operate reliably only when electrical connections maintain consistent contact resistance below 0.5 ohms.
- Relay contact surfaces: Examine relay contacts for oxidation or welding. The CM391.2 relay contacts should show clean, bright surfaces. Darkened or pitted contacts typically indicate improper load specification rather than relay failure.
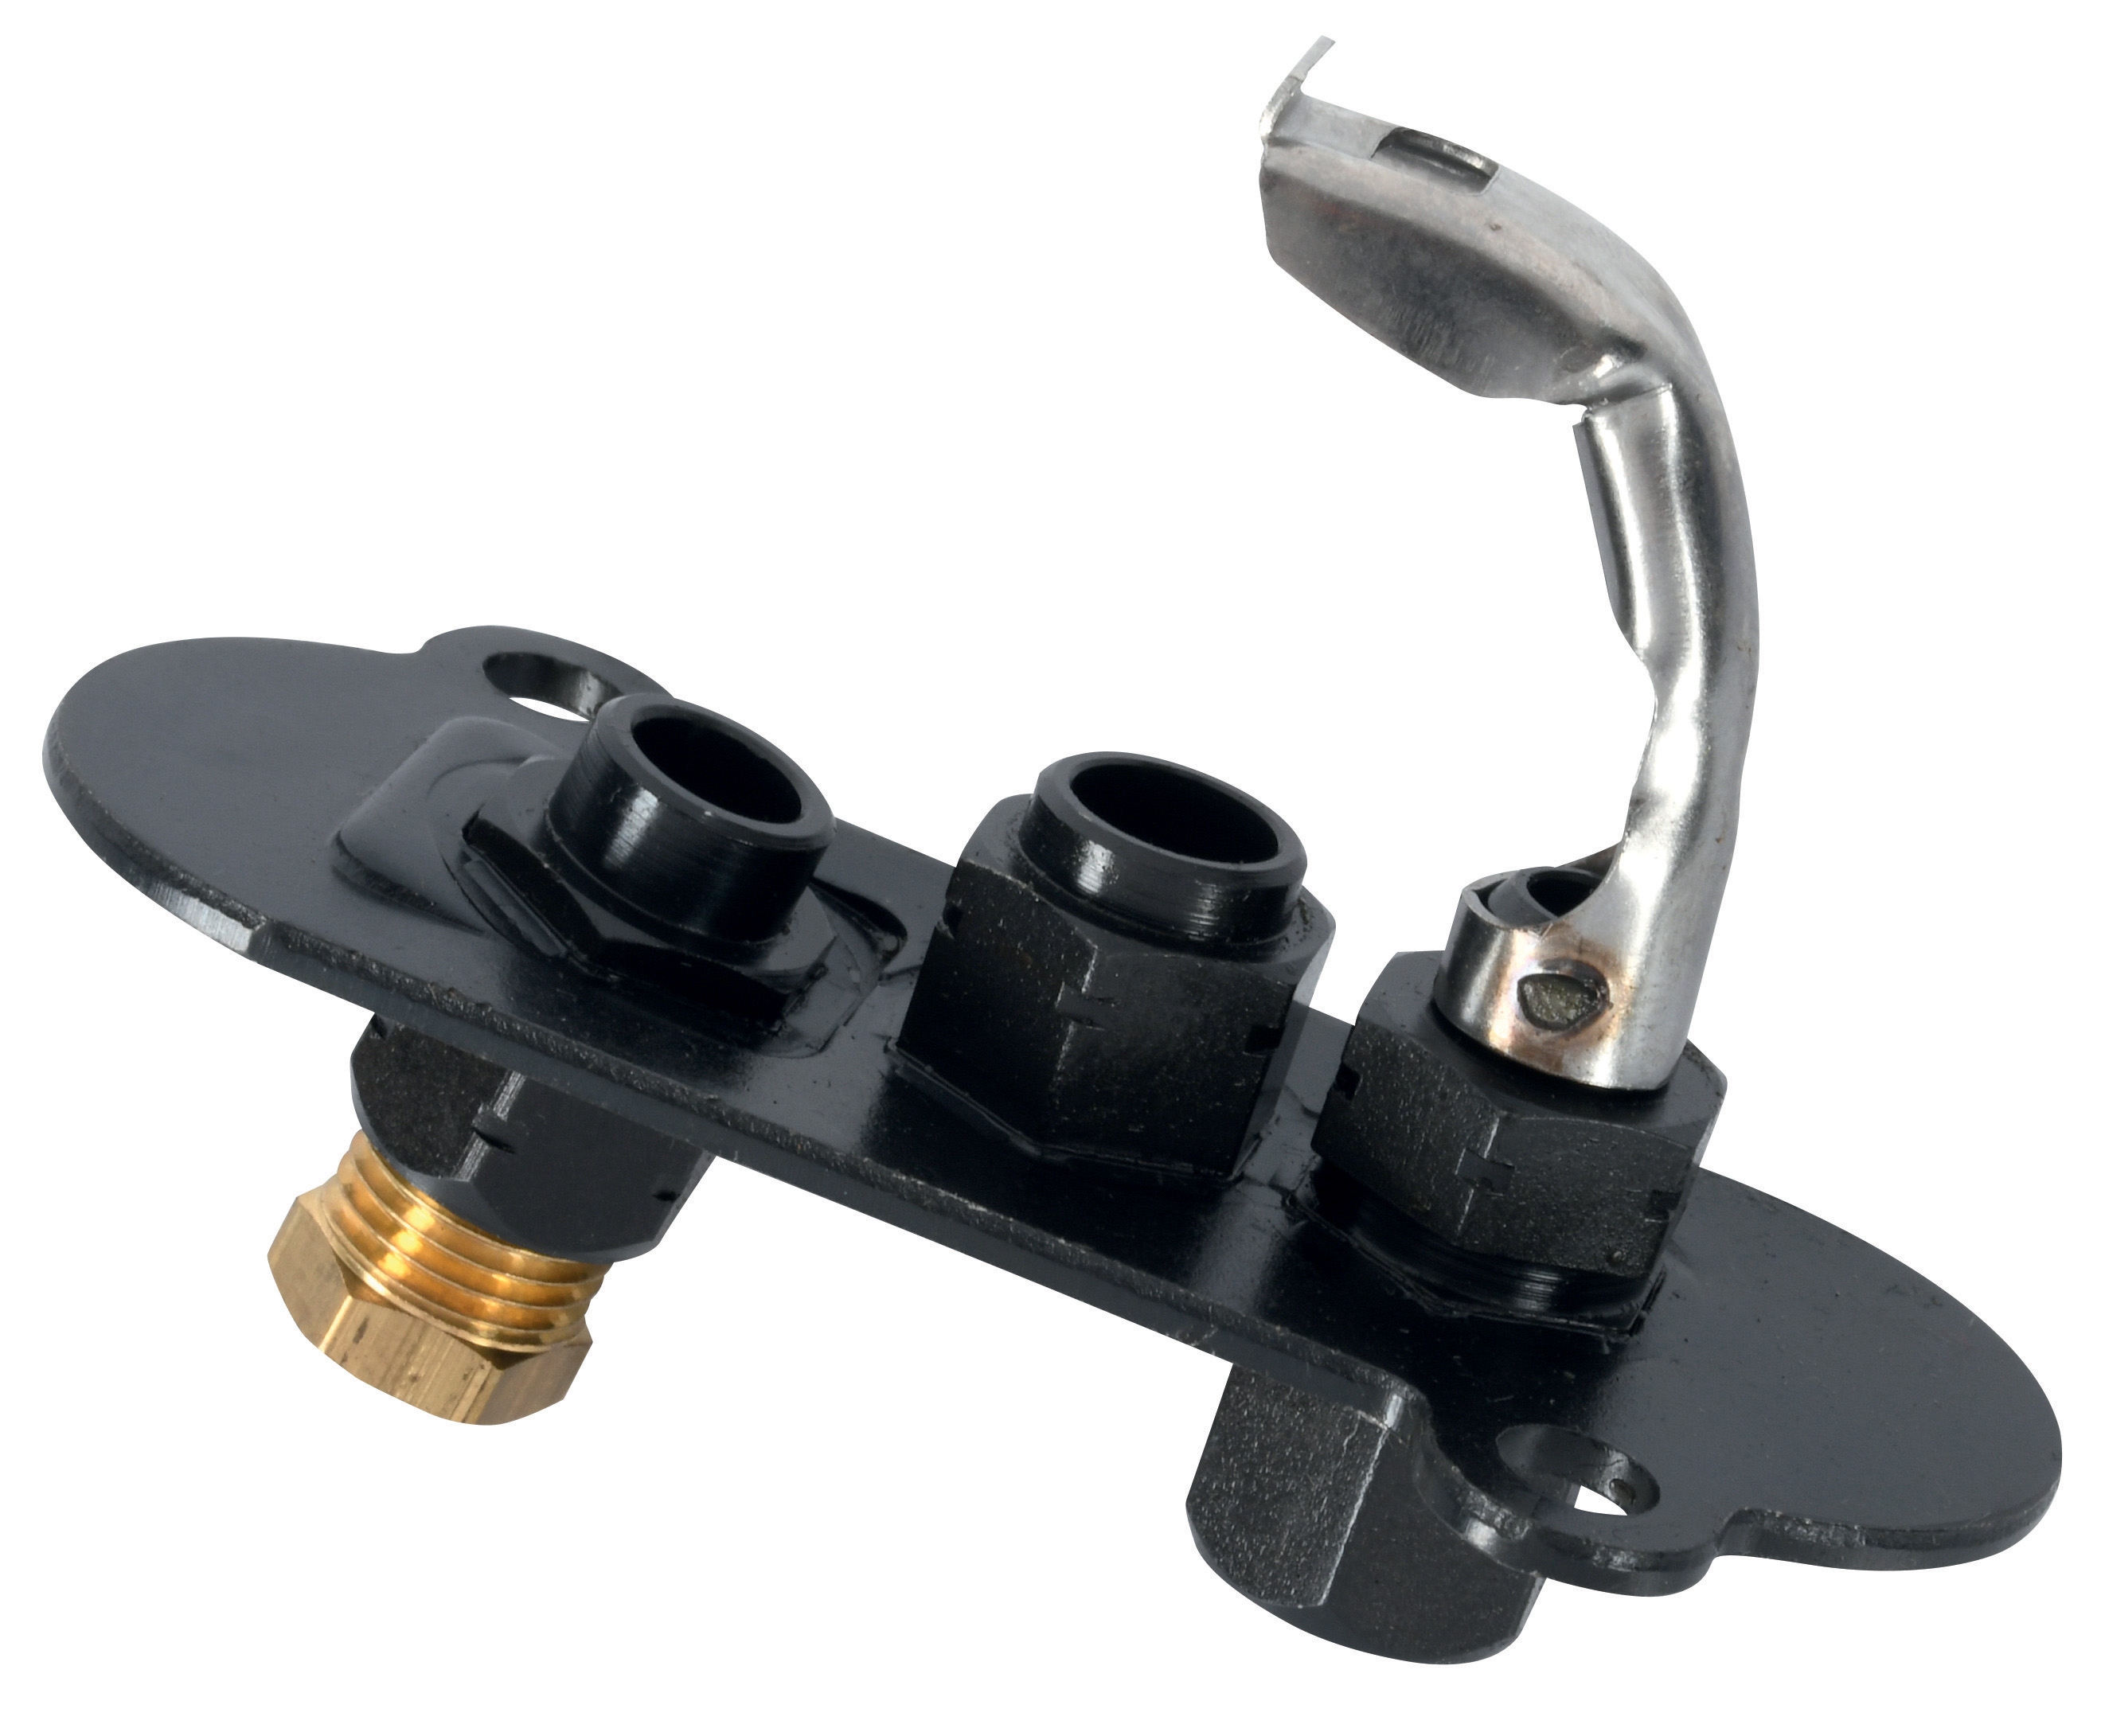
- Pilot light integrity: Verify that pilot lights like the 1-flame pilot light 0.150.082 show clear, unobstructed flame observation windows. Discolored or cloudy windows reduce visibility and compromise safety monitoring.
- Wiring insulation: Check for cracks, brittleness, or heat damage on all control wiring, particularly near high-temperature zones.
Voltage Measurement at Control Points
Establish a three-point voltage verification protocol:
Point 1—Control Input Verification: Measure voltage at the relay coil input terminals under normal operating conditions. Record baseline voltage (typically 24V DC for most industrial controls). Voltage fluctuations exceeding ±10% indicate upstream supply issues rather than control component problems.
Point 2—Solenoid Valve Energization: With the system in normal operation mode, measure voltage across solenoid terminals. The double solenoid valve requires stable voltage within manufacturer specifications. Voltage present but below 18V DC typically indicates coil resistance buildup from mineral deposits rather than electrical failure—suggesting descaling rather than replacement.
Point 3—Relay Output Confirmation: After relay activation, verify output voltage at the load-side terminals. This confirms the relay contacts are closing under load, distinguishing relay failure from upstream signal failures.
Continuity Testing Under Load Conditions
Standard ohmmeter testing provides incomplete information. Implement load-based continuity testing:
1. Energize the control circuit through normal operation (don't force energization)
2. While the circuit is actively engaged, measure continuity across critical junctions
3. Record baseline resistance values during this "hot" test
4. De-energize and measure again to establish deviation patterns
This approach reveals contact resistance degradation that static testing misses. A relay showing 0.1 ohms during static testing but 2.5 ohms under load requires replacement; static testing alone would suggest functionality.
Section 2: Solenoid Valve Diagnostic Workflows
Identifying True Solenoid Failure vs. Secondary Issues
The CBM double solenoid valve uses a robust design, but maintenance teams often misdiagnose failure causes. Implement this decision tree:
Symptom: Valve doesn't energize when commanded
- Test 1: Confirm 24V DC present at solenoid terminals (voltage present/not present)
- If voltage absent → troubleshoot upstream relay circuit
- If voltage present → Test 2: Measure coil resistance (typical: 250-350 ohms for this model)
- If resistance within specification → mechanical obstruction likely (mineral buildup in orifice)
- If resistance out of specification or infinite → coil failure confirmed
Before replacement, perform a manual override test:
- Locate the manual override (typically a small lever or button)
- Manually actuate the valve while monitoring fluid flow
- If manual override opens the valve → electrical control functioning; mechanical obstruction present
- If manual override fails → internal sealing surfaces damaged; replacement required
- Close the isolation block and allow internal pressure to equilibrate (30 seconds)
- Measure pressure decay over 60 seconds using the gauge taps
- Decay exceeding 5% indicates worn sealing surfaces; replacement necessary
- Decay under 2% suggests external leak; inspect piping connections first
Component Mounting Verification
The CBM Base LGK AGM17 provides proper mounting for relay modules. Improper mounting causes intermittent failures that appear random:
- Verify the base mounting bolts torque to specification (typically 6-8 Nm)
- Confirm gasket sealing surfaces are clean and undamaged
- Test continuity between the base ground lug and system ground (should show zero resistance)
- Vibration-induced loosening is common in equipment near rotating machinery; add lock washers during reassembly
Section 3: Relay Testing and Troubleshooting
Relay Coil Validation
The CM391.2 relay represents a critical control component. Validate coil integrity through these measurements:
Cold Resistance Test (de-energized state):
- Measure coil resistance between coil terminals
- Record value and compare to nameplate specification
- Values within ±5% of nameplate indicate coil integrity
- Values outside this range suggest winding damage; mark for replacement
- With coil energized at nominal voltage, listen for audible "click" confirming magnetic engagement
- Use an ohmmeter on the secondary contacts while coil is energized
- Verify contacts transition from open to closed state (0 ohms) upon energization
- If coil energizes but contacts fail to close, mechanical binding or broken armature linkage present
Contact Surface Assessment
Relay contact condition directly impacts control reliability:
- Clean contacts: Bright, shiny surfaces; zero resistance between contact points
- Oxidized contacts: Dull gray or black appearance; measure 0.5-2.0 ohms resistance even when closed
- Welded contacts: Appears fused; resistance approaches zero (seems good) but prevents opening; manually separate if possible or replace
- Pitted contacts: Small craters visible under magnification; indicates arcing from switching loads exceeding rated capacity
Oxidized contacts frequently respond to careful cleaning with fine (400-grit) sandpaper. Welded or heavily pitted contacts require replacement. Contact maintenance extends relay life by 2-3 years in harsh environments.
Load-Side Performance Verification
After confirming coil and contact integrity, verify the relay successfully controls its intended load:
1. Command relay energization through normal control logic
2. Measure voltage at the load terminals (should equal supply voltage when relay closed)
3. If voltage present but load doesn't respond → load circuit issue, not relay failure
4. If voltage absent when relay energized → contact resistance exceeds load tolerance; prepare for replacement
Section 4: Pilot Light Systems and Safety Indicator Maintenance
Flame Observation and Visual Confirmation
Pilot lights like the 1-flame pilot light 0.150.082 and 0140026 model serve dual purposes: confirming fuel supply and indicating system readiness. Maintenance teams often treat these as cosmetic components, but flame characteristics provide critical diagnostic information:
Healthy pilot flame characteristics:
- Blue color (indicates complete combustion)
- Stable, non-flickering appearance
- Flame height consistent with design specification
- Observes a steady pattern with no surging or collapse
- Yellow/orange flame: Incomplete combustion; typically indicates air-to-fuel ratio imbalance or dirty burner orifice
- Flickering flame: Gas pressure fluctuation, usually from regulator drift or partial obstruction
- Weak/diminished flame: Reduced fuel supply; check upstream isolation valve position and fuel tank level
- Flame lifting off burner: Excessive combustion air; adjust air intake dampers
Pilot Light Component Replacement Sequence
When pilot lights fail to ignite:
1. Verify fuel supply: Check that fuel shut-off valve is fully open and fuel supply pressure is present
2. Confirm ignition source: If electronic ignition, verify electrode produces spark (audible click)
3. Inspect the pilot burner orifice: Most failures stem from mineral or debris obstruction, not component failure
4. Test ignition electrode-to-burner spacing: Should be 3-5mm depending on design; adjust as needed
5. Replace pilot light assembly only after: Fuel supply confirmed, ignition source verified, and burner cleaned
Safety Interlocks Linked to Pilot Lights
Pilot flame detection integrates directly with control safety logic:
- Many control systems activate a flame-sensing electrode that generates micro-amperage current when a flame is present
- Loss of pilot flame causes this current to drop, triggering shutdown circuits
- Maintenance teams must verify the sensing electrode continuously detects the pilot flame during normal operation
- Monthly verification: With the system operating normally, briefly shield the pilot flame from the sensing electrode (non-contact method); the burner should shut down within 5 seconds, confirming safety logic integrity
Section 5: Preventive Maintenance Scheduling and Documentation
Quarterly Control System Audit
Establish a standardized quarterly procedure:
Month 1 (Visual Inspection Phase):
- Inspect all connectors, relay terminals, and valve terminals for corrosion
- Check pilot light observation windows for clarity
- Document any discoloration, pitting, or burn marks
- Perform voltage measurements at the three control points identified in Section 1
- Test relay coil resistance and contact continuity
- Verify solenoid valve coil resistance
- Document all values and compare to previous quarter
- Conduct load-based continuity testing on relays
- Test solenoid valve manual overrides
- Verify pilot light ignition and flame characteristics
- Document any deviations from baseline conditions
Baseline Documentation Requirements
Maintenance teams should establish baseline measurements during the first audit cycle:
- Record all voltage readings at normal operating conditions
- Document relay and solenoid coil resistance values
- Photograph connector conditions and contact surfaces
- Note pilot light flame height and color
- Establish pressure decay rates for solenoid valves
These baselines enable trending analysis. A 15% increase in relay coil resistance between quarters indicates coil degradation; a 10% voltage drop at solenoid terminals suggests supply-side deterioration. Trending detects problems weeks before failure occurs.
Conclusion: Integrating Diagnostics into Your Maintenance Culture
Controls & Safety systems fail predictably when diagnostic protocols remain absent. 3G Electric's three decades of equipment distribution confirms that maintenance teams equipped with systematic testing procedures achieve 40-60% reduction in unplanned shutdowns and extend component life by 2-3 years through early problem detection.
The diagnostic workflows outlined here—from visual inspection through load-based testing—provide maintenance teams with actionable protocols that transform Controls & Safety troubleshooting from guesswork to precision engineering. By implementing quarterly audits with baseline documentation and trending analysis, your team transitions from reactive replacement to predictive maintenance excellence.
Start with visual inspection protocols this quarter, add voltage verification next quarter, and integrate functional testing in the third quarter. This phased approach allows your team to build expertise systematically while immediately reducing failures. 3G Electric's technical support team stands ready to assist with field validation of these procedures and to supply tested replacement components when diagnostics confirm component failure.