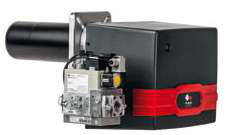
Understanding Burners & Combustion System Architecture
Burners & Combustion systems are far more complex than the burner unit alone. They represent an integrated ecosystem of components working in synchronized harmony. As an experienced global distributor since 1990, 3G Electric has observed that most maintenance failures stem not from the burner itself, but from misunderstandings about how control components, flame detection systems, and safety relays interact.
A complete burner installation consists of:
- The burner unit (the combustion chamber and fuel delivery mechanism)
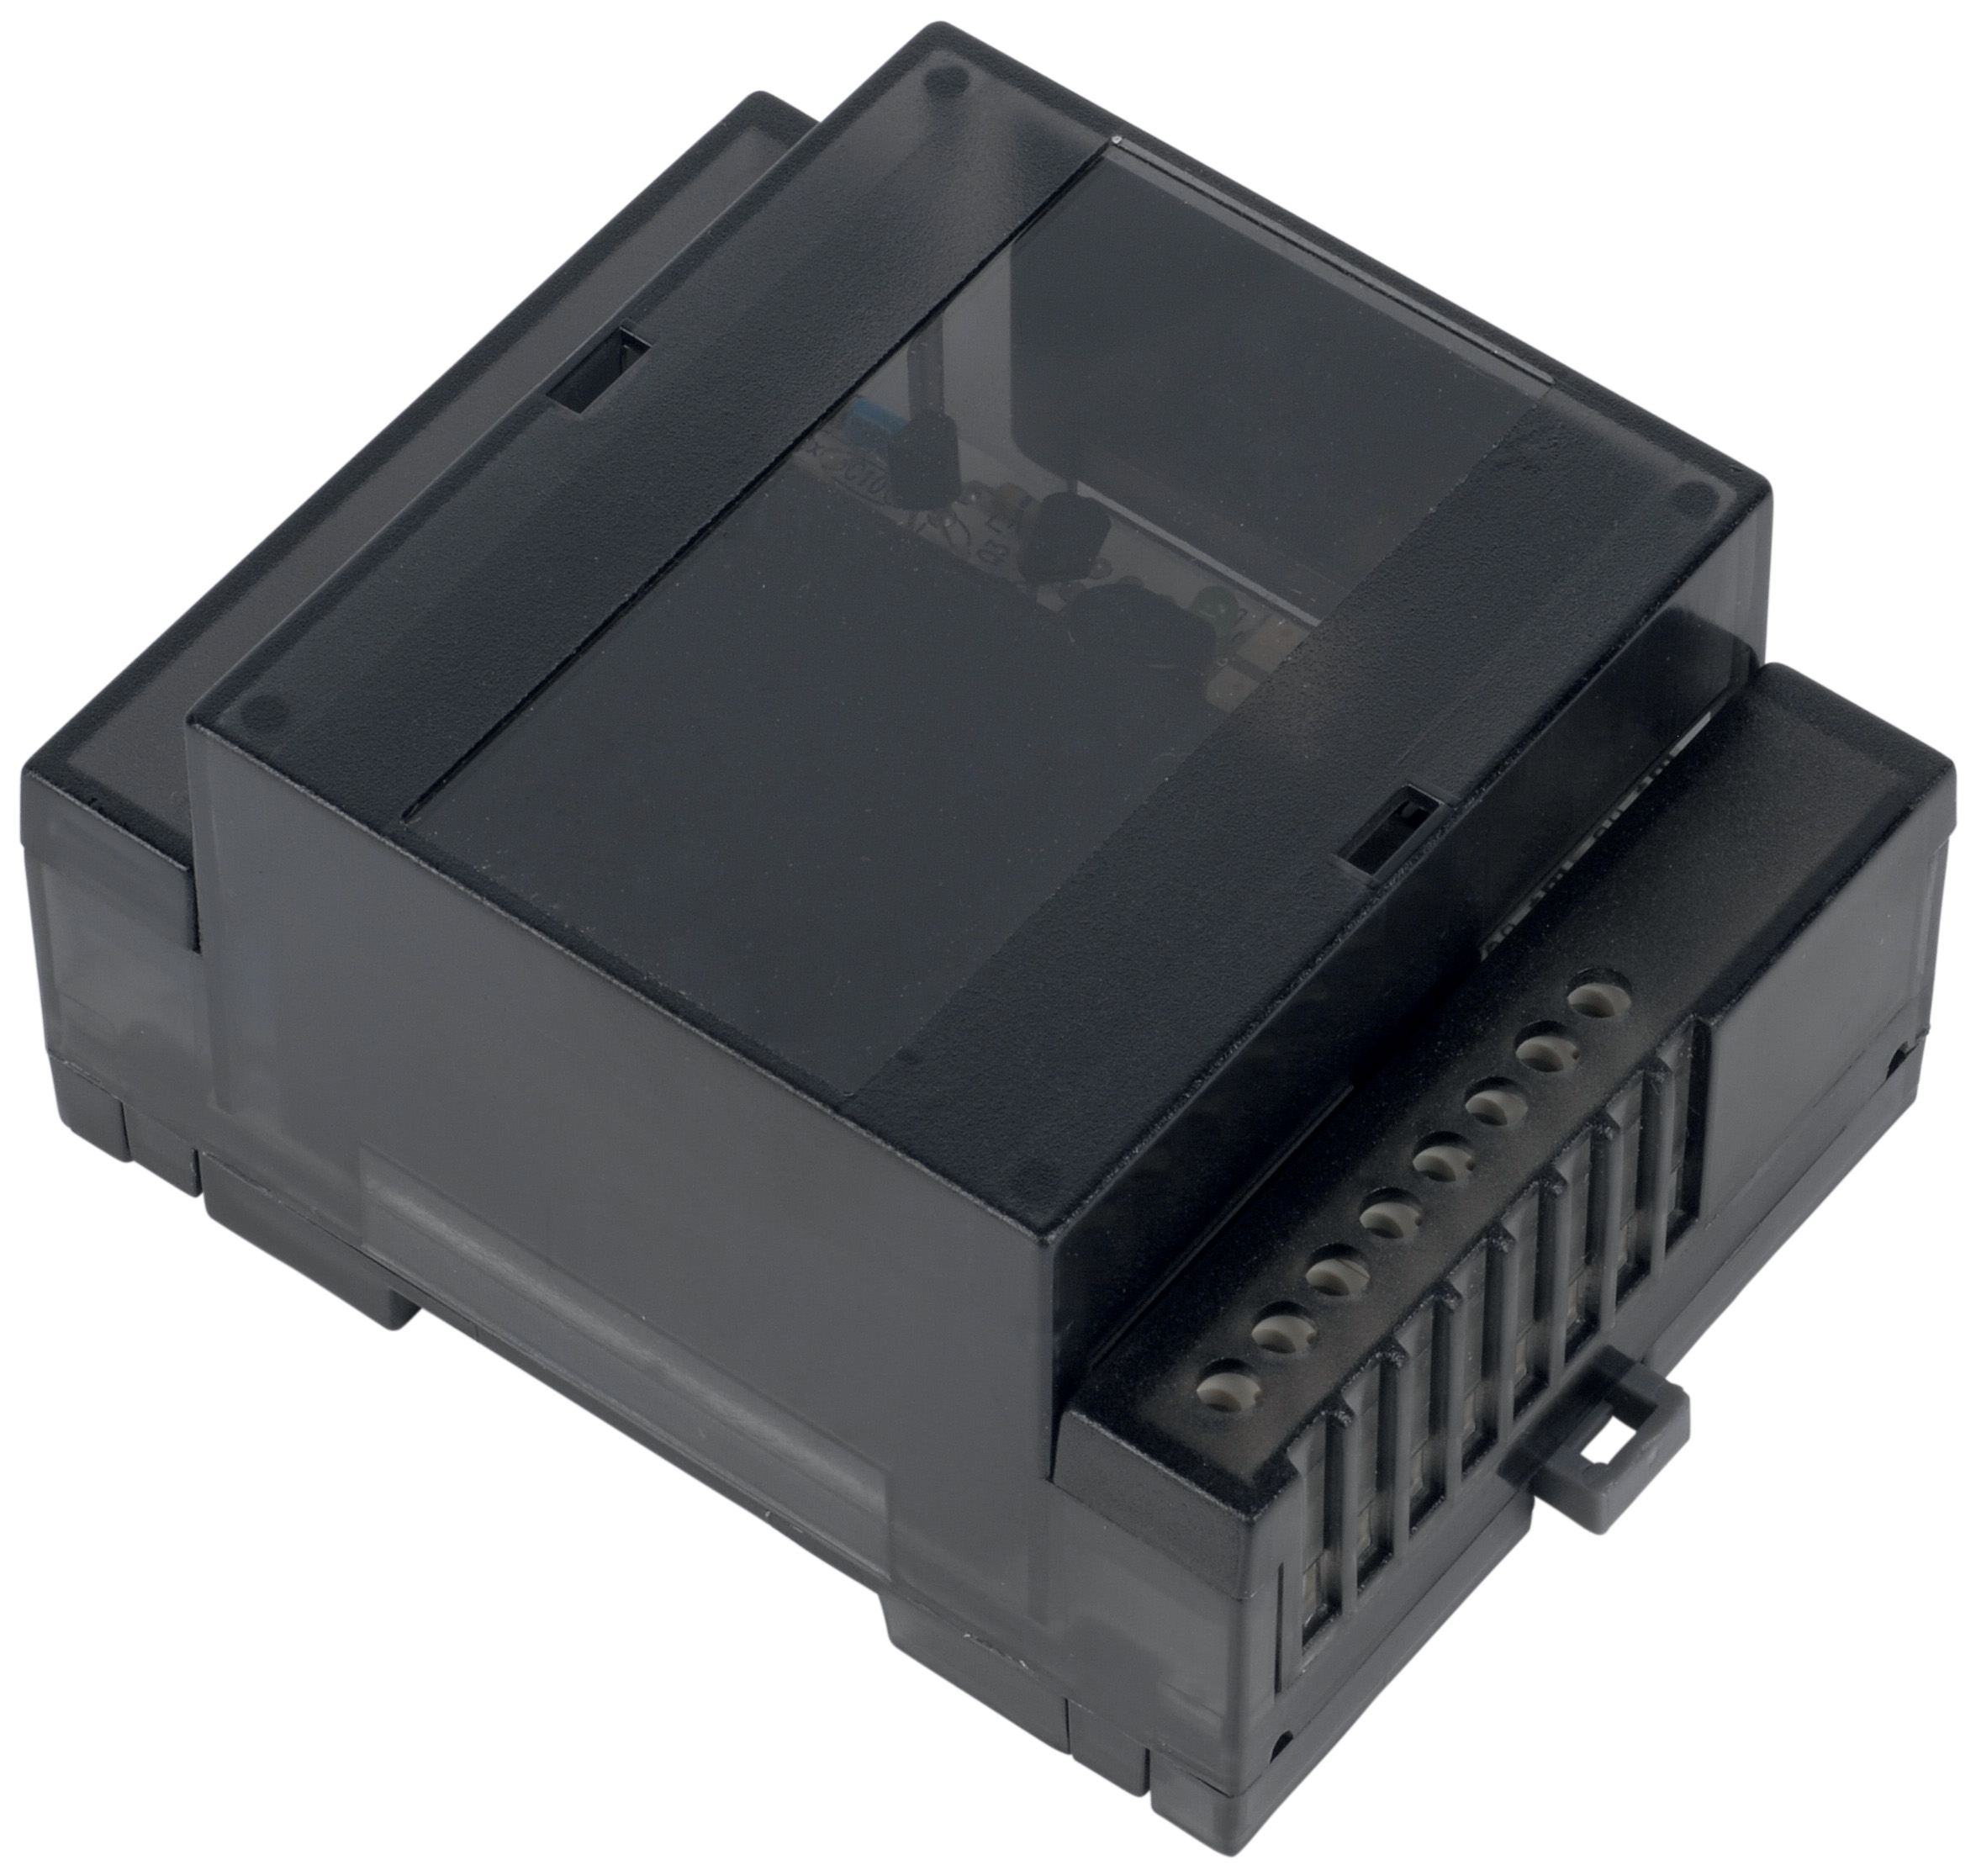
- Solenoid valves (controlling fuel supply)
- Flame detection relays (confirming combustion)
- Control modules (regulating burner operation)
- Safety bases and relay components (ensuring system shutdown on failure)
When a burner fails to ignite, won't modulate properly, or shuts down unexpectedly, the problem rarely lies with the burner itself. Instead, maintenance teams must think systematically about the entire circuit. A weak flame signal might indicate a dirty flame rod, but it could equally point to a failing relay, a loose electrical connection, or a solenoid valve not opening fully.
Practical Troubleshooting: From Symptoms to Root Causes
The No-Ignition Scenario
Your burner won't light. Before assuming the burner is dead, follow this sequence:
Step 1: Verify Fuel Delivery
Check that the solenoid valve is opening. You should hear an audible click when the control system sends the signal. If there's no click, the valve isn't receiving power. If there's a click but no gas smell, the valve may be stuck closed internally.
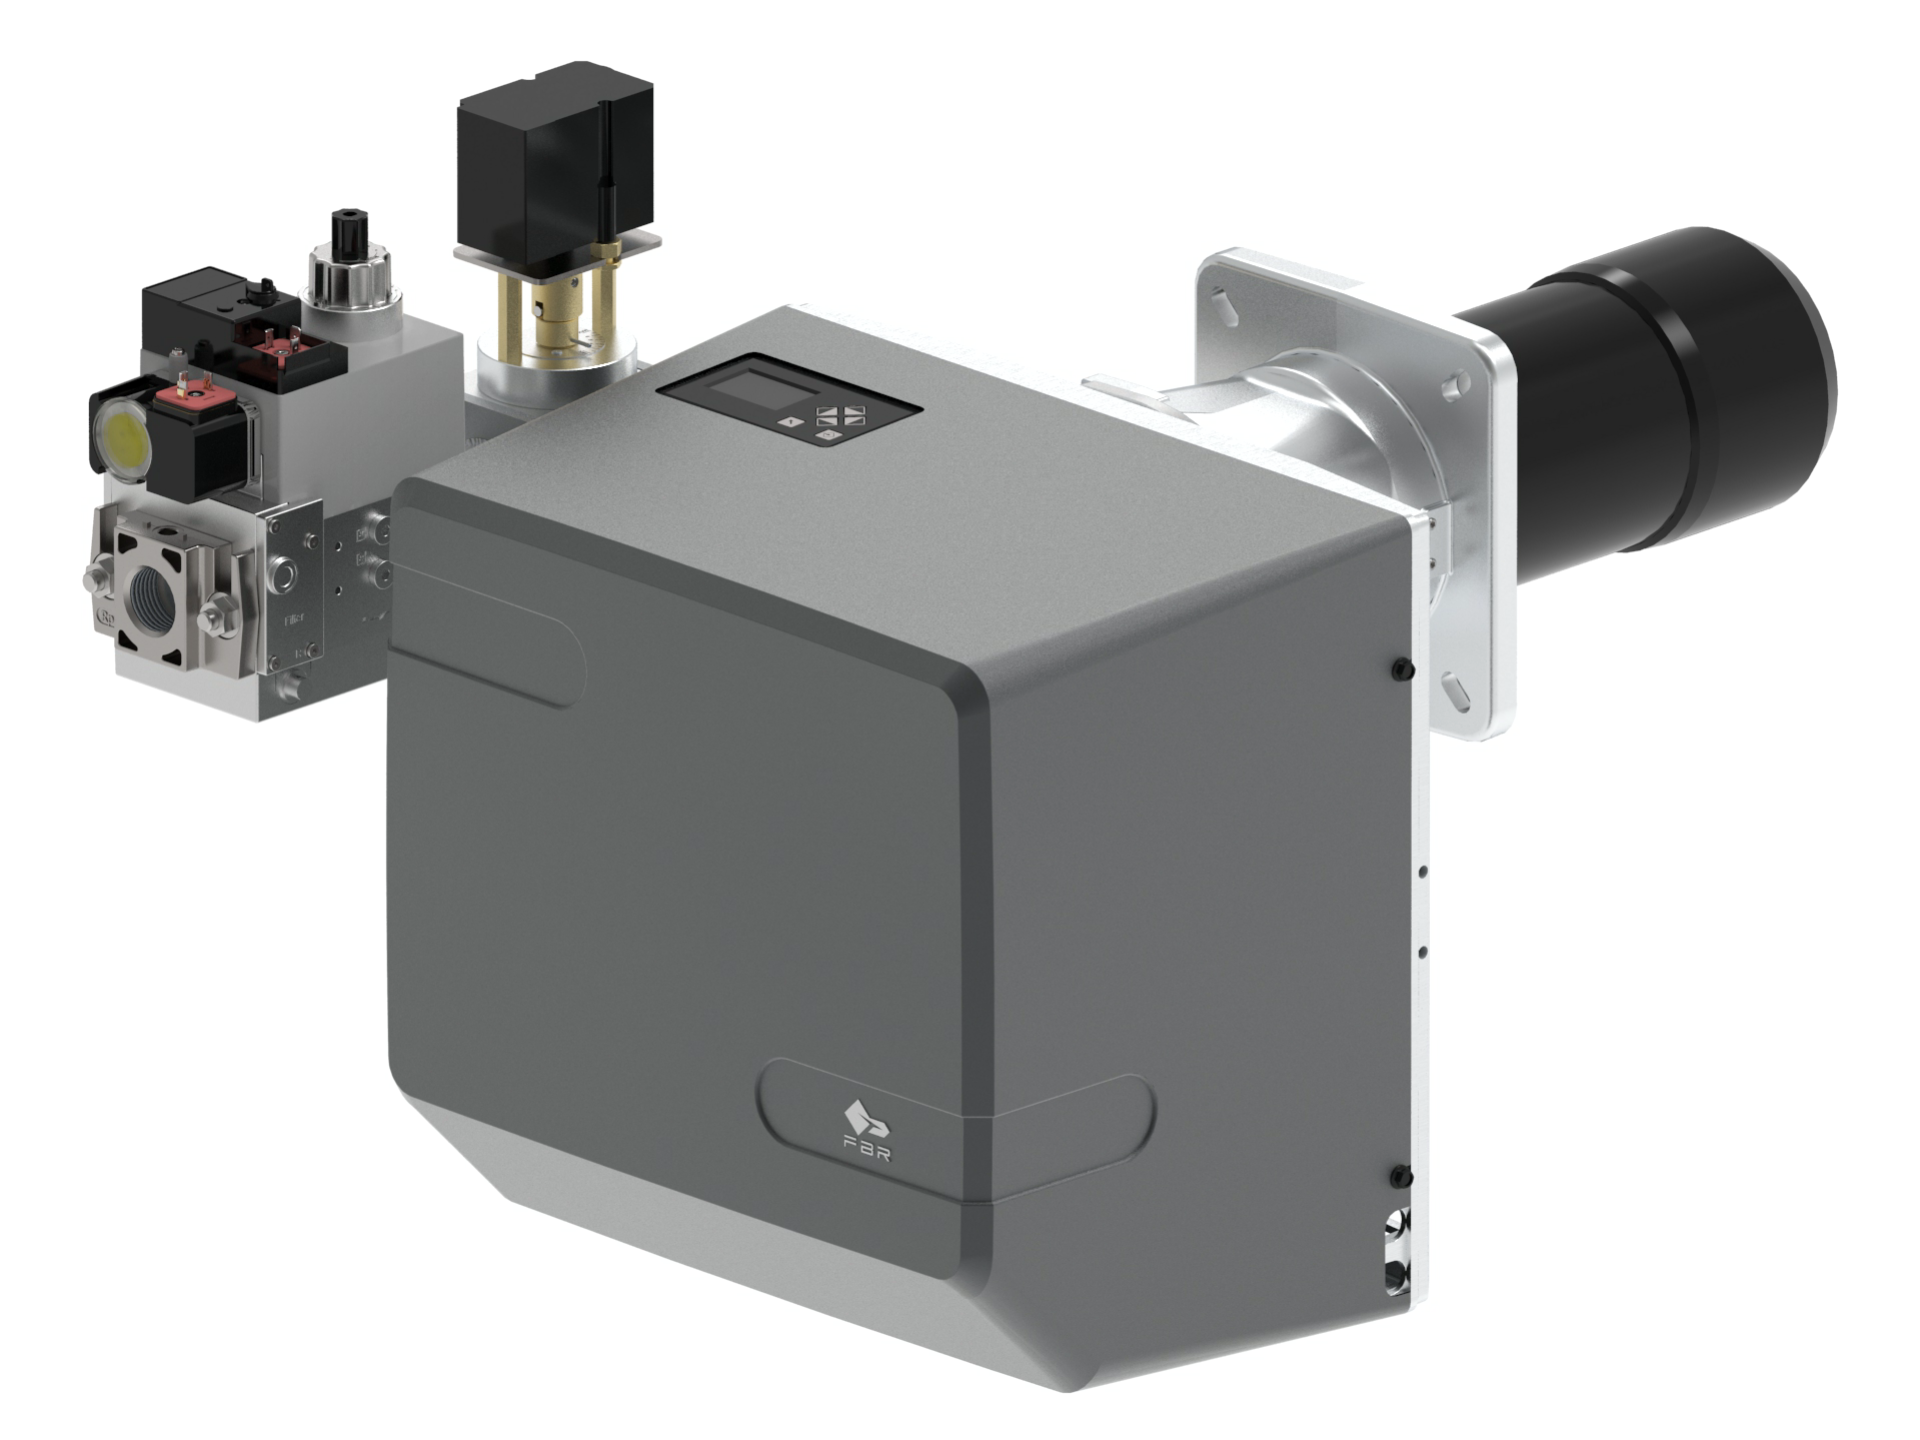
For installations using the CBM VCS 1E25R double solenoid valve, confirm both solenoid coils are energized. This valve requires dual activation for safety lockout—a single failed coil means fuel won't flow.
Step 2: Test Ignition Power
With a multimeter, verify 24V or 120V (depending on your system) is reaching the ignition transformer. Many maintenance teams skip this step and replace burners unnecessarily. A tripped circuit breaker or loose terminal often solves the problem instantly.
Step 3: Confirm Flame Detection Wiring
The flame rod must be making electrical contact inside the burner. Soot, corrosion, or a cracked electrode prevents the flame signal from reaching the CF1 flame relay. Remove the electrode, clean it with a soft wire brush, and reinstall it. Don't use sandpaper—it leaves conductive particles that cause false flame detection.
Step 4: Check the Control Relay
If fuel flows, ignition fires, but the flame signal doesn't reach the control system, the issue is likely in the CM391.2 relay or the LGK AGM17 relay base. These components are your system's "decision makers"—they interpret the flame signal and tell the burner whether to stay running or shut down.
With 35+ years of global maintenance experience, 3G Electric has learned that relay bases often develop poor contact points. Before replacing an expensive relay, clean all terminal connections with a contact cleaner and a small brush. Oxidation on a relay socket can mimic relay failure perfectly.
The Modulation Problem
Your burner fires but won't modulate smoothly. If equipped with a modulation kit, the FBR BURNER GAS X5/MF with modulation capability should gradually increase or decrease flame intensity based on demand. Jerky operation or failure to modulate suggests:
Probe Signal Issues: The modulation probe measures combustion quality. If the signal is weak or noisy, the PID controller receives contradictory information. Clean the probe tip inside the combustion chamber. Carbon buildup is the enemy of smooth modulation.
Valve Response: The solenoid valve must open and close proportionally. An undersized valve or one with internal restriction will modulate poorly because it can't adjust flow smoothly across its operating range. Review your valve specifications against the burner's fuel requirement.
Electrical Noise: Loose wiring, poor grounding, or proximity to high-voltage equipment can corrupt the modulation signal. Route control wiring away from power lines. Use shielded cables where the control system recommends.
The Unexpected Shutdown Scenario
The burner runs fine, then shuts down randomly without reaching the end of the demand cycle. This is often the most frustrating failure pattern.
Flame Signal Dropout: The burner is still running, but the flame signal is intermittently lost. The control system interprets this as flame failure and initiates shutdown. Check for:
- Vibration-induced electrode movement
- Loose flame rod connections
- Intermittent contact in the flame relay
- Water or condensation inside the flame detection circuit
Control Relay Fatigue: High-cycle applications cause mechanical relay contacts to wear. After hundreds of thousands of open-close cycles, contact resistance increases. The flame signal becomes marginal, and the system shuts down. Inspect the CF1 flame relay contacts with a magnifying glass. Black pitting or erosion indicates imminent failure.
Component Selection & Integration for Maximum Reliability
Matching Valve Capacity to Burner Demand
One of the most common maintenance errors is installing a solenoid valve rated for general industrial use when the burner requires a valve with specific flow characteristics. The CBM double solenoid valve VCS 1E25R is specified for certain burner models because its response time and flow capacity match the fuel delivery requirements.
Using an oversized valve creates erratic fuel flow. Using an undersized valve prevents the burner from reaching full output. When you replace a solenoid valve, always verify the new valve matches the original specifications—don't assume that any 1/4" NPT valve will work.
Building a Reliable Control Circuit
The relationship between the flame relay, control relay, and relay base is critical. The CM391.2 relay and AGM17 relay base work together:
The flame relay sits on the base. When the base detects a valid flame signal from the electrode, it energizes the relay coil. The relay contacts then complete circuits that keep the solenoid valve open and the burner running.
If you replace just the relay without checking the base's terminal condition, you'll likely have the same failure reoccur within weeks. Always replace both components as a pair when troubleshooting intermittent shutdowns.
Probe and Electrode Maintenance Intervals
Establish scheduled maintenance for flame detection components:
- Every 250 operating hours: Visually inspect the flame electrode. If carbon deposits are visible, clean immediately.
- Every 1000 operating hours: Remove and clean the electrode thoroughly. Replace the ceramic insulator if cracks are present.
- Every 2000 operating hours: Replace the entire flame rod assembly. Electrodes wear, and replacement is inexpensive insurance against downtime.
- Every 3000 operating hours: Replace the flame relay and relay base. Mechanical contacts accumulate wear that doesn't show visually but reduces signal reliability.
These intervals assume the burner operates in a clean environment. Industrial settings with dust, humidity, or chemical vapors require more frequent service.
System Diagnostics: Solving Problems Systematically
The Diagnostic Flowchart Approach
When a burner system fails, maintenance teams often panic and start replacing components randomly. This wastes time and money. Instead, follow this systematic approach:
1. Does the system receive a start signal?
Confirm the burner controller is receiving input from the thermostat or demand switch. Use a multimeter to verify 24V (or 120V) is present at the burner controller's input terminals.
2. Is electrical power reaching the solenoid valve?
With the start signal active, measure voltage at the valve coil terminals. If no voltage is present, the controller's output is dead. If voltage is present but the valve won't click, the coil is burned out.
3. Can you hear or smell fuel flowing?
Listen for the hiss of gas at the burner nozzle. If no fuel is flowing despite valve energization, the valve is mechanically stuck. If you smell gas but the burner doesn't ignite, move to step 4.
4. Is the ignition system firing?
With a non-contact spark tester (inexpensive and essential for your maintenance toolkit), verify the ignition electrode is sparking. If no spark, check the ignition transformer. If sparking occurs but gas doesn't ignite, check for proper combustion air and verify the fuel type matches the burner specification.
5. Is the flame signal reaching the flame relay?
Measure the resistance of the flame rod electrode to ground. A clean electrode typically reads 5-50 megohms. Above 500 megohms indicates excessive contamination. Below 1 megohm suggests the electrode is shorting to ground.
6. Is the control relay responding?
With a valid flame signal present, the CF1 relay should energize. You should hear an audible click. If it clicks, measure voltage on the relay output contacts. These should be at line voltage (24V or 120V) when the relay is energized.
Real-World Case Study
A global manufacturing facility experienced random shutdowns on a critical space heater. The facility's maintenance team replaced the burner (cost: $2,400), the solenoid valve (cost: $800), and the ignition transformer (cost: $600). The shutdowns continued.
3G Electric's technical team visited and found the problem in 20 minutes: The relay base had corroded terminal connections due to humidity. The flame signal was intermittently lost not because the flame was actually going out, but because the connection was poor. Cleaning the terminals and applying dielectric grease cost $45 in parts and eliminated the failure.
This scenario is not unusual. At least 40% of burner "failures" are actually control circuit problems.
Long-Term Reliability: Preventive Maintenance Protocol
Daily Visual Inspections
Train operators to spot problems before they become failures:
- Unusual flame color (yellow instead of blue indicates improper air-fuel ratio)
- Loud ignition attempts (suggests weak spark or gas-air mixing problem)
- Visible soot or ash accumulation (indicates incomplete combustion)
- Vibration or noise (suggests loose mounting or air intake restriction)
Weekly Operational Tests
- Verify the burner ignites within 3 seconds of the start signal
- Confirm the flame signal is stable after ignition (no flickering)
- Test the safety shutdown—manually interrupt the flame signal and confirm the burner shuts down within 1 second
- Check that the solenoid valve clicks audibly when de-energized
Monthly Component Checks
- Clean or replace the combustion air filter
- Visually inspect electrical connections for corrosion
- Test ignition spark with a non-contact tester
- Measure flame rod electrode resistance
Quarterly Major Maintenance
- Remove and deep-clean the flame electrode
- Inspect and clean the solenoid valve screen
- Check all terminal connections and apply dielectric grease
- Review flame relay coil resistance with an ohmmeter (should be 4000-6000 ohms for most models)
Annual Component Replacement
Regardless of apparent condition, replace:
- The flame rod electrode assembly
- The combustion air filter element
- Any relay showing signs of corrosion
This preventive approach costs approximately 10-15% of what emergency repairs and downtime cost when failures occur.
Conclusion: Thinking in Systems, Not Components
Burners & Combustion systems succeed or fail based on how well their integrated components work together. The finest burner unit will fail if the solenoid valve is inadequate. The best flame relay will cause shutdowns if the relay base connections are corroded. The most sophisticated control system will malfunction if the electrode is contaminated.
3G Electric's 35+ years of global industrial equipment experience has reinforced one lesson: maintenance teams that understand the entire system, not just individual components, achieve the highest uptime and lowest total cost of ownership.
When troubleshooting, always think about the complete circuit. When replacing components, always consider whether adjacent parts are due for maintenance. When selecting new equipment, always verify that each component's specifications match the overall system requirements.
With this systematic approach, your burner and combustion systems will deliver reliable performance across global operations.