Understanding Burners & Combustion System Architecture for Maintenance Teams
Burners & Combustion equipment operates as an integrated control system where multiple components must function in perfect synchronization. For maintenance teams responsible for reliability, understanding the architecture isn't about engineering theory—it's about knowing where failures originate and how to diagnose them systematically.
A typical gas burner assembly consists of three functional layers: the combustion unit (burner head, air intake, gas valve), the control electronics (flame detection relay, modulation controls), and the safety interlocks (solenoid valves, pressure switches). When a burner fails, the problem rarely exists in isolation. A weak flame signal might indicate a fouled electrode, a misaligned burner head, or a failing flame relay—each requiring different corrective actions.
3G Electric's 35+ years supporting industrial maintenance operations has revealed that 60% of burner-related downtime stems from preventable control system failures rather than burner mechanical degradation. This distinction matters because it shifts your maintenance strategy from reactive part replacement to predictive component monitoring.
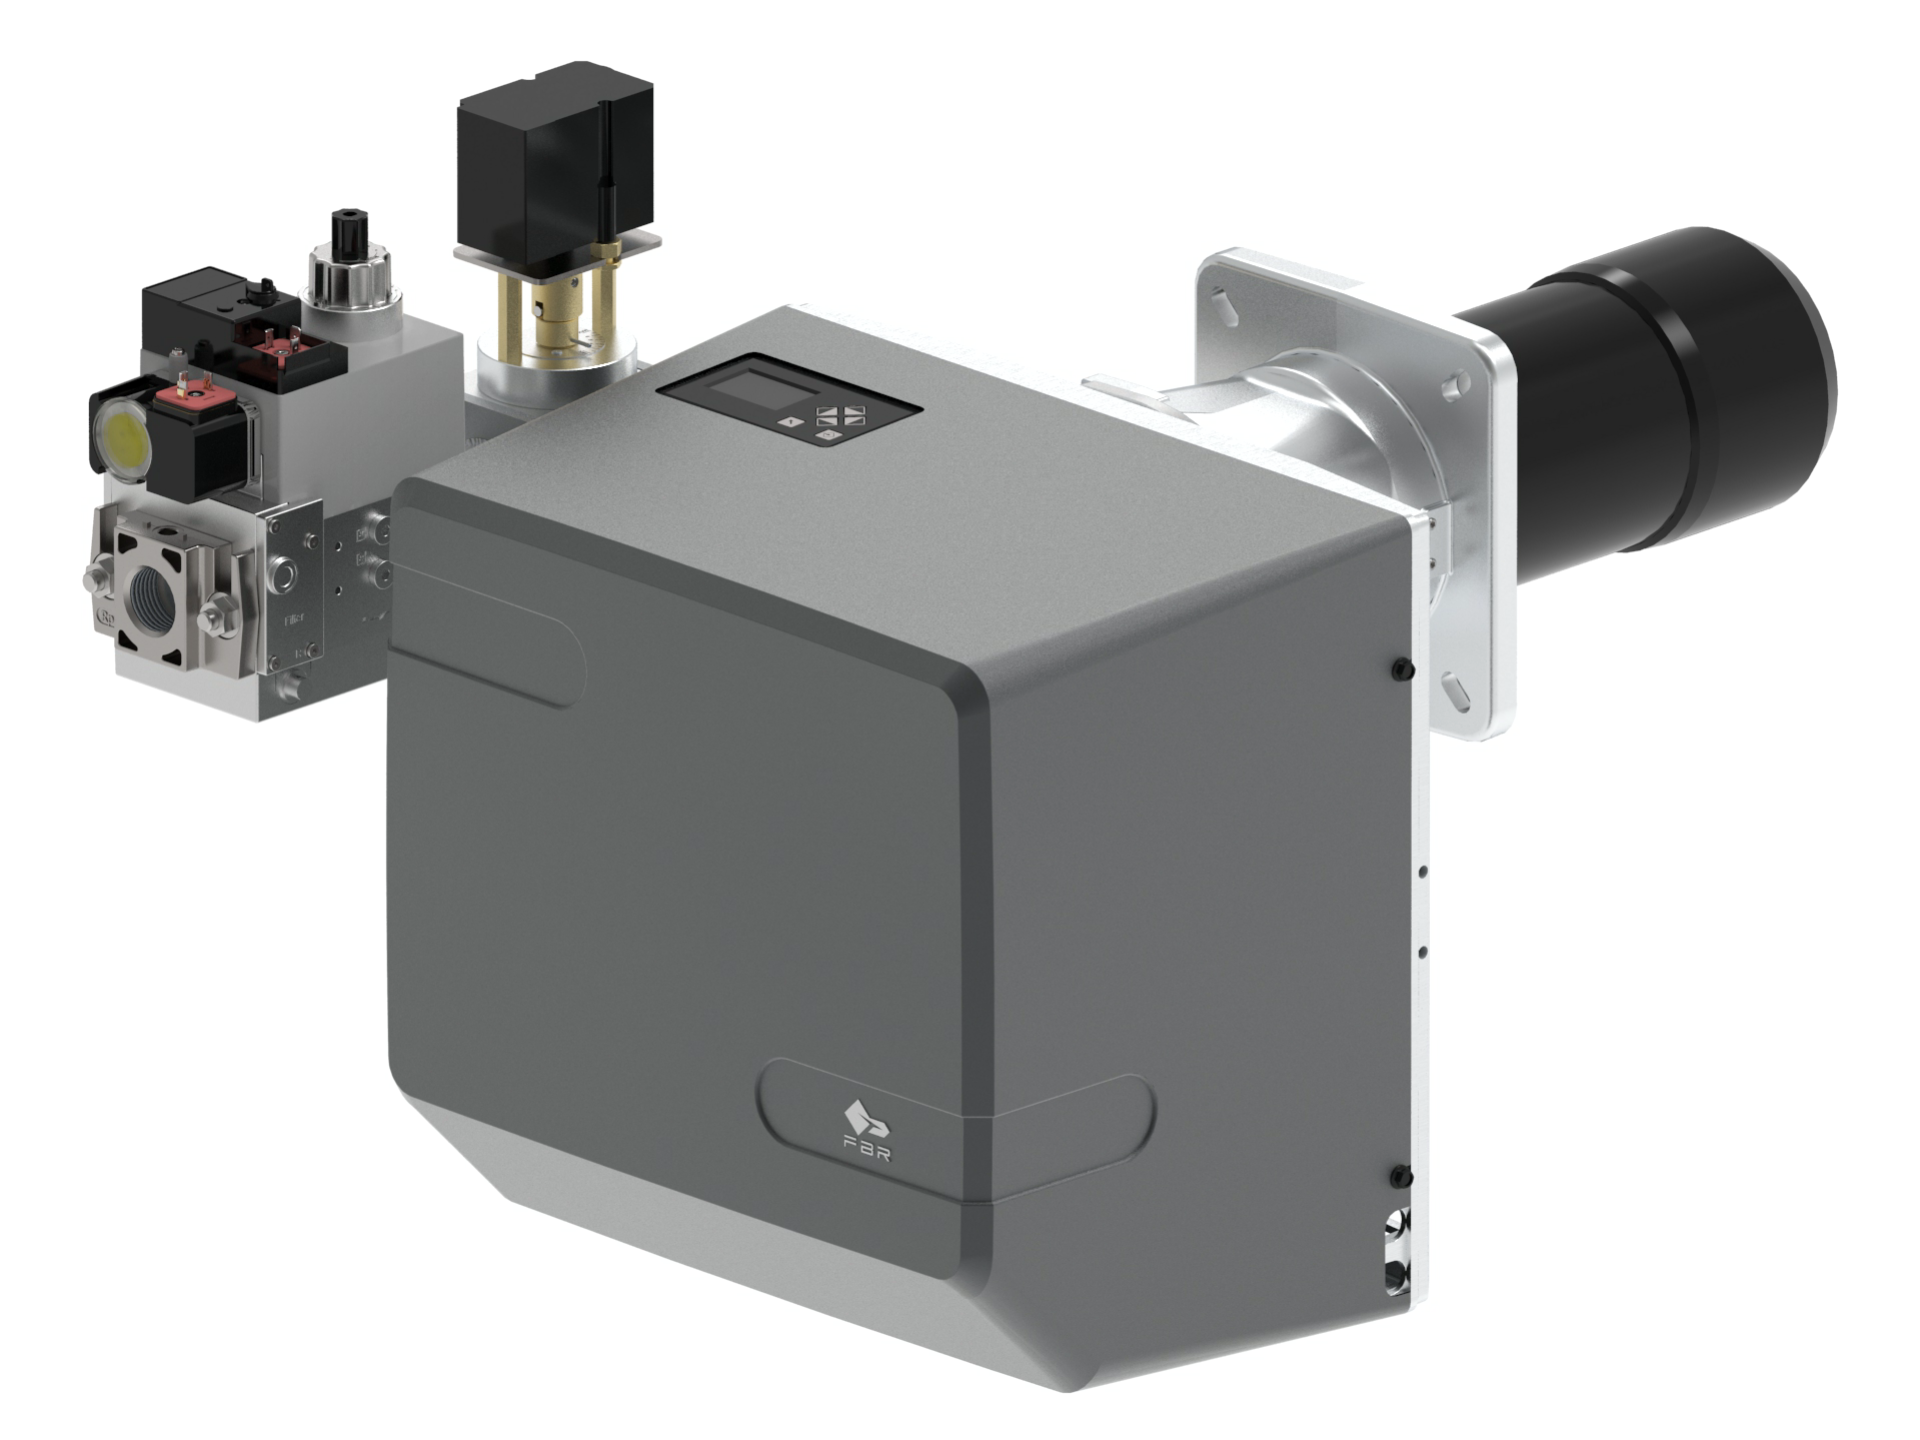
The FBR BURNER GAS X5/MF TL EL VC LPG represents a modern platform that accepts modulation control through optional kits. Understanding how this burner architecture integrates with control components like the CBM VCS 1E25R double solenoid valve and CBM CF1 flame relay will inform your troubleshooting approach.
Practical Diagnostic Framework: Identifying Burner Failures at the Component Level
When a burner fails to ignite or shuts down prematurely, your maintenance response must follow a logical diagnostic sequence. Random component replacement wastes budget and extends downtime.
The Five-Point Field Diagnostic Sequence:
1. Flame Signal Verification – The flame relay is your primary diagnostic gateway. The CBM CF1 flame relay monitors combustion through UV or ion detection. If the burner cycles on/off unexpectedly, place a multimeter across the flame terminal during operation. You should measure a stable signal (typically 3-5 volts DC for UV-type relays). A fluctuating or absent signal indicates: fouled detection electrode (clean with fine emery cloth), misaligned burner (verify burner head position), or contaminated combustion air (inspect intake filter). A steady absence of flame signal after burner ignition attempt points to the relay itself requiring replacement.
2. Gas Supply Pressure Confirmation – Before assuming a valve failure, measure inlet pressure at the burner gas connection with a low-range pressure gauge. Minimum pressure should match the burner nameplate (typically 50-150 mbar for atmospheric burners, higher for forced-draft models). Low pressure indicates: regulator failure upstream, gas line blockage, or demand exceeding supply. The CBM VCS 1E25R double solenoid valve cannot compensate for inadequate source pressure. If source pressure is correct but no gas reaches the burner, the solenoid valve coil has failed (test with 24 VDC across coil terminals—you should hear an audible click and feel magnetic pull).
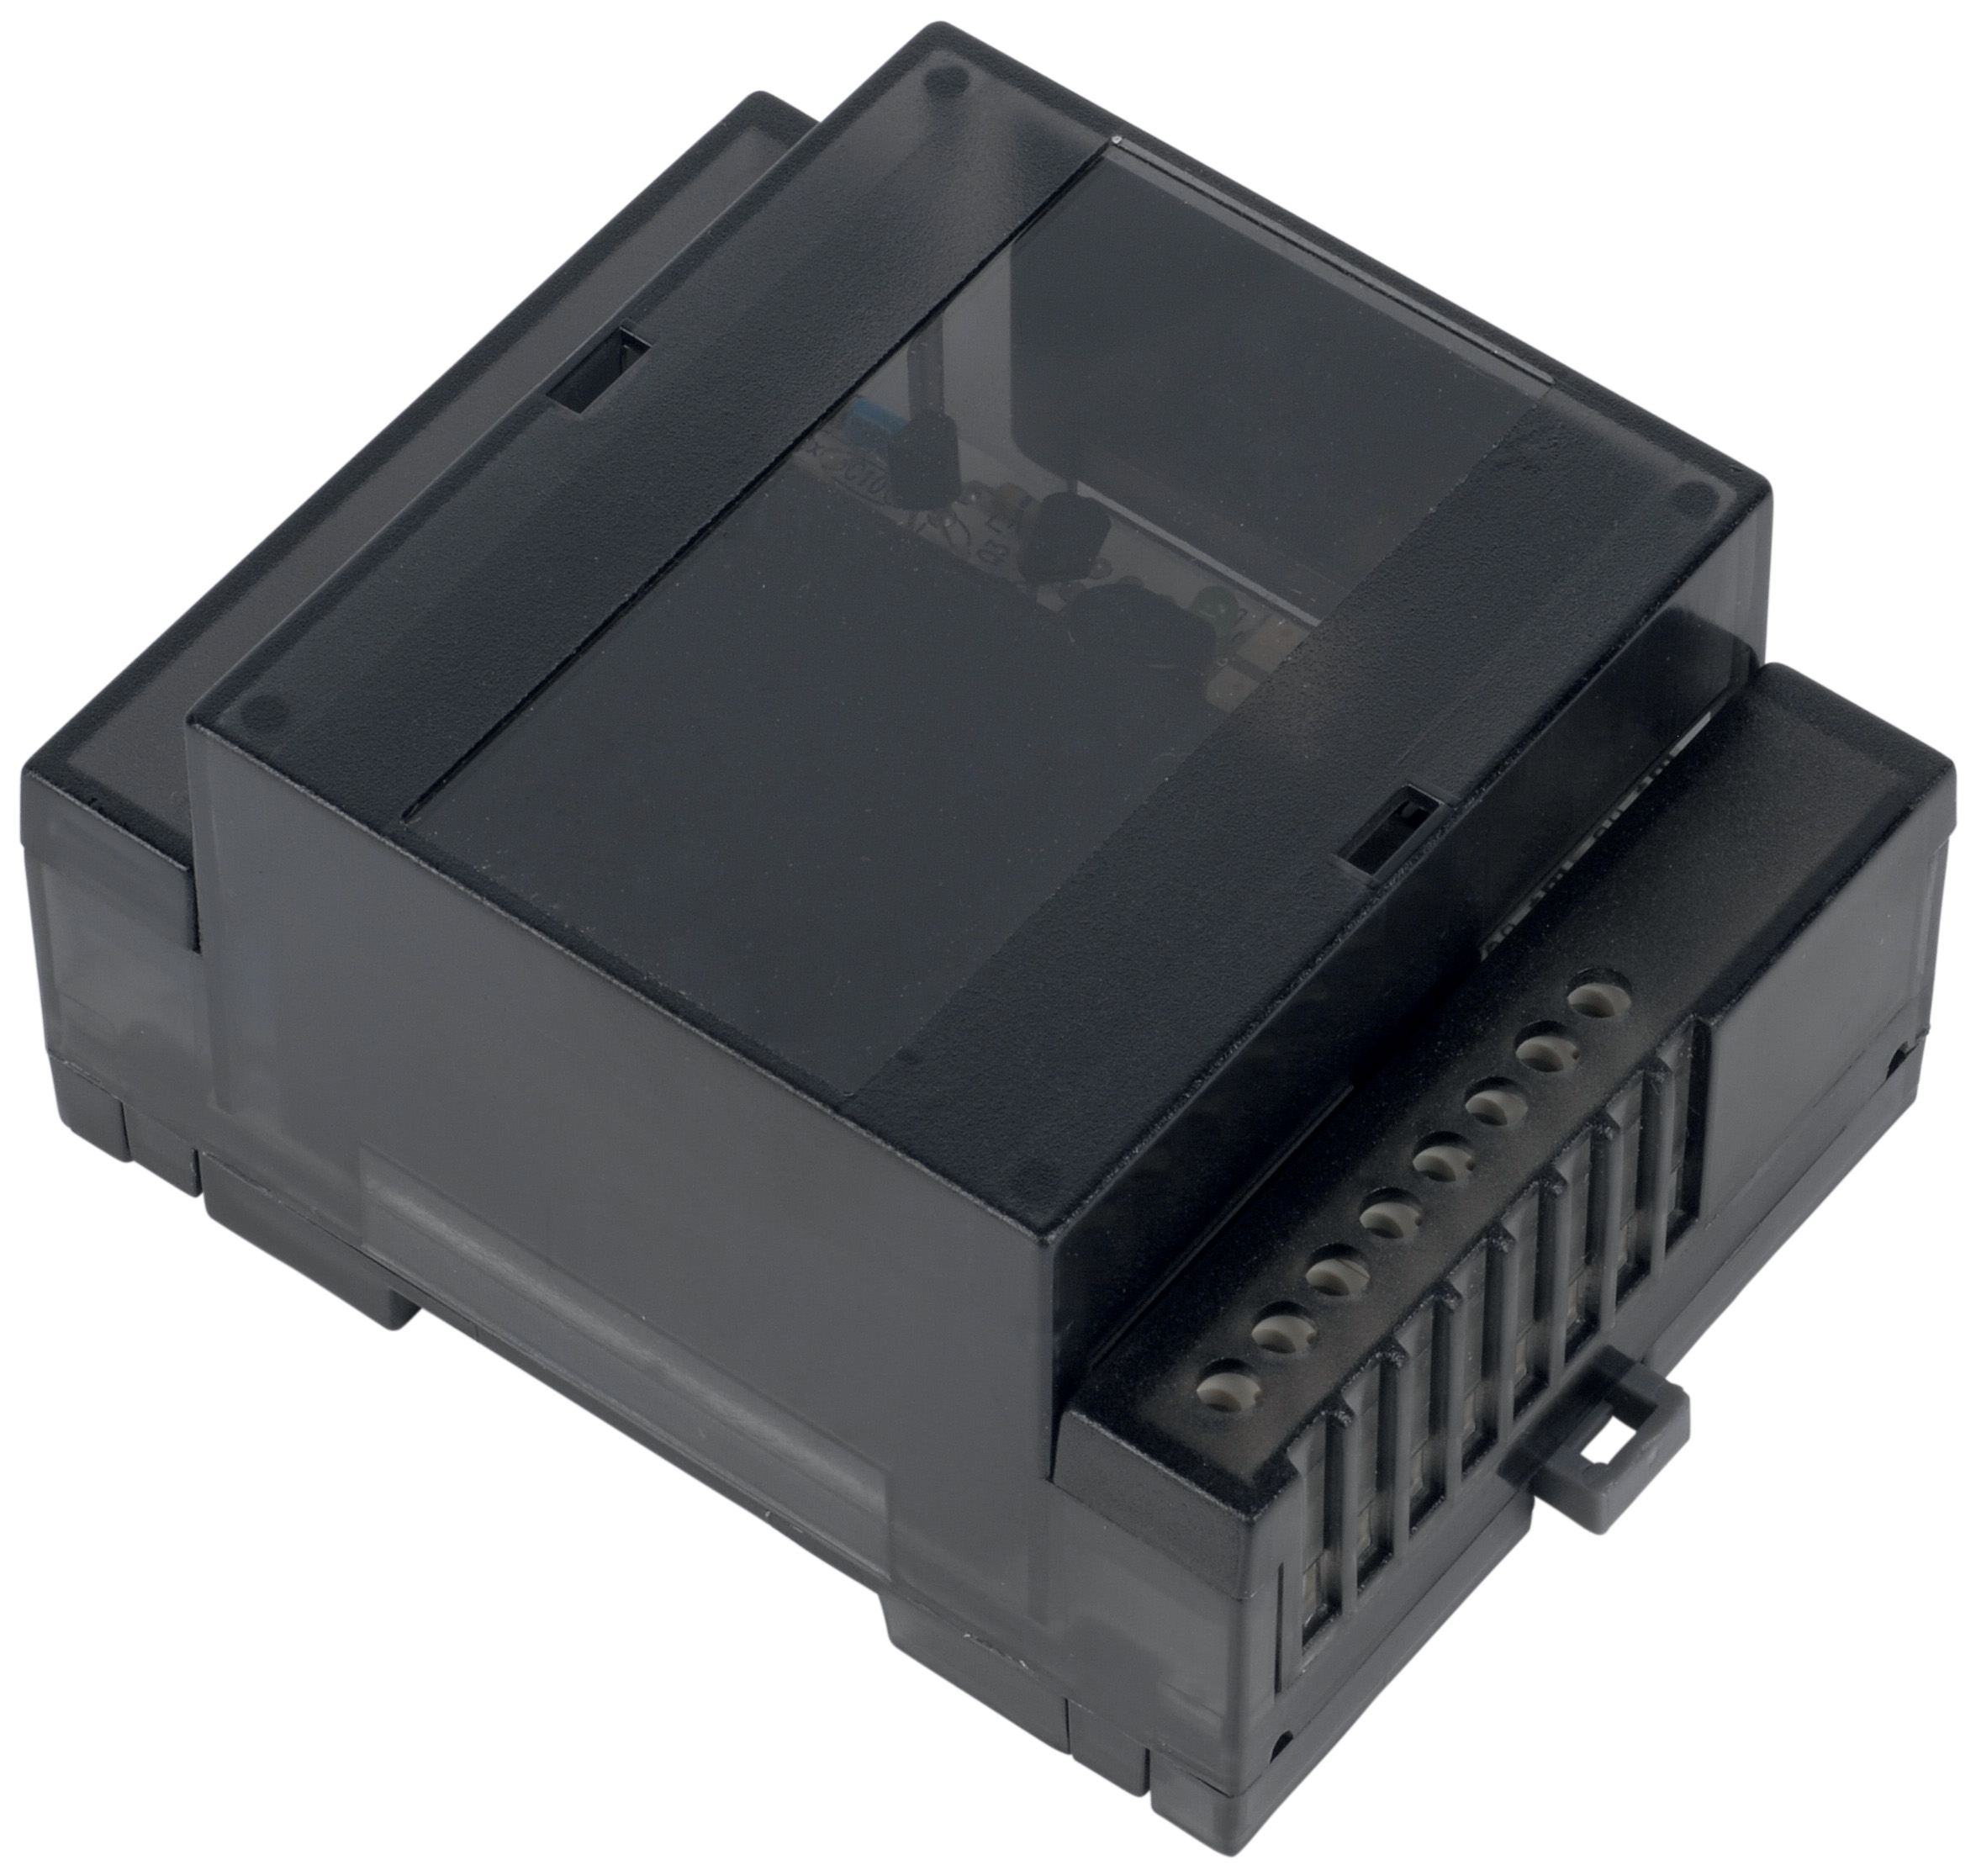
3. Electrical Control Loop Testing – Trace the 24 VDC control signal from the control module through the CBM CM391.2 relay to solenoid valve coils. Use a multimeter in DC voltage mode. Absence of voltage at any point identifies broken wiring, a failed relay contact, or control module malfunction. A control relay like the CM391.2 typically handles 24 VDC input and switches higher currents to valve coils; if voltage disappears downstream of the relay despite correct upstream voltage, the relay contact has welded open.
4. Combustion Air Path Assessment – Restricted air intake prevents proper flame formation even when gas supply is adequate. Check: intake filter cleanliness (visible blockage, dusty filter), damper position (should be fully open during operation), and fan bearing noise (grinding indicates imminent failure). A fan that runs but produces weak air flow typically has: bearing wear (excessive play when you manually wiggle the fan shaft), impeller damage (visually inspect for blade cracks or erosion), or intake obstruction upstream.
5. Thermal Safety Shutdown Verification – If the burner ignites correctly but shuts down after 30-120 seconds, a thermal switch or overpressure device is likely tripping. Check: stack temperature sensor location (should be in flue gas stream, not touching metal), thermostat contact resistance (should measure near 0 ohms when cold, open circuit when set temperature is exceeded), and combustion chamber for visible soot or incomplete combustion products.
Component Replacement Strategy: When to Repair Versus Replace
Maintenance budgets demand intelligent decisions about component lifecycle. Not every failed part warrants replacement; some degradation is predictable and serviceable.
Flame Detection Electrodes: UV or ion electrodes typically last 12-24 months depending on fuel quality and combustion cleanliness. Before ordering replacement, clean the electrode: shut down the burner, allow safe cooling, carefully remove the detection probe, wipe with fine emery cloth (120-150 grit), and reinstall. A cleaned electrode often restores signal quality for several additional months. The CBM CF1 relay itself has a longer lifespan (3-5 years) but requires periodic testing: apply 24 VDC to the input terminals and confirm the output contacts open/close audibly. If relay contacts remain stuck in either position despite fresh 24 VDC input, replacement is required.
Solenoid Valves: The CBM VCS 1E25R double solenoid valve serves gas isolation and capacity modulation. If the solenoid coil fails (verified by multimeter testing above), replacement is necessary—coil rewinding is not economical. However, if gas leaks past the valve seat despite de-energized coils, the issue may be: debris trapped under the poppet seal (carefully disassemble and flush), or corroded valve seats (requiring chemical cleaning or replacement). Most industrial sites stock one spare solenoid valve for rapid changeover; the failed unit can be sent to a valve rebuilding specialist if budget allows.
Control Relays and Bases: The CBM CM391.2 relay and CBM LGK AGM17 base provide modulation and safety logic. Relay contacts typically deteriorate gradually—measure contact resistance regularly (should be <0.5 ohms when closed). Rising resistance indicates oxidation and requires contact cleaning or replacement. The base socket typically outlasts relays; only replace if you observe burning or pitting on the socket pins. 3G Electric recommends keeping relay spares on site for immediate swaps during troubleshooting; this reduces commissioning time and lets you bench-test suspected faulty relays in controlled conditions.
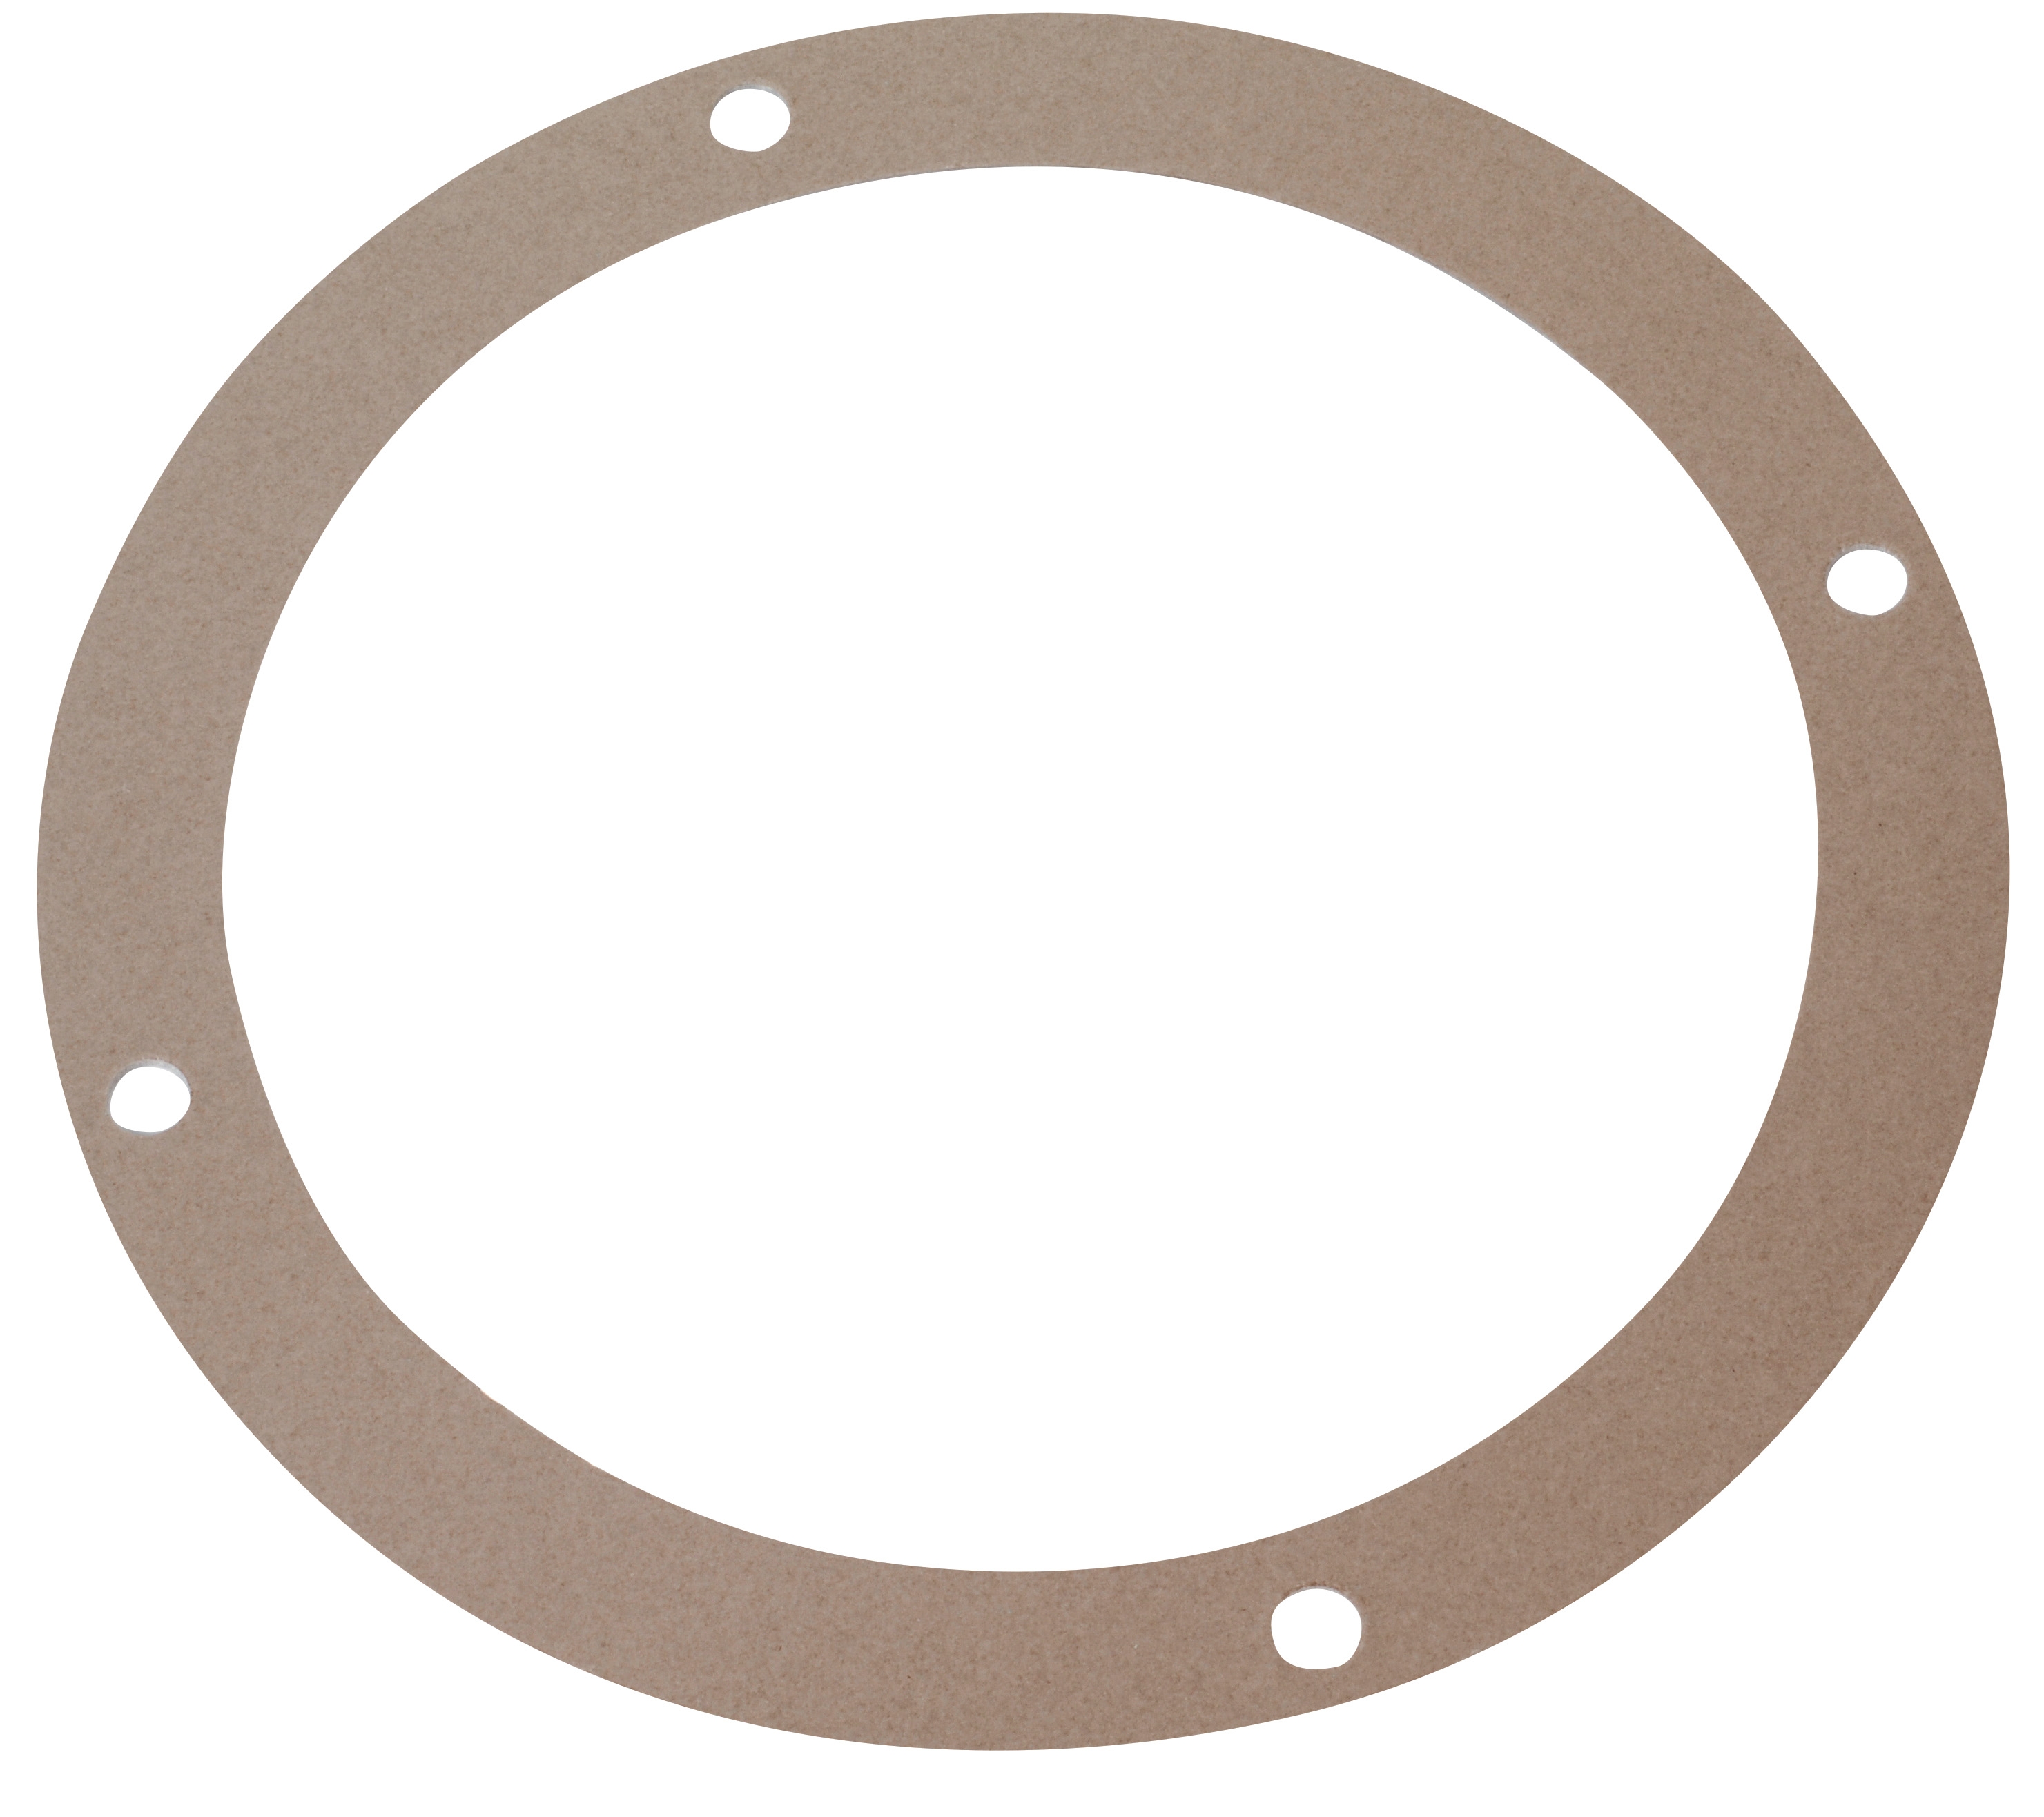
Burner Head Assembly: The FBR BURNER GAS X5/MF die-cast aluminum body rarely requires replacement due to mechanical failure. Replacement is justified only if: internal passages develop cracks (typically from thermal cycling stress, visible as small leaks around the burner face), the fuel nozzle is severely eroded (affects spray pattern and combustion stability), or the mounting flange develops visible corrosion that prevents proper sealing. Most maintenance issues on the burner body address external wear or bolt loosening; these are service tasks, not replacement drivers.
Preventive Maintenance Schedule and Documentation Best Practices
Burner reliability improves dramatically with systematic preventive tasks executed on schedule rather than ad-hoc reaction to failures.
Weekly Visual Inspection (15 minutes): Observe burner operation during normal firing cycles. Listen for: unusual noise from the blower fan, popping or rumbling in the combustion chamber (indicates delayed ignition or incomplete combustion), or repeated on-off cycling (suggests flame signal instability). Check visible gas and electrical connections for loose bolts—vibration gradually loosens fasteners. Document observations in a simple log; patterns emerge quickly (e.g., cycling issues always occur at startup, indicating a cold-weather fuel viscosity problem).
Monthly Functional Test (30 minutes): Power down the burner safely. Measure burner inlet gas pressure with a gauge connected to the test port. Fire the burner and record: ignition delay (should be <3 seconds after blower starts), flame stability (visual observation for flicker or uneven color), and any solenoid valve chatter. Measure electrical supply voltage at the 24 VDC terminals—it should remain stable within ±2 volts during operation. These measurements create a baseline; deviation signals developing problems before catastrophic failure.
Quarterly Component Testing (1-2 hours): Remove and test flame detection electrode offline. Apply known 24 VDC to the CBM CF1 relay input terminals separately from the burner system; confirm output relay contacts operate. Check fuel filter pressure drop with a gauge across the filter housing; high pressure drop indicates filter saturation. Measure ambient intake air temperature—fuel atomization and combustion efficiency change with air temperature, and high ambient conditions stress all components.
Annual Comprehensive Service (4-6 hours): This is when you address component replacements and deep cleaning. Remove and clean the burner head, checking nozzle condition and internal fuel passages. Flush the double solenoid valve CBM VCS 1E25R with compressed air (never submerge unless the manufacturer approves). Inspect all electrical connections for oxidation, and apply a thin layer of dielectric grease to prevent corrosion. Test the complete control circuit with a multimeter and document findings. This annual checkpoint typically prevents 90% of mid-year emergency failures.
Documentation is critical: maintain a simple spreadsheet or log book recording dates, actions taken, measurements, and parts replaced. Over time, this record reveals which components degrade fastest in your specific operating conditions, allowing you to stock spares intelligently and schedule replacements before failures occur.
Integrating Modern Modulation Control with Legacy Maintenance Practices
The shift toward modulating burners introduces control complexity that traditional on-off maintenance doesn't address. The FBR BURNER GAS X5/MF accepts optional modulation kits that adjust burner firing rate based on demand signals (typically 4-20 mA or 0-10 VDC input).
For maintenance teams unfamiliar with modulation: the burner continues to ignite the same way as an on-off unit, but instead of running at full capacity or shutting off completely, it adjusts gas valve opening position continuously. This requires an additional proportional valve control and a feedback loop (often from a temperature sensor). Troubleshooting modulating burners involves all the diagnostics above, plus one additional step: verify the modulation feedback signal. If a burner fires but doesn't modulate smoothly, or cycles between high and low firing rates erratically, the feedback transducer (temperature or pressure) has likely drifted or failed. A multimeter reading across the feedback signal terminals during operation should show a smoothly changing voltage (not static) that correlates with burner load. Static or erratic readings indicate sensor failure.
3G Electric's partnership with burner and control manufacturers ensures that your maintenance team has access to technical support beyond component supply. When you encounter an unusual modulation behavior, contact our technical team with recorded measurements; we've supported similar diagnostics across 35+ years and can often identify solutions faster than trial-and-error replacement.
Summary: Building a Sustainable Burner Maintenance Culture
Burners & Combustion systems are reliable only when maintained systematically. The difference between a maintenance team that experiences 5% downtime and one experiencing 15% often isn't equipment quality—it's discipline in following diagnostic sequences, documenting findings, and replacing components before they catastrophically fail.
Start with the five-point diagnostic framework presented here. Use it consistently, record results, and watch your mean time between failures extend. Stock critical spares: solenoid valve coils, flame relays, and burner electrodes. Train your team to measure before replacing. Partner with 3G Electric for technical guidance when diagnostics don't reveal obvious causes; our 35+ years in industrial equipment distribution means we've encountered nearly every failure mode.
The burners and control components we supply—from the FBR modulating burner to the complete control assembly including double solenoid valves, flame relays, modulation relays, and mounting bases—are designed for 10+ year operational life when maintained properly. Your discipline in maintenance determines whether you achieve that full lifespan or replace equipment prematurely.