Understanding Burners & Combustion System Architecture
Burners & Combustion represent the critical interface between fuel delivery and heat generation in industrial HVAC applications. With over 35 years of experience distributing combustion equipment globally, 3G Electric has observed that most performance failures stem from three core areas: fuel supply pathway integrity, atomization precision, and combustion chamber conditions.
The modern industrial burner integrates multiple precision components working in synchronized sequence. The fuel control system manages pressure and flow rates, the ignition assembly initiates the combustion process, and the flame detection system provides safety feedback. When any component deviates from specification, the entire combustion efficiency deteriorates—leading to increased fuel consumption, elevated emissions, and reduced equipment lifespan.
Understanding this interconnected system is essential for HVAC contractors who need to diagnose issues quickly and implement targeted repairs rather than replacing entire burner assemblies prematurely.
Diagnosing Fuel Supply and Nozzle Atomization Problems
Identifying Fuel Supply Pathway Restrictions
One of the most common issues contractors encounter is inadequate fuel reaching the combustion chamber. This manifests as delayed ignition, incomplete combustion (visible smoking), or flame instability during operation.
Primary diagnostics to perform:
- Visual inspection of fuel lines: Look for kinks, crimping, or physical damage that restricts flow. Even partial blockages reduce pressure at the nozzle by 10-15%, significantly affecting atomization quality.
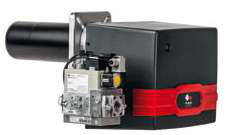
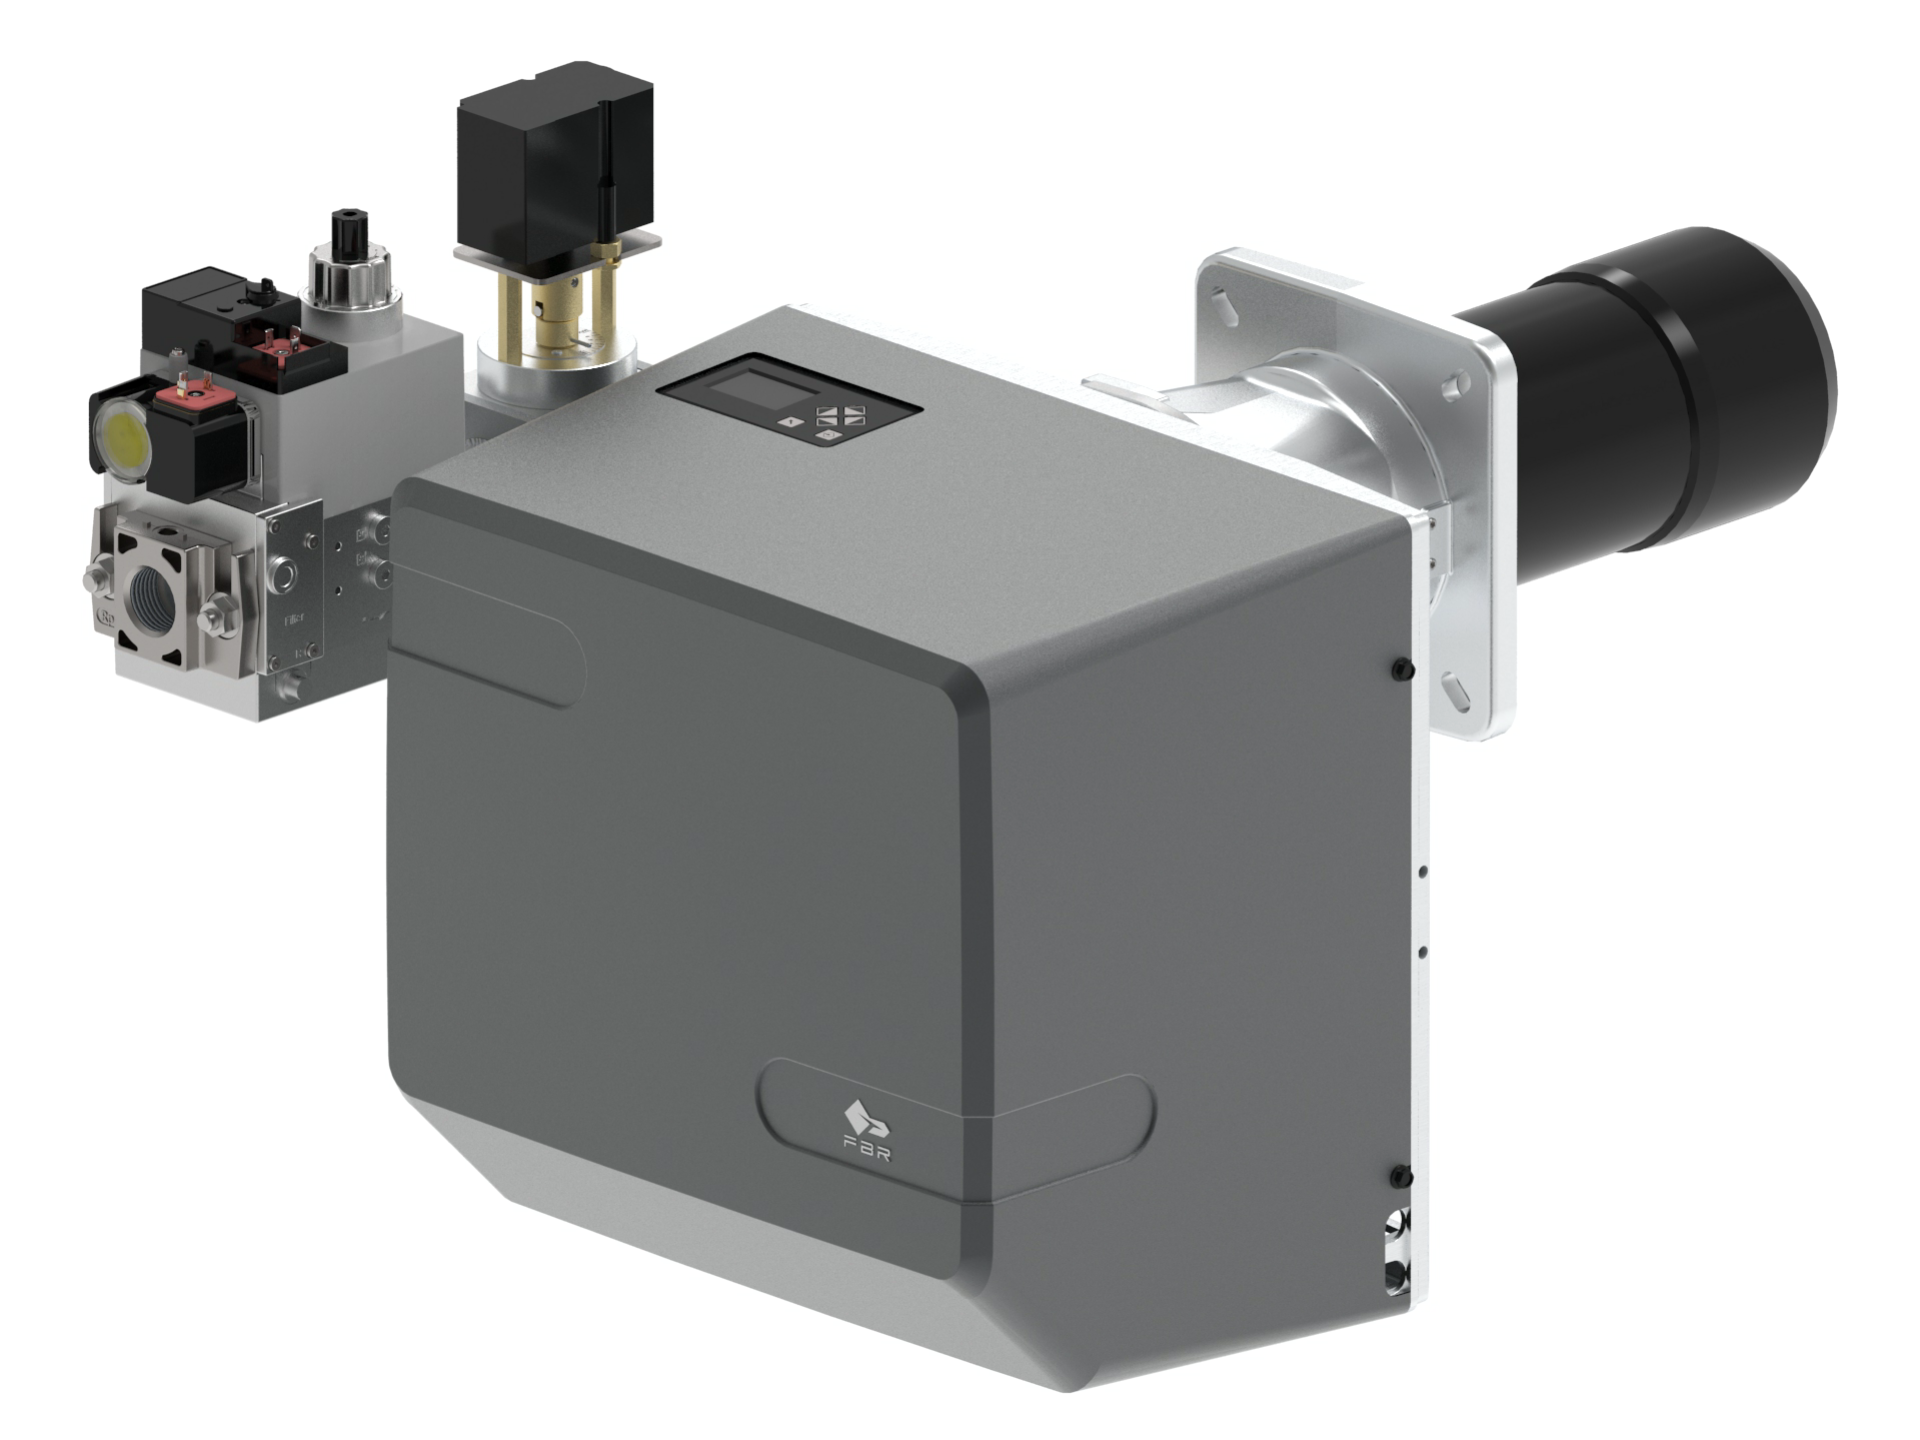
- Pressure gauge testing: Install a digital pressure gauge at the fuel inlet point. For gas burners like the FBR BURNER GAS X5/MF TL EL VC LPG, baseline pressure should match manufacturer specifications (typically 12-20 bar for LPG). Pressure readings below 10 bar indicate upstream restriction.
- Filter element condition: Fuel filters accumulate particulate matter that blocks nozzles. Replace filters when pressure drop exceeds 0.5 bar across the filter housing. This is one of the fastest diagnostics with the highest resolution rate.
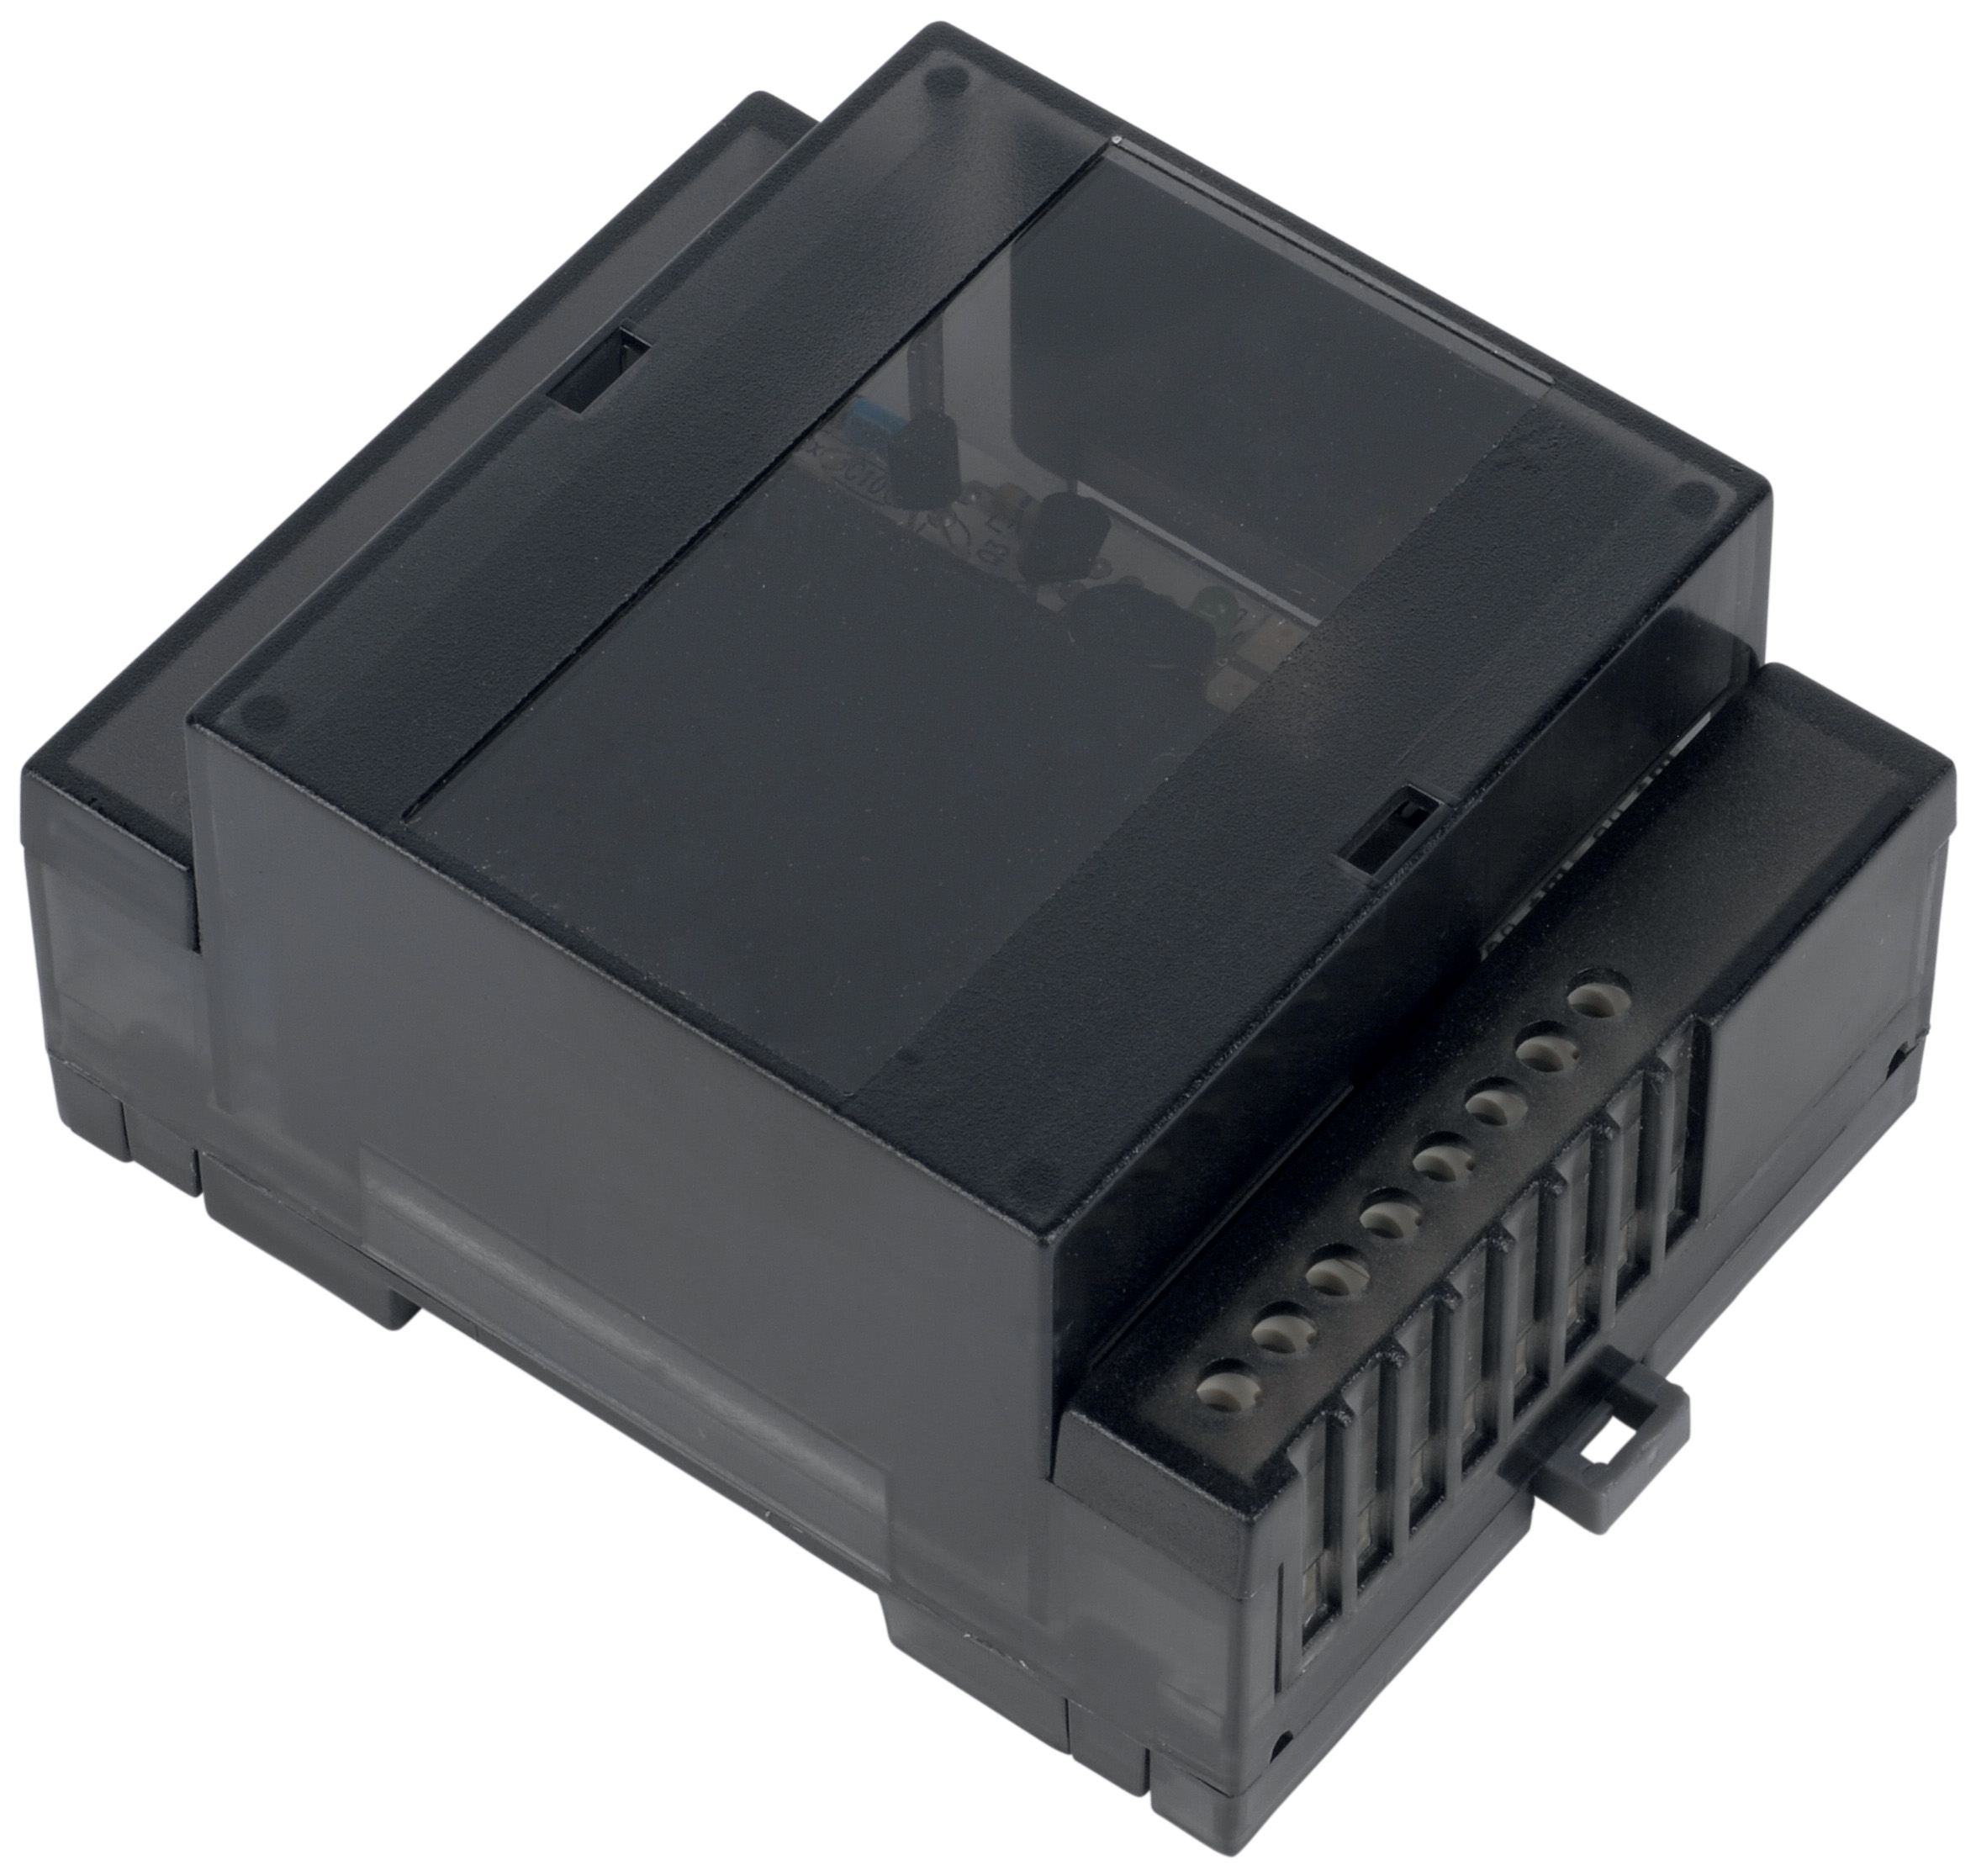
- Double solenoid valve functionality: The CBM VCS 1E25R/25R05NNWL3/PPPP/PPPP double solenoid valve controls fuel flow with two independent circuits for redundancy. Test electrical continuity at the solenoid coil terminals (should read 200-300 ohms). A failed solenoid prevents fuel delivery entirely or causes partial flow restrictions.
Nozzle Degradation and Atomization Quality
Nozzles are wear items that degrade gradually, causing combustion quality to decline over thousands of operating hours. Contractors often overlook nozzle inspection because problems develop incrementally.
Signs of nozzle degradation:
- Flame becomes smaller or unstable during normal operation
- Visible soot deposits inside combustion chamber walls (indicates incomplete fuel combustion)
- Fuel consumption increases 5-10% without increased heat output
- Ignition delay increases from 2-3 seconds to 5+ seconds
Remove the nozzle and inspect the spray pattern opening using a magnifying glass. Look for:
- Carbon deposits partially blocking the orifice (clean with ultrasonic cleaner)
- Physical erosion or pitting of the nozzle seat (requires replacement)
- Cracks in the ceramic or metal components (permanent replacement needed)
For gas burners with modulation capability, verify that the nozzle hole diameter matches the original specification—oversized holes from wear increase fuel flow and reduce spray quality. Undersized holes from carbon buildup restrict flow and cause lean combustion.
Combustion Chamber Diagnosis and Flame Characteristics
Analyzing Flame Appearance for System Health
The flame itself communicates critical information about combustion efficiency. Experienced contractors train their eyes to recognize healthy vs. problematic combustion signatures.
Healthy combustion indicators:
- Bright blue flame (for gas) with minimal orange coloring
- Flame size consistent throughout operating cycle
- No visible pulsing or flickering
- Minimal noise (quiet hissing for gas burners)
- Steady flame position relative to burner head
- Long, yellow flame with orange streaks: Incomplete combustion from insufficient air mixing. Check air shutter position on the burner—it may have shifted from vibration or thermal expansion. Reposition to increase primary air supply.
- Short, bright blue flame that pulsates: Fuel pressure instability or air supply pressure fluctuation. Install a digital pressure transducer to confirm fuel pressure remains constant throughout the cycle. If pressure varies more than ±0.5 bar, the fuel pump or regulator requires service.
- Flame lifts away from burner head repeatedly: Classic air/fuel ratio mismatch. Too much air relative to fuel causes the flame to blow back. Reduce air shutter opening or increase fuel pressure slightly.
- Flame roots in combustion chamber (flame flashback): Excess fuel relative to available air. This is dangerous and indicates fuel pressure exceeds safe limits or air supply is blocked. Reduce fuel pressure immediately and verify air inlet pathways are clear.
Combustion Chamber Inspection and Heat Exchange
The combustion chamber walls must remain clean to transfer heat efficiently to the heat exchanger. Soot accumulation acts as an insulator, reducing overall system efficiency by 3-5% per year if not cleaned.
Inspection points:
- Examine burner head for carbon ring formation around the flame area
- Inspect primary combustion zone walls for black soot deposits
- Check heat exchanger tubes for soot bridging (soot connecting parallel tubes, restricting gas flow)
- Test flue gas temperature as a proxy for combustion efficiency; rising flue temperatures indicate heat transfer degradation
Clean the combustion chamber with a soft brush (brass wire works well for industrial burners) during annual maintenance. For high-fire operation systems, increase cleaning frequency to semi-annually.
Safety Relay and Flame Detection System Integration
Flame Detection Sensor Diagnostics
The flame detection system must reliably confirm combustion within 2-5 seconds of ignition. Common issues include sensor fouling, optical path blockage, or relay malfunction.
Testing procedures:
- UV/IR sensor response time: Activate the burner ignition and measure the time from spark initiation to flame signal confirmation. Should be 2-4 seconds. Longer delays indicate sensor contamination or weak flame signal.
- Sensor window inspection: Remove the sensor probe and examine the optical window (if UV type). Any soot, dust, or moisture film blocks the flame signal. Clean carefully with a soft, dry cloth or replacement if damaged.
- Flame relay verification: The CBM Flame relay CF1 confirms flame presence and triggers safety shutdowns if flame is lost. Test the relay coil resistance (typically 1000-2000 ohms). If out of range, the relay requires replacement.
- Signal continuity path: Trace the signal wire from sensor to control board. Ensure connections are tight and corrosion-free at all terminals. Corroded connections create intermittent flame signal loss.
Control Relay and Modulation System Function
For systems equipped with modulation capability (like the FBR BURNER GAS X5/MF TL EL VC LPG with optional modulation kit), the control relay coordinates burner response to load demands.
Modulation troubleshooting:
- Temperature probe malfunction: The temperature sensor provides feedback for modulation. Test the probe resistance at different temperatures; resistance should change linearly with temperature. A flat resistance reading indicates probe failure.
- CBM Relay CM391.2 30.5 1.2 response delay: The modulation relay should adjust burner fuel pressure within 1-2 seconds of load change. Sluggish response indicates relay contacts wearing out or drive signal degradation.
- Modulation range verification: Confirm the burner can modulate smoothly from minimum (typically 20% capacity) to maximum. Erratic stepping or failure to reach setpoint suggests fuel regulator or control valve wear.
For installations using the CBM Base LGK AGM17 mounting system, ensure all relay sockets and connectors are firmly seated—vibration from burner operation can dislodge connections over time.
Preventive Maintenance Schedule and Long-Term Performance
Annual Maintenance Protocol
Establishing a structured maintenance schedule prevents most combustion issues from developing:
- Pre-season inspection: Test all electrical connections, fuel pressure baseline, and flame detection response
- Filter replacement: Change fuel filters before the heating season; aged filters contribute to nozzle clogging
- Combustion chamber cleaning: Remove soot deposits and inspect burner head alignment
- Sensor validation: Clean or replace flame detection sensors based on visual inspection
- Safety system test: Manually interrupt flame and verify safety shutdown occurs within 2-3 seconds
Component Replacement Intervals
With 3G Electric's 35+ years of experience in industrial equipment distribution, we recommend:
- Nozzles: Replace every 3-5 years or when atomization shows signs of degradation
- Fuel filters: Replace annually or when pressure drop exceeds 0.5 bar
- Flame detection sensors: Replace every 5-7 years or if optical clarity is compromised
- Solenoid valves: Replace if coil resistance exceeds 400 ohms or electrical testing shows anomalies
- Control relays: Replace if response time increases beyond specification or if visible contact pitting occurs
Commissioning New Systems
When installing new burner equipment, perform comprehensive baseline testing:
- Establish baseline fuel pressure, air pressure, and flue gas temperature
- Document flame detection response time under startup conditions
- Verify modulation range (if equipped) over full load spectrum
- Record combustion chamber temperatures at multiple points
- Test all safety interlocks and confirm proper shutdown sequences
These baselines become invaluable reference points for future diagnostics. Any deviation from baseline values signals developing problems before they impact system availability.
Working with 3G Electric for Burners & Combustion Support
As an global industrial equipment distributor, 3G Electric stocks critical burner components and provides technical support to HVAC contractors worldwide. Our 35+ years in the industry have established deep relationships with manufacturers of gas burners, control relays, flame detection systems, and safety interlocks.
When you encounter complex Burners & Combustion diagnostics, our technical team can help verify specifications, identify compatible replacement parts, and recommend troubleshooting sequences based on your specific equipment configuration.
Contact 3G Electric's technical support with equipment model numbers, symptom descriptions, and pressure/temperature readings from your installation. We'll help you resolve issues efficiently and source the exact components needed for repairs.