Understanding Controls & Safety System Architecture
Controls & Safety systems in HVAC applications are the backbone of safe, reliable burner operation. They manage ignition sequences, monitor flame conditions, regulate fuel flow, and execute emergency shutdowns—all simultaneously. With 35+ years of experience distributing industrial equipment across Southeast Asia, 3G Electric has observed that most service calls stem from improper diagnostics rather than component failure.
The typical control chain includes:
- Safety relays or burner control units that orchestrate sequences
- Pressure switches monitoring fuel and air conditions
- Flame detection sensors confirming combustion
- Gas blocking solenoids preventing unsafe fuel release
- Ignition modules generating spark or glow
Before troubleshooting any component, you must understand the sequence of operations for your specific burner. This usually flows: fuel isolation → air verification → ignition → flame detection → fuel modulation → monitoring. A failure at any stage halts the entire process—intentionally. Your diagnostic method must respect this safety-first design.
Systematic Diagnostic Procedure: Seven-Step Method
Step 1: Visual Inspection and Documentation
Begin with power OFF. Photograph the installation layout, note all visible components, and document the burner model, fuel type (gas or oil), and rating plate specifications. Check for:
- Corroded or loose electrical terminals
- Burned or discolored insulation
- Physical damage to sensors or valve bodies
- Improper mounting or vibration-related wear
Record ambient temperature and humidity—Southeast Asia's high humidity accelerates corrosion of control terminals and can cause intermittent electrical faults.
Step 2: Verify Power and Earthing
With a multimeter, confirm:
- Supply voltage at the main terminal: Should match the rated voltage (typically 230V or 400V in Southeast Asia). Voltage drop exceeding 3% indicates wiring issues.
- Continuity of earth cables: Critical for safety relay operation and personnel protection in humid environments.
- Phase rotation (for three-phase systems): Incorrect rotation can damage variable frequency drive interfaces.
If voltage is unstable (fluctuating >10V), defer burner testing and address the site's electrical supply first. Unstable power causes false flame loss signals and nuisance shutdowns.
Step 3: Test the Safety Relay or Burner Control Unit
The control relay (such as Kromschroder BCU 570WC1F1U0K1-E) contains the operating logic. Test it with power ON:
1. Check pilot circuit voltage: Measure at the pilot ignition terminals. Should show 0V during standby, then 3-7kV pulse during ignition attempts (specific to your relay model).
2. Activate the call-for-heat: Many systems have a manual test button or remote thermostat signal. Observe the relay's status lights or LED indicators.
3. Monitor the sequence: Note the timing—ignition should start within 2-3 seconds, flame should be detected within 10 seconds, and fuel should modulate within 5 seconds of flame confirmation.
4. Force a flame-loss condition: If the burner is running, momentarily block the flame sensor (or remove the UV tube if applicable). The relay should initiate shutdown within 2-5 seconds and lock out, preventing restart until manually reset.
If the relay doesn't respond to test inputs, it's defective and must be replaced. Do not attempt repairs to sealed relay units.
Step 4: Pressure Switch Validation
The Kromschroder DG 50U/6 pressure switch monitors fuel pressure and air proving, making it critical for sequence logic. Test as follows:
For fuel pressure switches:
1. Locate the pressure test point on the fuel line (usually marked with a small port).
2. Connect a pressure gauge rated for the expected range (typically 0.5–3 bar for gas).
3. With the burner in standby, record baseline pressure. It should match the regulator setpoint ±0.1 bar.
4. Activate ignition and observe the pressure rise. It should reach full modulation pressure within 5 seconds.
5. Use a manual hand pump (if accessible) to slowly increase pressure. The switch contact should close at the setpoint shown on its adjustment screw. Record this actual setpoint.
6. Reduce pressure slowly. The switch should open at a slightly lower point (differential or hysteresis), typically 0.2–0.4 bar below the closing point.
For air-proving switches:
1. Verify that airflow is actually reaching the air switch sensor when the fan runs.
2. In dusty or humid Southeast Asian environments, check that the sensor port isn't blocked by corrosion or debris.
3. Test response time: The switch should make contact within 3 seconds of fan startup.
Out-of-spec pressure switches are the number-one cause of false safety lockouts. If measured setpoints deviate >0.3 bar from nameplate values, replace the switch.
Step 5: Flame Detection Sensor Testing
Flame detection is the safety net preventing fuel discharge without confirmation of combustion. Two main types exist:
UV (ultraviolet) flame sensors:
1. Ensure the quartz window is clean. UV windows degrade in humid climates—clean with lint-free cloth and isopropyl alcohol quarterly.
2. With the burner running and flame present, measure the UV sensor output voltage (usually 0–5V DC). Consult your sensor datasheet; typically 2V+ indicates strong flame.
3. Deliberately extinguish the pilot (block the gas inlet with a small card). The output should drop to <0.5V within 2 seconds.
4. If output remains high without flame, the sensor's electronics are faulty—replacement is required.
Ionization flame sensors (for oil burners or dual-fuel systems):
1. Measure the electrode gap (typically 3–5mm). Combustion deposits reduce gap over time; clean electrodes with a soft brush if gap is <2mm.
2. During flame operation, the sensor generates a small ion current (typically 1–3 µA). Use a picoammeter or the ammeter function on a digital multimeter in µA range to measure this at the sensor terminal.
3. Extinguish the pilot and verify ion current drops to <0.2µA within 3 seconds.
4. If ion current is erratic or nonexistent during flame, the electrode is contaminated or the sensor amplifier (usually housed in the control relay) is failing.
Note: The Siemens LFL 1.622 relay includes integrated ionization and UV flame monitoring—if flame detection fails with this relay, the entire unit requires replacement as internal electronics cannot be serviced.
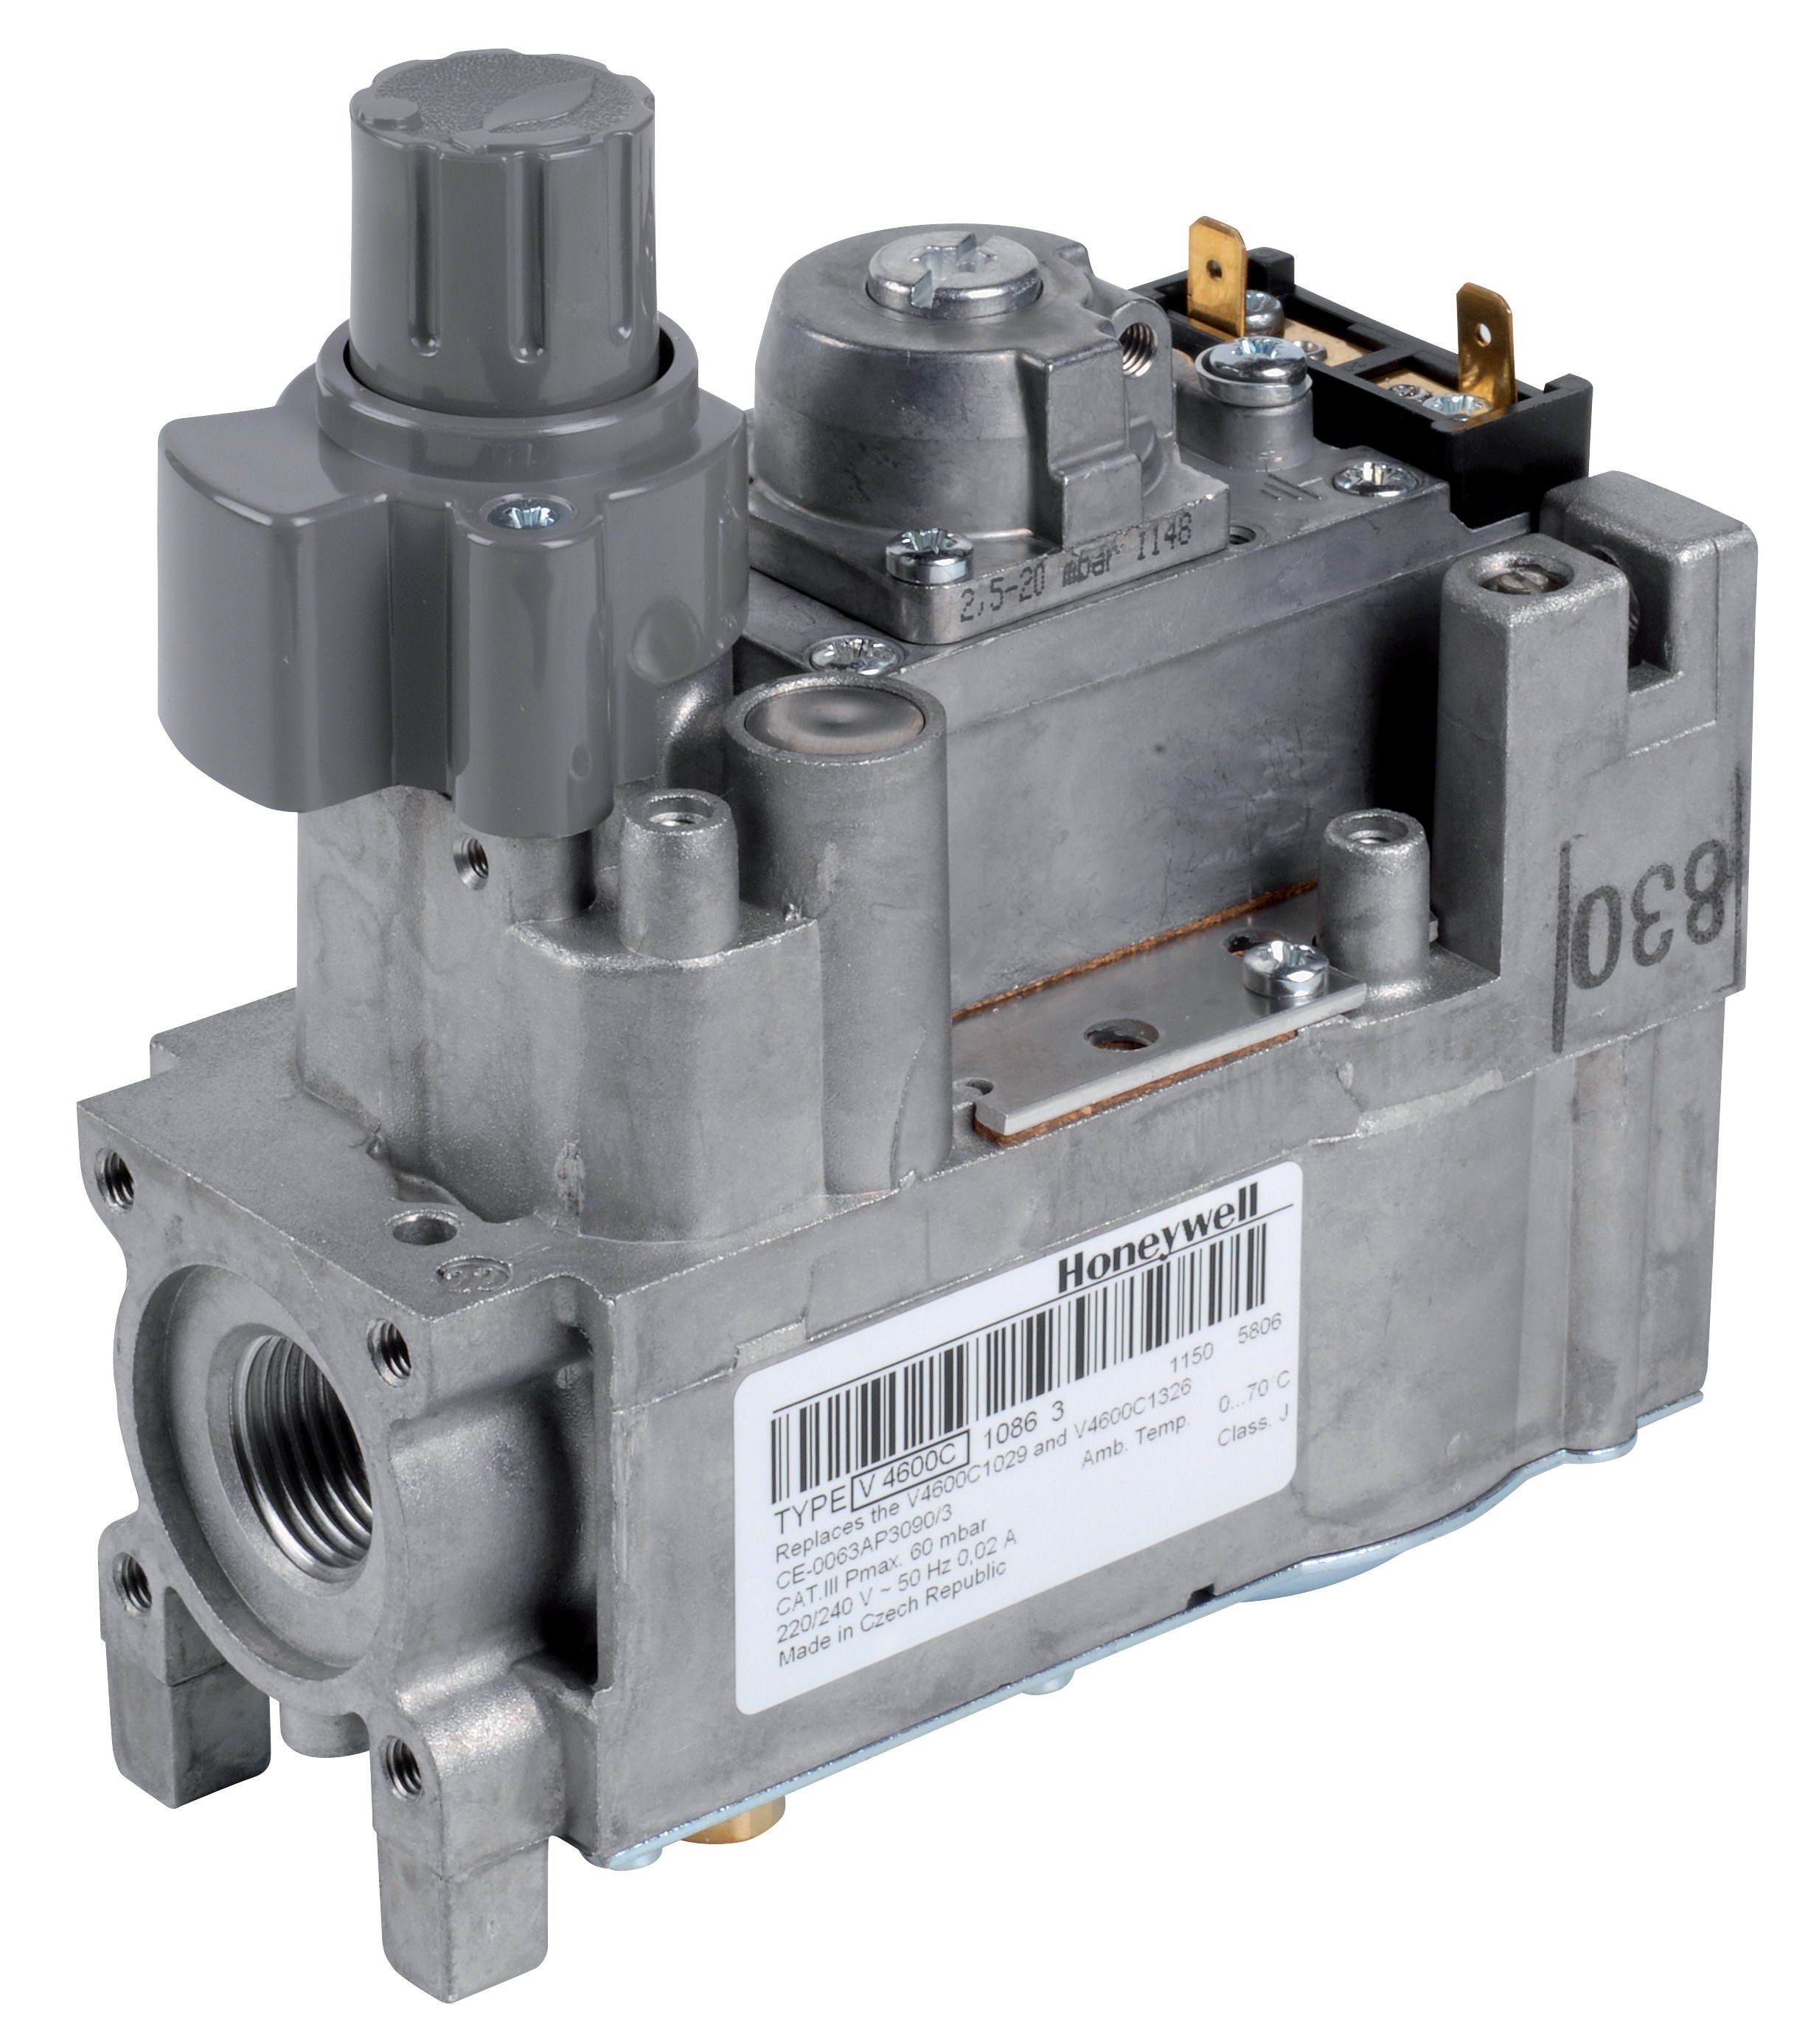
Step 6: Gas Control Block and Solenoid Valve Inspection
The Honeywell VK 4105 C 1041 U gas block combines pressure regulation with solenoid isolation. Test the solenoid:
1. Deactivate the burner (thermostat OFF).
2. Measure the solenoid coil resistance with a multimeter on the Ω (ohms) setting. Remove power first. Typical resistance: 20–50Ω for 230V coils, 200–500Ω for 24V coils. Out-of-spec readings indicate burned windings—replace the valve.
3. With the burner in standby, apply manual test voltage (24V DC or mains AC, depending on coil) to the solenoid terminals using a battery or test supply. You should hear a distinct click within 1 second. If there's no click, the solenoid is jammed or open-circuit.
4. Under power, the solenoid should hold fuel pressure steady (no creep or leakage).
5. Remove test power. There should be a second click as the spring returns the valve to its de-energized state.
If the solenoid coil is open-circuit, it can sometimes be rewound by a specialist shop—but 3G Electric recommends replacement with a new, certified unit for safety-critical applications. Gas block solenoids must never be jury-rigged.
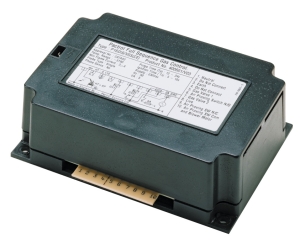
Step 7: Ignition Module and Spark/Glow Verification
The Pactrol Housing P 16 DI CE ignition module generates high-voltage spark or glow for pilot ignition. Test it safely:
For spark ignition (gas burners):
1. Power ON the burner with NO gas supply (close the manual isolation valve).
2. Observe the spark plug electrode inside the burner. You should see a crisp blue spark jumping the gap every 1–2 seconds during ignition attempts. Use a test light or watch for faint illumination—never place your hand near the spark plug.
3. If spark is absent, weak, or intermittent:
- Check electrode gap (typically 2–3mm). Adjust with a feeler gauge if the burner design permits.
- Measure output voltage at the ignition module terminal: Should be 8–12kV peak during ignition. A multimeter cannot measure this directly; use an ignition tester or professional scope.
- Inspect the ignition cable and terminals for moisture or corrosion—very common in Southeast Asian heat and humidity.
4. After 10–15 seconds without flame detection, the ignition should cease automatically and the burner should lock out. If ignition continues indefinitely, the control relay's ignition timer is faulty.
For glow ignition (oil burners):
1. Measure glow plug resistance when cold: Typically 20–30Ω for 230V plugs, 40–100Ω for lower-voltage variants.
2. With power applied, the glow plug should glow visibly within 5 seconds—the tip will emit a faint red glow, brightest on the first 10 seconds.
3. If the plug does not glow, measure voltage at the plug terminal. If voltage is present but the plug doesn't glow, the heating element is burned out—replace the glow plug.
4. If voltage is absent, trace the circuit back through the control relay to confirm 230V (or appropriate voltage) is being supplied to the glow circuit during the ignition phase.
Creating a Troubleshooting Decision Tree
For repeatability, develop a quick decision flowchart for your service team:
1. Burner won't start? → Check power supply → Test relay → Check fuel pressure switch.
2. Flame loss during operation? → Test flame sensor → Check fuel supply stability → Verify air proving.
3. Lockout after few seconds? → Check flame sensor window (corrosion/dust) → Verify ignition spark/glow → Test pressure switches for false signals.
4. Slow startup or erratic modulation? → Check gas block solenoid response time → Verify fuel pressure regulation → Test pressure switch hysteresis.
5. Safety relay won't reset? → Confirm flame is fully extinguished → Check manual reset procedure → Verify 24V control circuit power.
Southeast Asia-Specific Considerations
Climate and corrosion: High humidity and salt air (coastal regions) accelerate terminal corrosion. Inspect all electrical connections quarterly. Apply silicone dielectric grease to terminals to reduce moisture intrusion.
Dust and air quality: Industrial areas with poor air quality may have dust clogging UV flame sensor windows or air switch ports. Establish a monthly cleaning schedule.
Power quality: Unstable grid voltage is common in some Southeast Asian regions. Where voltage fluctuation exceeds ±10%, install a voltage stabilizer on the burner control circuit.
Spare parts availability: 3G Electric maintains stock of common replacement components including relays, pressure switches, and solenoid coils at multiple distribution points across Southeast Asia, ensuring rapid service restoration.
Documentation and Compliance
After each troubleshooting session, document:
- Date and time of service
- Specific faults identified
- Measured values (voltages, pressures, resistances)
- Components replaced
- Sequence timing before and after repair
- Contractor signature
This record supports compliance with local safety regulations and creates a maintenance history that protects both you and your client from liability claims.