Understanding Controls & Safety Electrical Interlocks in Industrial Burners
Electrical interlocks form the backbone of industrial burner safety systems, preventing dangerous operating conditions by enforcing strict startup sequences and continuous monitoring. Drawing on 35+ years of experience distributing industrial controls across Asia-Pacific, 3G Electric has observed that approximately 40% of unplanned burner shutdowns stem from interlock circuit failures rather than actual combustion problems.
Electrical interlocks serve multiple critical functions: they verify that pilot flames are established before main fuel introduction, they monitor safety device responses within specified timeframes, they enforce fuel shutoff sequences during emergency stops, and they prevent system restart until all reset conditions are satisfied. When these circuits fail, maintenance teams face diagnostic challenges that demand systematic approaches and proper test equipment.
In tropical industrial environments like Singapore, humidity and thermal cycling accelerate contact degradation in relay modules and pressure switches. Understanding the architecture of your safety circuit—whether using traditional hardwired relays or modern safety controllers—is the first step toward effective troubleshooting.
Diagnosing Relay Module and Contact Failures
Modern burner control relays like the Kromschroder Relay BCU 570WC1F1U0K1-E integrate multiple safety functions into single modules, creating complex internal logic that can be difficult to diagnose without proper procedures. Contact failures represent the most common relay malfunction, occurring when electrical contacts become pitted, welded, or experience intermittent connection loss.
Step 1: Visual Inspection and Physical Testing
Begin by powering down the control circuit completely and performing a comprehensive visual inspection. Look for discoloration around relay terminals, indicating heat stress or arcing. Check for burnt odors near the relay module—a chemical smell suggests contact oxidation or internal component failure. Inspect the socket connections where the relay seats; corroded or loose pin contacts frequently cause intermittent faults that are difficult to reproduce during operation.
With power off, use a multimeter set to resistance mode to test contact continuity. For safety relays supporting multiple functions, test each contact pair independently. A contact showing resistance greater than 2 ohms typically indicates degradation and should be flagged for replacement. Document baseline resistance values when systems are operating normally; this establishes reference points for trending analyses.
Step 2: Timing and Response Analysis
Safety circuits depend on precise timing between component responses. When the burner control system initiates startup, the relay must energize solenoid valves, ignition modules, and pilot fuel within defined time windows (typically 1-3 seconds for pilot light establishment). If your relay fails to energize these components within specification, the main control unit triggers a safety lockout.
Use an oscilloscope or multi-function test meter to measure the energization voltage at relay coil terminals. Safety relays typically operate at 120V AC or 24V DC, depending on system design. If measured voltage is below 85% of nominal (e.g., below 102V for 120V systems), investigate the power supply, control transformer, or upstream wiring for voltage drops. Poor contacts in safety circuit terminals can cause 10-20V drops that prevent relay pickup.
Once the relay energizes, verify that its output contacts close within 100 milliseconds. Delayed contact closure may allow burner systems to operate in an unsafe state briefly. Use your test equipment to monitor contact closure signals going to solenoid valves and ignition modules. If closure timing exceeds specification, the relay internal mechanisms are likely worn and require replacement.
Step 3: Load Testing and Contact Wear Assessment
Relay contacts experience wear proportional to switching current and frequency. Industrial burner systems may cycle the main fuel solenoid hundreds of times daily. High-current switching (above 5 amperes) causes faster contact degradation than light-duty switching. Request the relay datasheet and identify the contact rating for your specific circuit.
Perform a load test by connecting a calibrated milliamp meter in series with a solenoid valve circuit, then cycling the relay multiple times while observing current draw. Increasing current values across successive cycles indicate contact resistance buildup. If current fluctuates by more than 10% between cycles, contact surface area is degrading and replacement is imminent.
For the BCU 570WC1F1U0K1-E, which supports direct ignition and intermittent/continuous pilot modes, test each operational mode separately. This relay's EN 746-2 and EN 676 compliance depends on all internal circuits functioning to specification; partial contact degradation affecting one mode may not immediately affect others but will worsen rapidly.
Pressure Switch Integration and Safety Circuit Continuity
Pressure switches like the Kromschroder DG 50U/6 serve as safety interlocks, verifying that fuel pressure remains within acceptable ranges before and during burner operation. These SIL 3-rated devices provide critical feedback loops that interlock with main control relays, creating layered safety architecture.
Identifying Pressure Switch Failures
Pressure switches fail through two primary mechanisms: contact failures similar to relays, and sensing element degradation that prevents accurate pressure detection. A failed pressure switch can either remain in the closed position (creating a false safety signal) or in the open position (preventing burner startup even when pressure is adequate).
Begin troubleshooting by physically locating the pressure switch on your fuel supply line. The DG 50U/6 features a mechanical adjustment screw that sets the switching point. Verify that this screw has not loosened—vibration in industrial environments frequently causes calibration drift. If the screw has moved, the switch may activate at incorrect pressure thresholds.
Disconnect the electrical terminals from the pressure switch and use your multimeter to measure resistance. The switch should show open circuit (infinite resistance) when fuel pressure is below the setpoint and closed circuit (near-zero resistance) above the setpoint. If you observe high resistance when the switch should be closed, internal contacts have degraded.
For a more definitive test, apply controlled pressure to the switch using a hand pump or compressor with pressure gauge. Slowly increase pressure from zero and listen for the distinct "click" sound indicating contact closure. The click should occur near the marked setpoint (typically printed on the switch body). If the click occurs at significantly higher pressure, the sensing diaphragm has lost elasticity and cannot respond properly.
Integrating Pressure Switch Testing with Control Circuit Diagnostics
Once you confirm the pressure switch itself functions correctly, verify its integration with the safety interlock circuit. Disconnect the pressure switch wires from the main control relay and measure the voltage present at those terminals using a digital multimeter. With the system powered but burner not running, you should measure full control voltage (typically 120V AC or 24V DC) at these terminals.
When the burner begins startup and fuel pressure rises, the pressure switch should close its contacts, shunting that voltage to ground. At this point, voltage at the pressure switch terminals should drop to near zero. If voltage remains high, the pressure switch contacts are not closing despite adequate fuel pressure—a clear indication of internal contact failure.
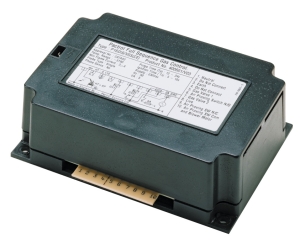
For systems using the Siemens LFL 1.622 safety control unit, which incorporates advanced pressure monitoring logic, consult the unit's diagnostic display. Many modern control units provide fault codes indicating which interlock has failed—an invaluable aid for rapid troubleshooting. The LFL 1.622's UV and ionization flame monitoring circuits run continuously in parallel with pressure interlocks, so you must test both systems to isolate the actual failure source.
Solenoid Valve Interlock Circuits and Emergency Stop Integration
Solenoid valves function as the "executors" of safety decisions made by relay circuits and pressure switches. When these components fail to respond to electrical commands, the safety chain breaks. Additionally, emergency stop circuits must override all other logic to immediately de-energize solenoid valves and shutdown fuel flow.
Testing Solenoid Coil Responsiveness
Solenoid valve coils can fail through insulation breakdown, internal wire fracture, or mechanical jamming of the plunger mechanism. When a solenoid fails to respond to electrical energization, the control system cannot inject fuel, triggering a safety lockout.
With the system powered and running, measure voltage directly at the solenoid terminals using a digital multimeter set to AC voltage mode (for AC-powered solenoids) or DC mode (for DC systems). You should measure the expected control voltage (typically 24V, 120V, or 240V depending on design). If voltage is absent or below 15V, investigate the control relay and its output contacts before concluding the solenoid is faulty.
If voltage is correct but the solenoid does not respond (you should hear a distinct magnetic "click" and feel vibration in the coil), measure the resistance of the solenoid coil using your multimeter set to ohms mode. Typical resistance ranges from 30 to 400 ohms depending on coil design. An open circuit (infinite resistance) indicates coil wire fracture. A very low resistance (below 5 ohms) suggests insulation breakdown and internal short circuit. Either condition requires solenoid replacement.
For mechanical jamming, apply slow, gentle pressure to the solenoid armature plunger (the small rod extending from the bottom of the coil). It should move freely with slight spring resistance. If the plunger is frozen or moves with grinding resistance, the valve has internal corrosion and cannot function safely.
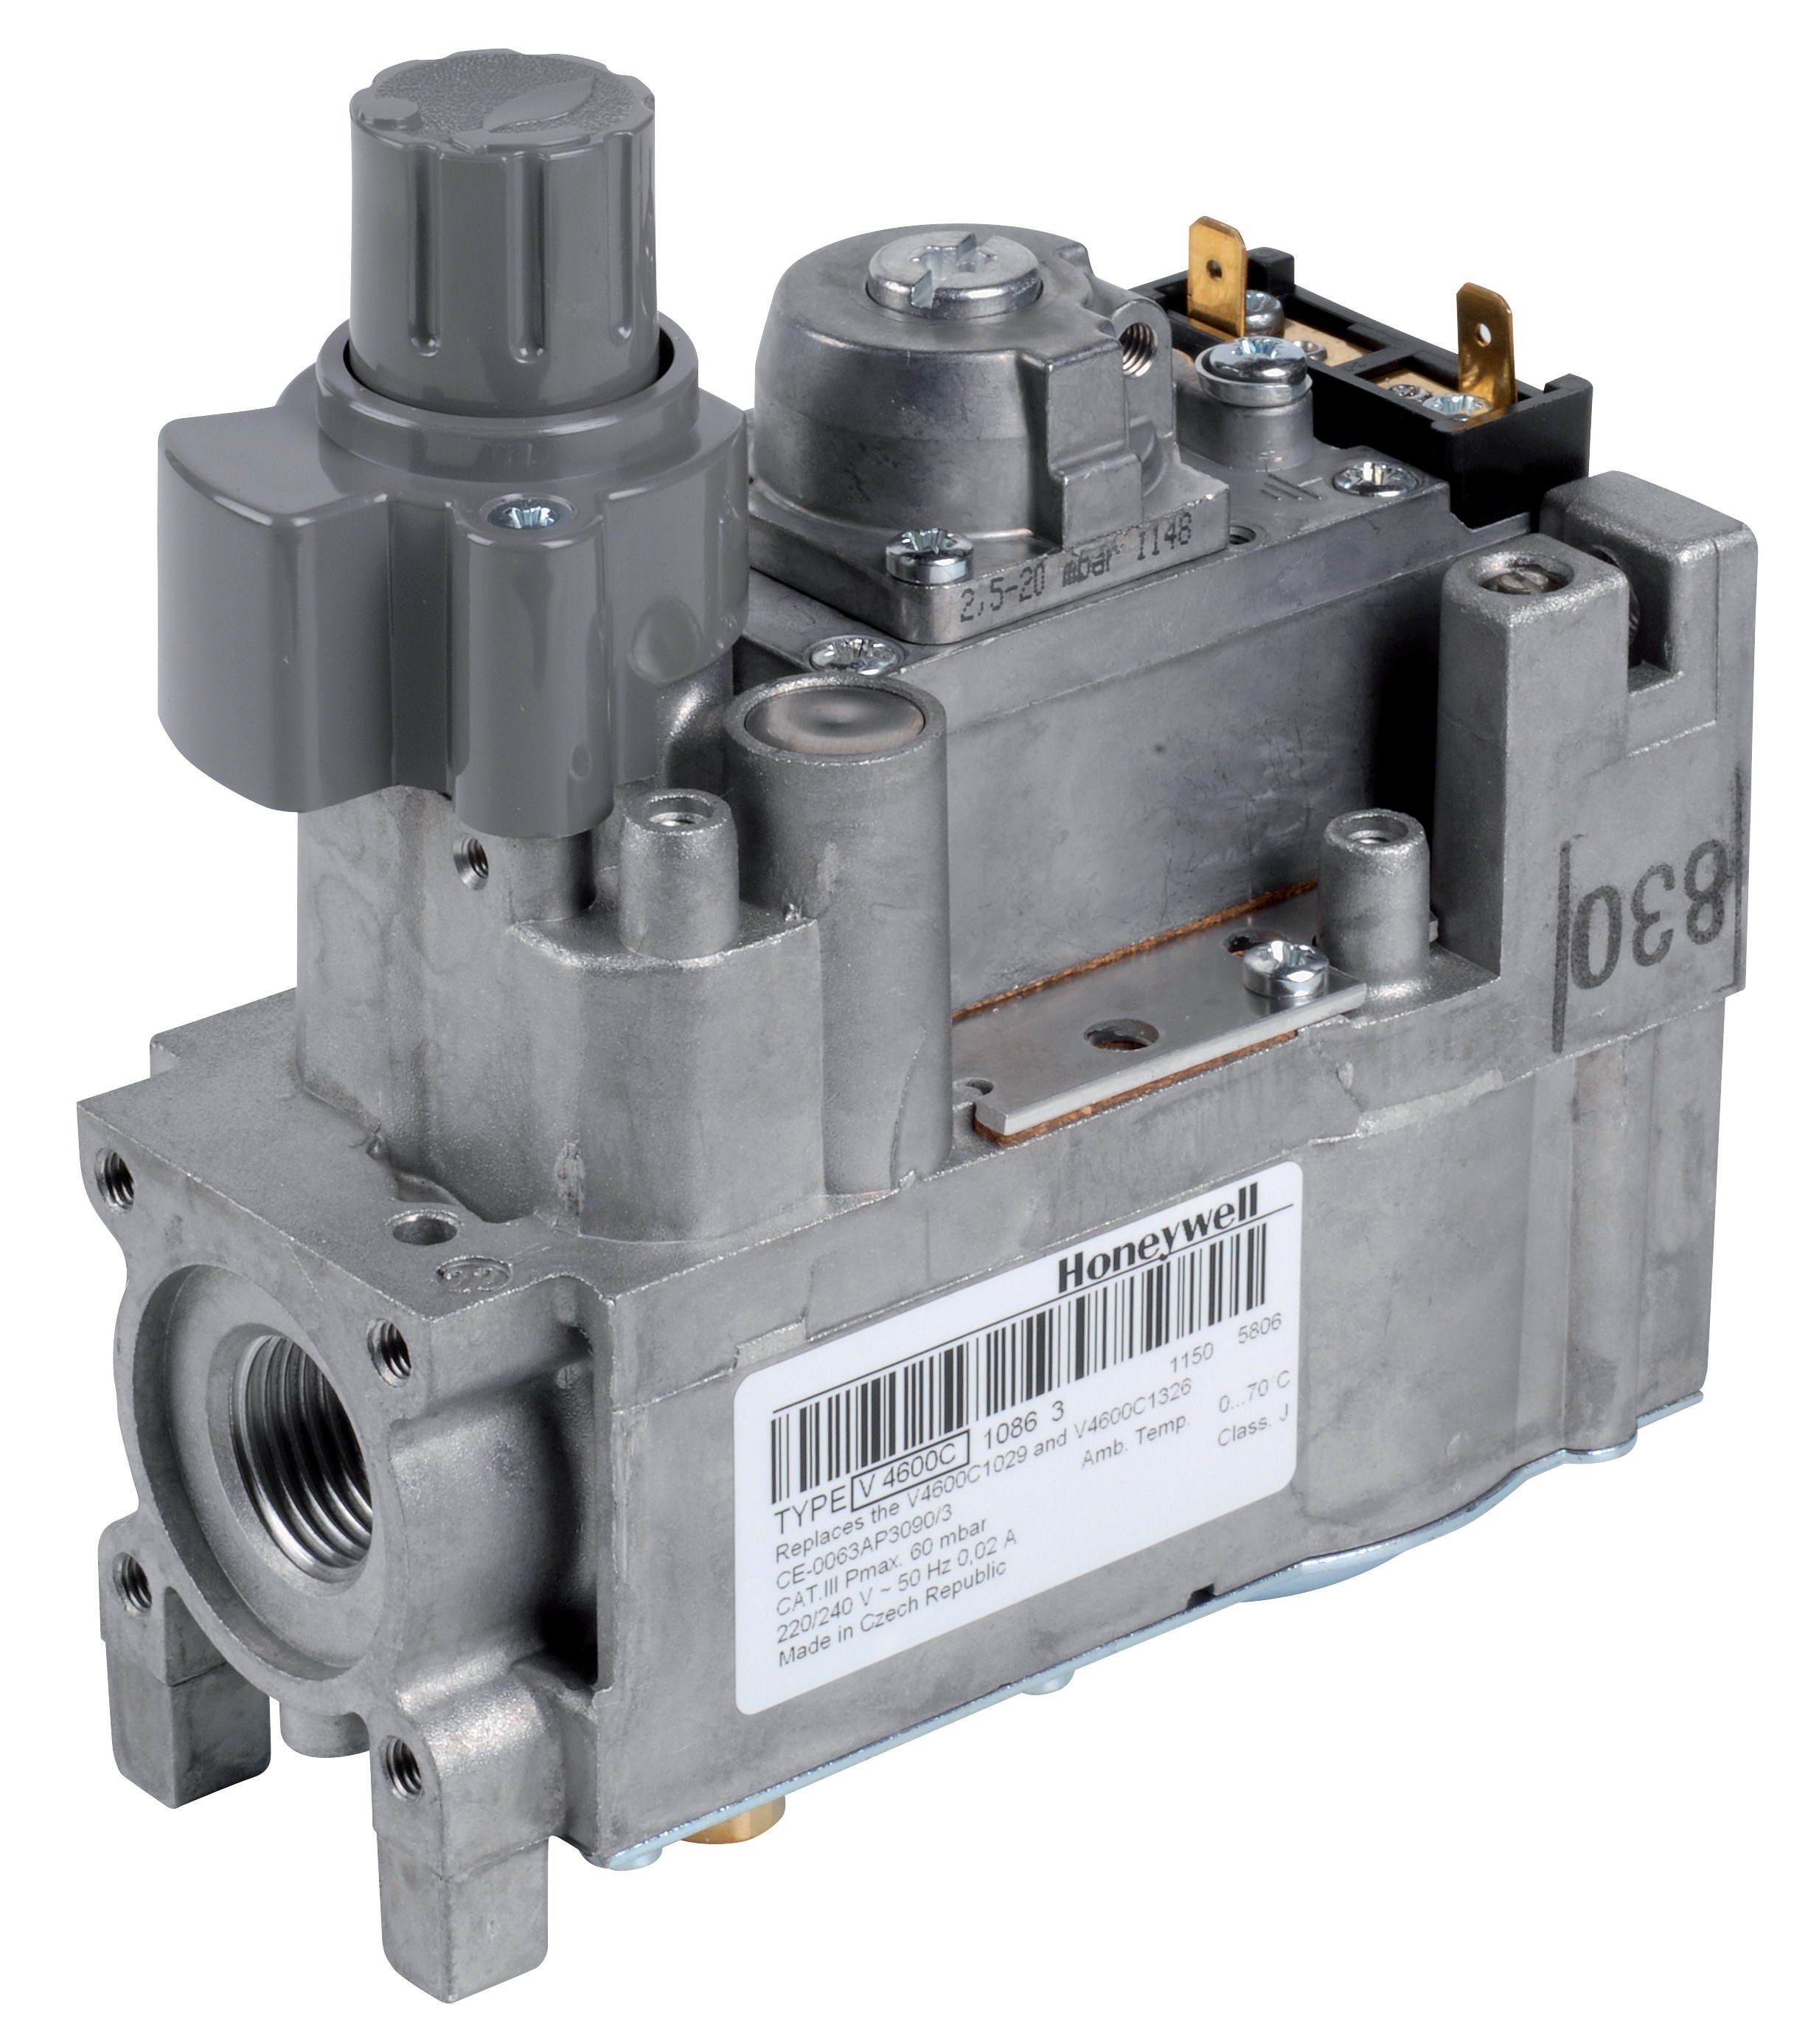
The Honeywell Gas block VK 4105 C 1041 U integrates multiple solenoid functions within a single modulating valve assembly. When this component fails, you may lose both on-off control and fine pressure regulation simultaneously. Test the solenoid pilot connections and modulation feedback circuits according to the Honeywell technical manual; these are far more complex than simple on-off solenoids.
Emergency Stop Circuit Verification
Emergency stop buttons must interrupt solenoid power at all times, even if the main control relay has failed. Trace the emergency stop circuit wiring back from the pushbutton to verify it connects directly to solenoid power terminals or to a dedicated safety relay. In Singapore's industrial environments, test these circuits quarterly—humidity and corrosion can compromise emergency stop functionality.
Activate the emergency stop button while the burner is operating, then measure solenoid voltage. It must drop to zero immediately (within 100 milliseconds). If there is any delay or if solenoid voltage remains high, the emergency stop circuit has a failure—a critical safety issue requiring immediate correction and facility notification.
Practical Troubleshooting Workflow for Interlock Circuit Faults
When a burner system experiences safety lockouts, follow this systematic approach:
Step 1: Document the Exact Fault Condition
Record the time of failure, operating mode when it occurred (startup, running, shutdown), and any burner control display messages or diagnostic codes. Note whether lockout is repeatable or intermittent. Check your facility's maintenance logs for recent work on control circuits or fuel lines—new installation or repairs often introduce intermittent faults.
Step 2: Verify Power Supply Integrity
Measure control circuit voltage at the main power terminals using a calibrated multimeter. For 120V AC systems, acceptable voltage ranges from 102-132V. For 24V DC systems, acceptable range is 20-28V. If voltage is out of range, the problem is upstream; do not troubleshoot the safety circuit until power is correct.
Step 3: Test Each Interlock Component Independently
Be systematic. Test the main control relay first using the procedures described above. Then test pressure switches. Then test solenoids. This sequential approach prevents you from replacing good components based on symptoms caused by a different failure.
Step 4: Verify Interlock Timing and Sequence
Obtain the control sequence diagram from your system documentation. Typically it specifies: pilot fuel solenoid energizes → ignition module produces spark → pilot flame sensor confirms ignition → main fuel solenoid energizes after 2-5 seconds. Use a multi-channel scope or smart test meter to verify each step occurs within specified time windows. Delays of more than 500 milliseconds in any step indicate component degradation.
Step 5: Perform Functional Test After Repair
After replacing a failed component, run the burner through at least five complete startup/shutdown cycles before returning to normal operation. Monitor safety circuit response during each cycle. Use your test equipment to confirm voltage and timing match specifications. Document baseline readings in your maintenance records for future trending analysis.
Conclusion
Electrical interlocks and safety circuits demand rigorous diagnostic discipline. With 35+ years experience supplying industrial controls across Asia-Pacific, 3G Electric understands the critical role these systems play in operational safety. By following systematic troubleshooting procedures, using appropriate test equipment, and maintaining detailed records of component performance, maintenance teams can identify interlock failures quickly and prevent dangerous equipment operation.
When replacement components are needed, sourcing from reliable distributors like 3G Electric ensures you receive genuine products with proper certifications—particularly important for safety-critical devices like the Kromschroder Relay BCU 570WC1F1U0K1-E and DG 50U/6 pressure switch that form the foundation of industrial burner safety systems.