Understanding Burners & Combustion Fuel Delivery Systems
Reliable Burners & Combustion operation depends entirely on precise fuel delivery through solenoid valve systems. When combustion fails, the problem often traces back to solenoid malfunction rather than burner design or air supply issues. Industrial maintenance teams at 3G Electric's client sites report that 40% of burner control failures stem from solenoid valve blockages, electrical faults, or control signal failures.
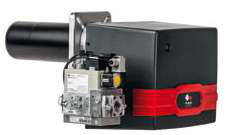
Double solenoid valve configurations—such as the CBM VCS 1E25R/25R05NNWL3/PPPP/PPPP double solenoid valve—provide redundant fuel shut-off capability required by most industrial safety standards. Understanding how these valves interact with flame relays and timing circuits is essential for rapid diagnosis when burners refuse to light or cycle unpredictably.
Section 1: Diagnosing Double Solenoid Valve Failures in Combustion Systems
Why Double Solenoid Valves Matter
Double solenoid configurations use two independent valve coils that must both energize to open fuel supply. This design prevents fuel leakage during maintenance and ensures complete shut-off if either solenoid fails. A single failed solenoid winding typically prevents burner operation entirely, creating a critical diagnostic challenge because teams cannot visually determine which coil has faulted.
Step 1: Electrical Testing Before Fuel Supply Inspection
Never disassemble a solenoid valve without first eliminating electrical faults. Follow this sequence:
- Verify 24V DC or 110V AC control power reaches the burner control panel (confirm with multimeter across main terminals)
- Test voltage at the solenoid coil terminals with the burner call signal active
- Record actual voltage: solenoid coils require 90-110% of rated voltage to pull armature plungers
- If voltage is present but burner fails to fire, the solenoid mechanical linkage or internal plunger has seized
- If no voltage appears at coil terminals during burner call, trace the control circuit through the flame relay and timing module
Step 2: Mechanical Inspection and Cleaning Protocol
Once electrical continuity confirms the coil energizes:
1. Isolate fuel supply and depressurize the line completely
2. Close all block valves upstream and downstream of the solenoid
3. Remove the solenoid valve from the burner line (note original flow direction with arrow markings)
4. Inspect the inlet strainer for debris, rust scale, or water contamination
5. If strainer shows blockage, flush the entire fuel line upstream before reinstalling
6. Listen for audible "click" when manually pressing the solenoid armature plunger—absence of resistance indicates internal spring failure
7. Check the solenoid coil for visible burn marks, corrosion, or cracked insulation
Step 3: Solenoid Replacement Timing
If the double solenoid valve fails these tests:
- Order replacement coil assemblies (often more cost-effective than full valve replacement)
- Request the exact voltage rating and coil design to match your burner control system
- Plan replacement during scheduled maintenance windows—do not attempt live repairs
- Keep spare solenoid coil sets in inventory for critical combustion systems
Section 2: Flame Relay and Control Signal Integration Troubleshooting
Role of Flame Detection in Burner Safety Circuits
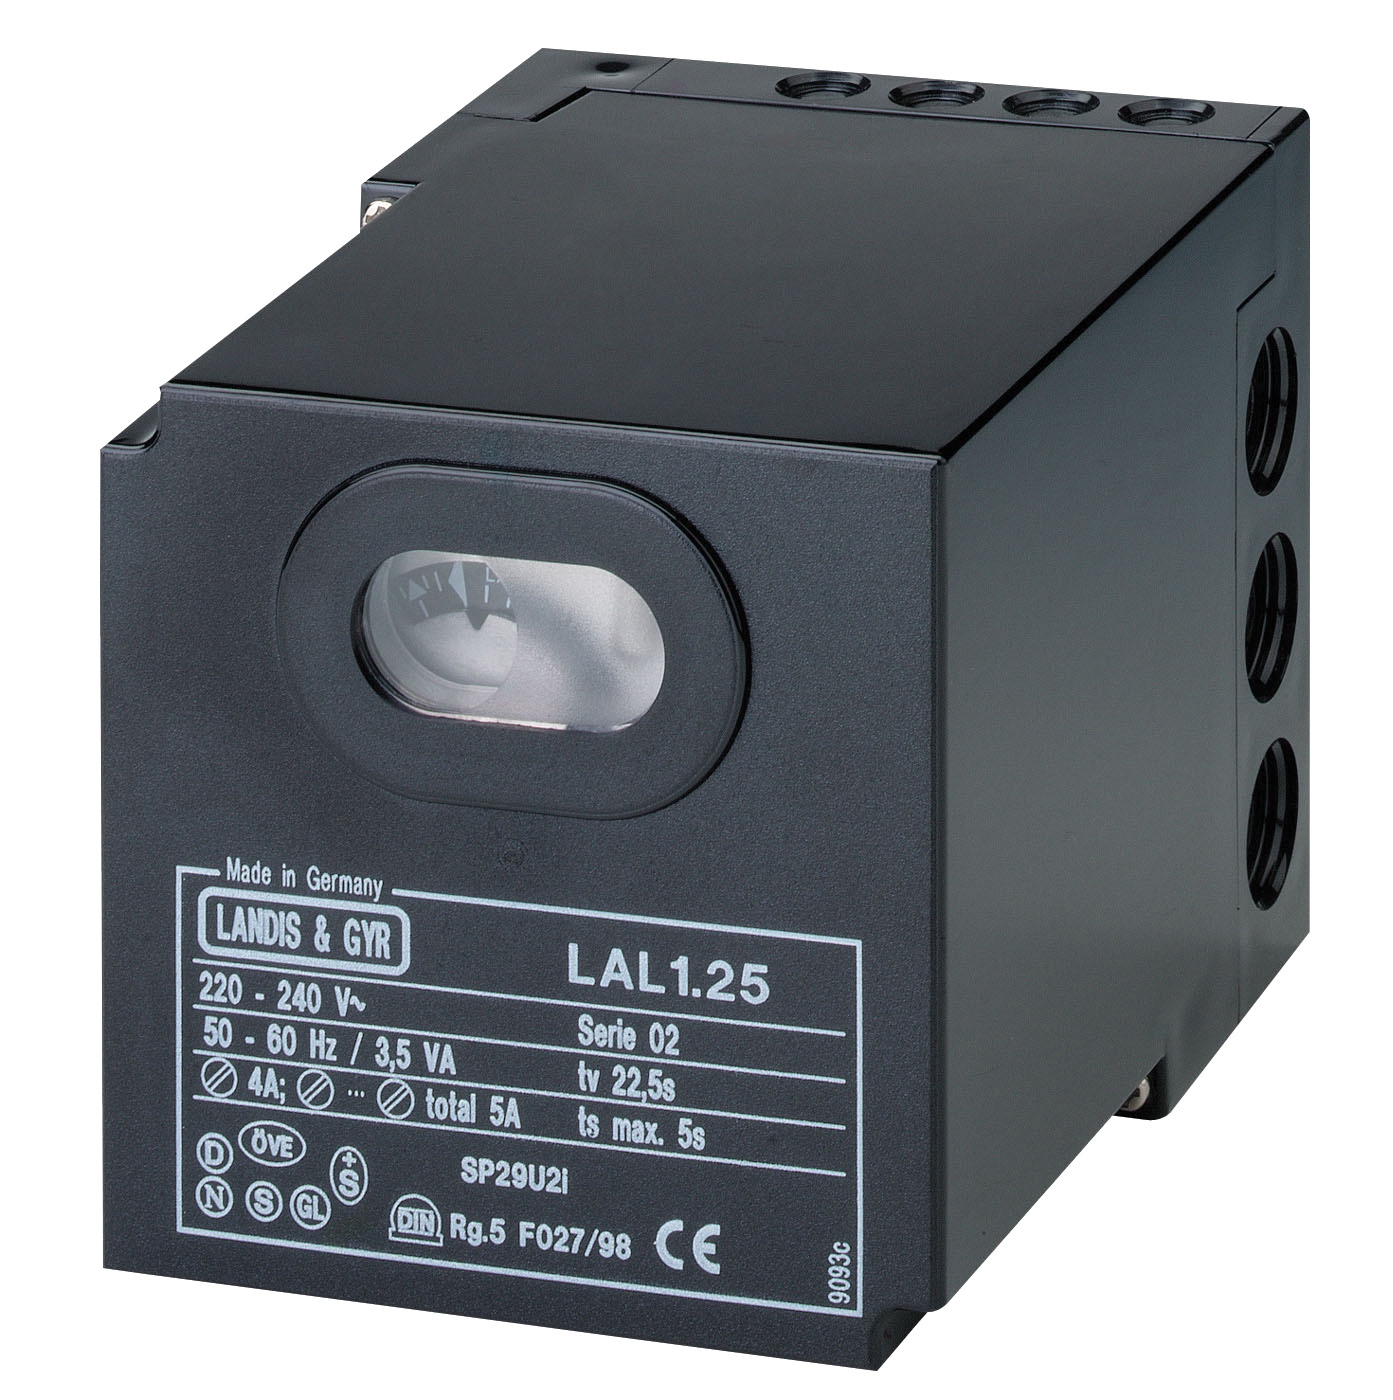
The CBM Flame relay CF1 acts as the decision engine for your burner control sequence. This relay receives a signal from the flame detector (either ultraviolet or infrared sensor) and energizes other circuit components only when stable flame is confirmed. A faulty flame relay creates a critical safety failure: the burner either locks out immediately after ignition or cycles repeatedly because the relay fails to recognize stable flame.
Distinguishing Flame Relay Faults from Detector Problems
Maintenance teams frequently replace expensive flame detectors when the actual failure is a degraded relay. Test in this order:
Test 1: Relay Click Test During Ignition
- Stand near the burner control panel during ignition attempt
- Listen for an audible "click" from the flame relay terminals approximately 1-2 seconds after the ignition spark begins
- Absence of a click indicates the relay coil is not receiving signal from the flame detector
- Multiple rapid clicks suggest the flame signal is unstable or intermittent
- Measure voltage at the flame detector signal input (typically pins 3-4 on the relay base)
- Expected signal: 15-24V DC when flame is present, 0V during purge cycle
- If voltage reads 0V during ignition, the flame detector has failed—not the relay
- If voltage reads correct but relay does not click, the relay coil winding is open
- With relay energized (flame signal present), measure continuity across the main contact terminals (usually pins 1-2)
- Should read 0-2 ohms when energized, infinite resistance when de-energized
- High resistance (5+ ohms) at energized state indicates contact pitting or corrosion—replace the relay
Flame Relay Replacement Procedure
The CF1 flame relay mounts on the CBM Base LGK AGM17 which provides standardized wiring connections. When replacing:
1. Remove power from the control panel (wait 30 seconds for capacitors to discharge)
2. Document all wire connections using photos or written terminal maps
3. Unseat the relay from its base socket with gentle upward pressure
4. Install the replacement relay, ensuring it seats fully with an audible "click"
5. Restore power and verify flame detection during next burner call
Section 3: Timing Relay and Combustion Sequence Failures
Understanding Combustion Sequence Timing
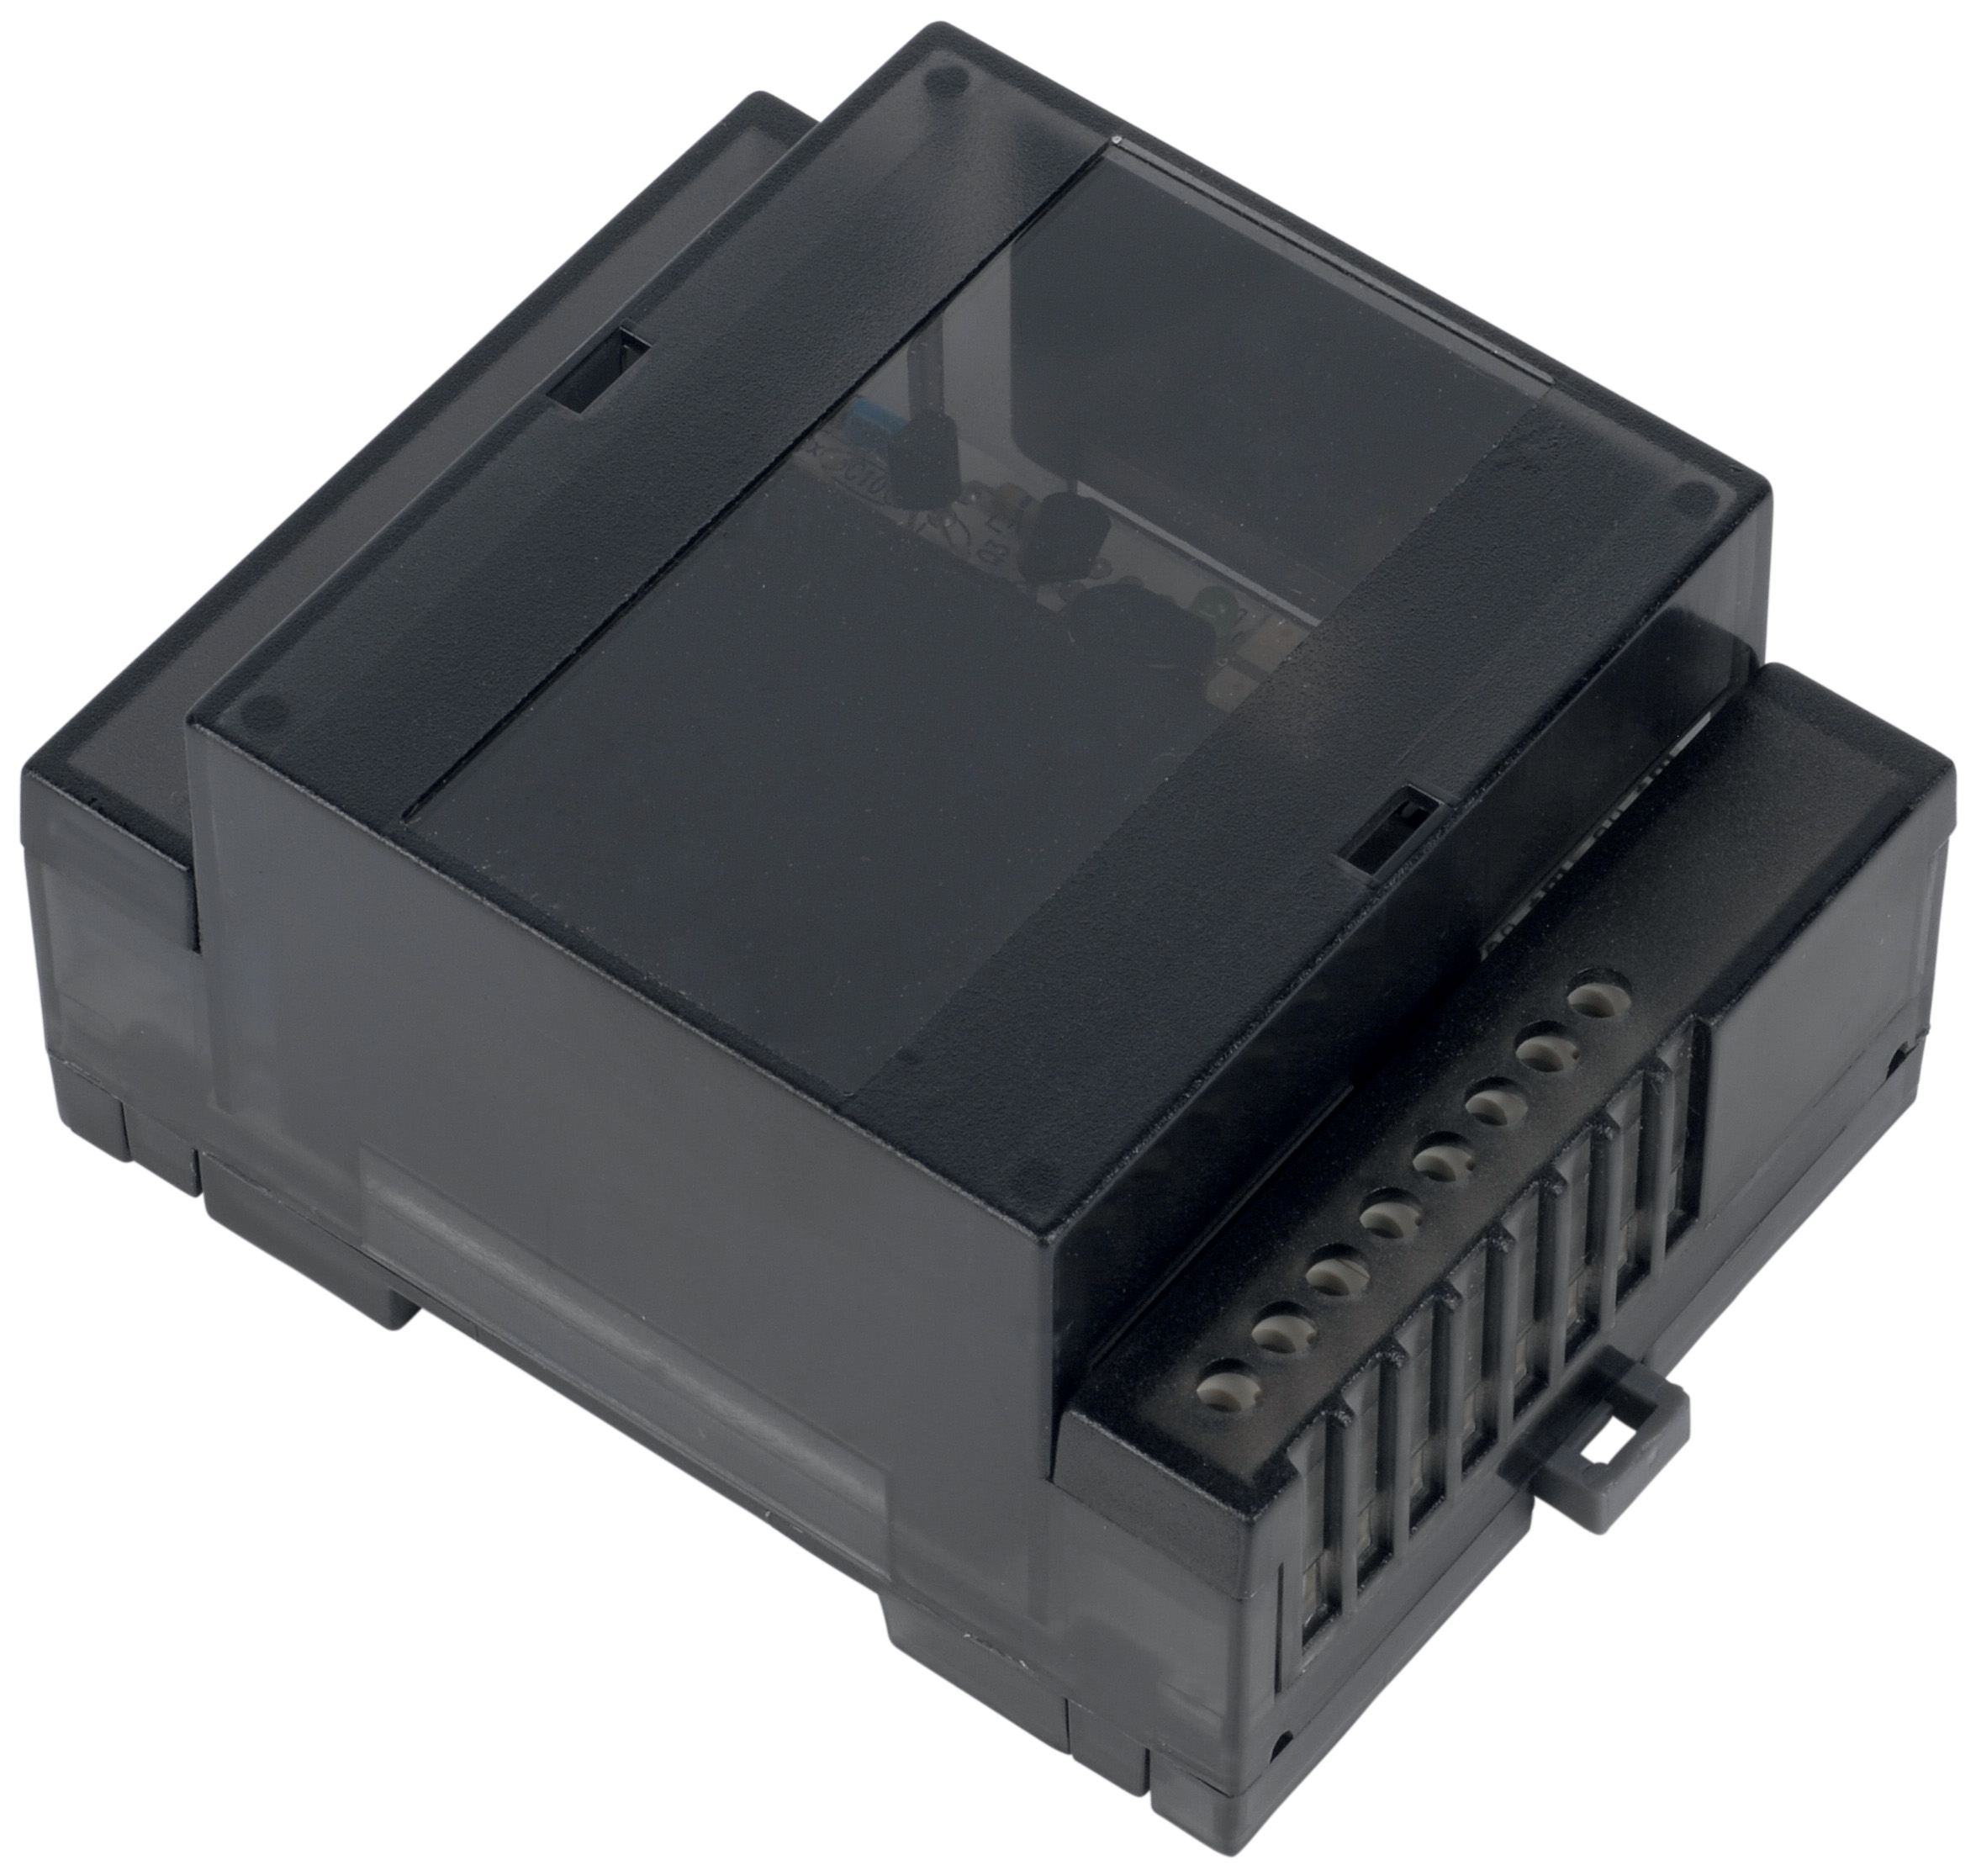
Industrial burner control sequences use timing relays like the CBM Relay CM391.2 30.5 1.2 to enforce critical pauses between control stages. A typical sequence requires:
- Pre-purge cycle: 30-60 seconds of air fan operation to clear combustion chamber
- Ignition enable: Spark plug energizes after pre-purge completes
- Flame check window: 2-5 seconds for flame to establish before main fuel opens
- Main fuel stage: Solenoid valves fully open when flame is confirmed stable
- Post-purge: Air fan continues 30+ seconds after burner shuts down
If timing relays malfunction, burners either lock out prematurely (before flame establishes) or fail to shut down fuel when flame is lost.
Diagnosing Timing Relay Failures
Symptom: Burner lights but shuts down after 3-5 seconds
This indicates the timing relay completes its countdown before the flame relay confirms stable combustion. Test the timing relay output:
- Observe the relay LED indicator during the flame check window (should remain illuminated for the full timed period)
- If LED extinguishes early, the relay timing capacitor is degraded and the delay period shortens
- Measure the actual delay time with a stopwatch across multiple startup attempts—erratic timing confirms replacement needed
This dangerous condition indicates the timing relay is stuck in "energized" state:
- Check the relay output contact for corrosion by measuring continuity while de-energized (should be infinite resistance)
- If continuity exists while relay should be off, the contacts are welded closed—replace immediately
- Verify the control signal to the relay drops to 0V when flame relay de-energizes (open circuit in control wire prevents relay shutdown)
Testing the CM391.2 30.5 1.2 Timing Relay
1. Apply 24V DC across the coil terminals (pins 5-6 typically) and observe LED illumination—should glow within 200ms
2. Measure output voltage across the timed contact terminals (pins 1-2)—should show 24V at the relay output immediately
3. Remove the 24V input and observe the output voltage—should drop to 0V within 500ms (the safety shutdown window)
4. If output voltage persists beyond 1 second after input removal, the contact is stuck and replacement is mandatory
Section 4: Integrated Control System Troubleshooting and Preventive Maintenance
The Complete Fuel Delivery Circuit
Maintenance teams must understand how solenoid valves, flame relays, and timing relays work together:
1. Burner call signal energizes the pre-purge timer
2. Air fan runs for the full pre-purge duration (typically 30-60 seconds)
3. When timer expires, it energizes the ignition transformer and energizes the timing relay
4. Spark plug fires—flame detector should sense flame within 2-4 seconds
5. Flame relay receives detector signal and energizes the main fuel solenoid
6. Timing relay maintains a "fuel enable" signal to lock out the safety shutdown
7. When burner call ends, flame relay de-energizes, dropping the fuel solenoid voltage and initiating post-purge cycle
A failure at any stage cascades through subsequent stages. This is why methodical testing from fuel shutoff backward through the control sequence is essential.
Preventive Maintenance Schedule for Combustion Control Systems
Monthly Inspections:
- Visually inspect solenoid valve coils for corrosion, water droplets, or insulation damage
- Listen for the solenoid "click" during each burner startup—absence indicates developing coil failure
- Check fuel line strainers for discoloration indicating water or particulate accumulation
- Remove and inspect fuel filters upstream of solenoid valves—replace if restriction is evident
- Test flame detection signal voltage with multimeter to confirm reliable sensor operation
- Cycle the burner through 5-10 complete on/off sequences and verify consistent timing in each stage
- Replace all fuel strainer elements even if not visibly blocked (contaminants accumulate)
- Clean or replace flame detector lens (ultraviolet sensors degrade from dust accumulation)
- Test all control relays individually using the procedures detailed in Section 2 and 3
- Order replacement solenoid coil sets from 3G Electric inventory before they are needed
- Document actual timing values (pre-purge duration, flame check window, post-purge duration) to establish baseline for detecting relay degradation
When to Involve 3G Electric Technical Support
With over 35 years serving global industrial sites, 3G Electric's team understands that some failures require expert diagnosis:
- Intermittent fuel delivery that occurs randomly across burner cycles (suggests electrical noise or weak control signals)
- Solenoid valves that energize electrically but produce no fuel flow after cleaning and strainer replacement
- Flame relays that accept signal from detector but fail to energize main fuel valve (potential internal wiring failure)
- Complex sequences with multiple timing stages where burner locks out on one fuel tier but not others
Contact technical support with detailed records of: voltage measurements at each test point, timing values from multiple startup cycles, and the exact error code displayed on your burner control panel.
Common Failure Patterns and Root Causes
Pattern 1: "Burner lights, flame relay clicks, but main fuel solenoid never energizes"
Likely cause: The CBM Relay LAL 2.14 interlock relay is preventing main fuel energization. This relay enforces permissive conditions (such as minimum air pressure or maximum flue gas temperature) and must energize before main fuel solenoid can open.
Diagnostic test: Measure voltage at the LAL relay input terminals during burner call—if voltage is absent, check air pressure switch or high-limit thermostat. If voltage is present but main fuel solenoid does not energize, the LAL relay output contact has failed.
Pattern 2: "Solenoid valves click but no fuel reaches burner"
Likely cause: Blockage in the fuel supply line between solenoid and burner nozzle, or the solenoid valve plunger is stuck in closed position despite receiving electrical power.
Diagnostic test: Disconnect the fuel line immediately downstream of the solenoid valve. Open a block valve manually and observe fuel flow—if fuel emerges, the blockage is between solenoid outlet and burner. If no fuel flows, the solenoid internal passages are blocked or the plunger is mechanically seized.
Pattern 3: "Repeated safety lockouts with error code 'Flame Failure'"
Likely cause: Flame signal is present at relay input but intermittent—dropout exceeds the safety timer threshold (typically 2-4 seconds).
Diagnostic test: Observe the flame detector lens for dust, water condensation, or soot accumulation. Clean the lens with appropriate solvent. If lockouts continue, the detector itself is failing and requires replacement. Advanced diagnosis: Record the flame signal voltage on a multimeter during multiple startup cycles—signal should be steady (not fluctuating) once flame stabilizes.
Conclusion: Taking Control of Burner Reliability
Fuel delivery failures cascade rapidly into safety lockouts that cost production time and create regulatory compliance issues. Maintenance teams equipped with systematic diagnostic procedures—testing solenoid valve coils electrically before mechanical disassembly, confirming flame relay function before replacing expensive detectors, and validating timing relay operation through multiple startup cycles—can resolve 85% of combustion failures without manufacturer support.
3G Electric's 35+ years distributing industrial equipment means our technical team has debugged these exact failure patterns across dozens of facility types and burner manufacturers. Your next troubleshooting challenge almost certainly matches a known pattern with a proven solution.
Keep the replacement components listed in this guide—double solenoid valve coils, flame relays, timing relays, and relay base sockets—in your critical spare parts inventory. When solenoid or relay failures occur, having these components in stock transforms a multi-hour burner outage into a 15-minute replacement procedure.