Understanding Pressure Regulator & Flow Control Failures
Pressure regulators and flow control devices are among the most critical components in industrial fluid and gas distribution systems. With over 35 years of experience supplying industrial equipment across Asia-Pacific, 3G Electric has observed that approximately 40% of unplanned downtime in manufacturing facilities stems from regulator and flow control malfunctions rather than pump failures.
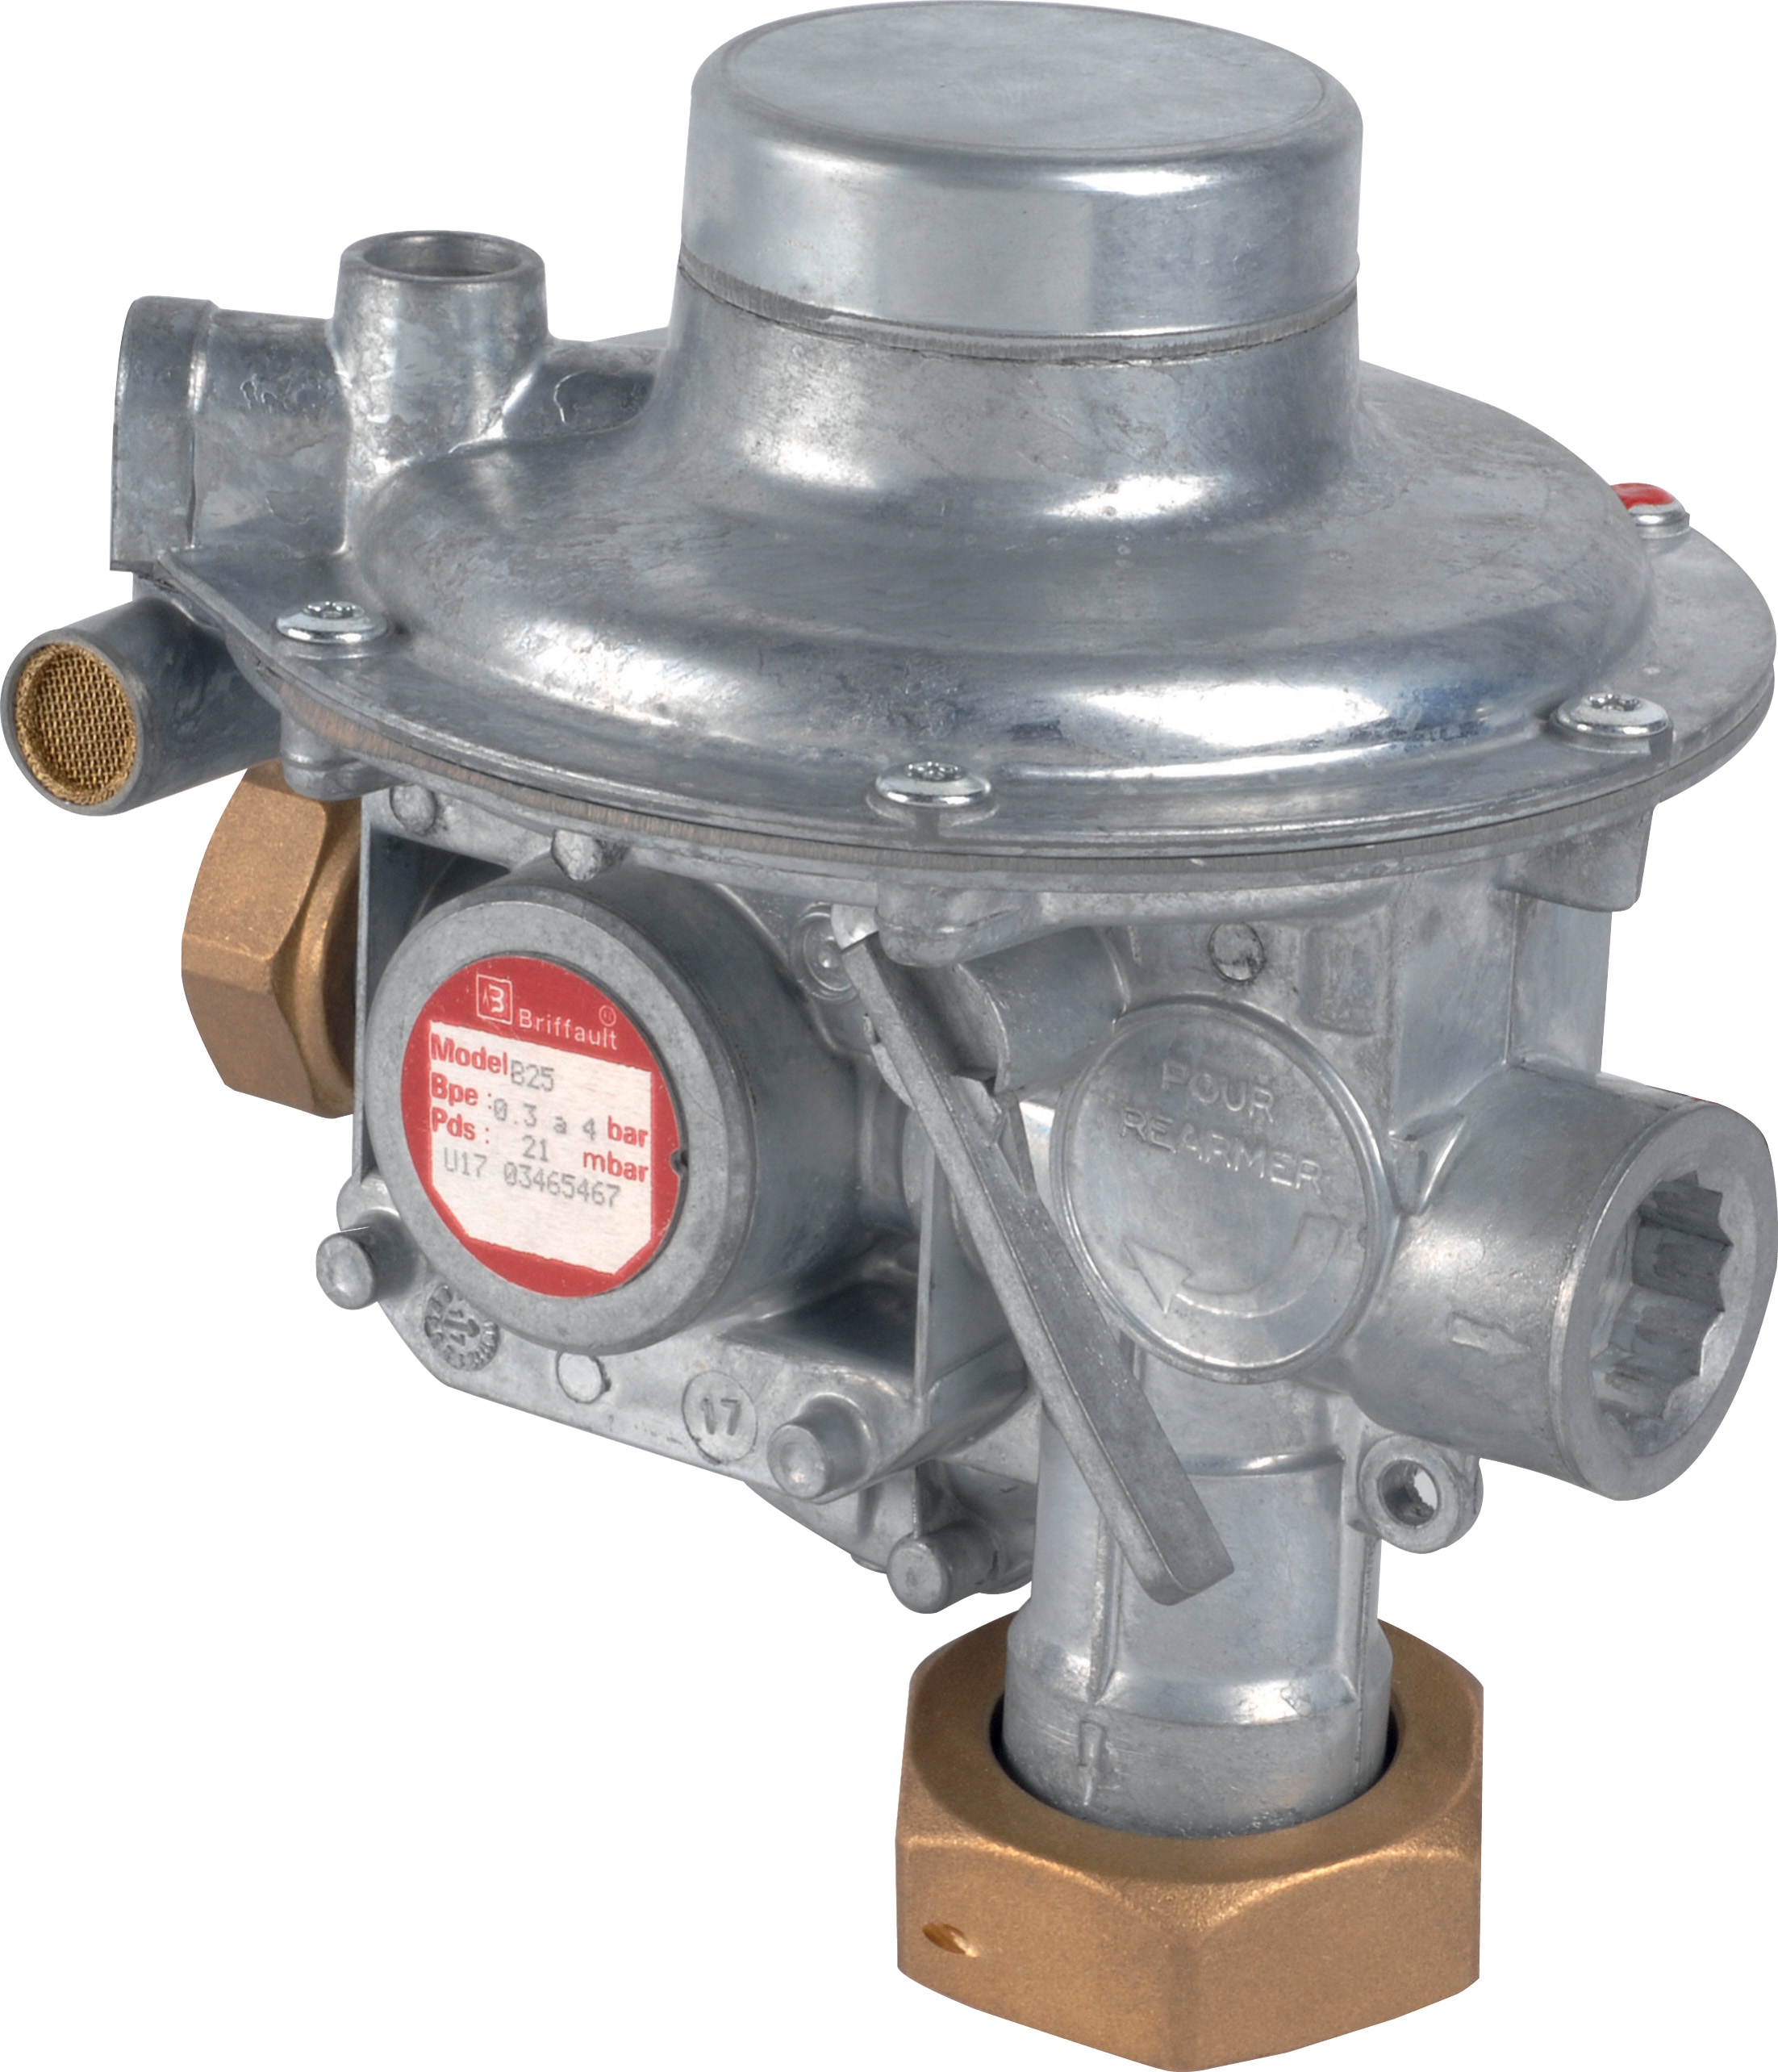
The Francel B25/37mb pressure regulator with integrated safety relief exemplifies precision engineering required in modern industrial applications. However, even robust equipment requires systematic maintenance to prevent costly failures. Unlike pump-centric failures that produce obvious symptoms, regulator problems often manifest as subtle pressure fluctuations, inconsistent output, or nuisance safety activations—making diagnosis challenging without proper troubleshooting methodology.
Maintenance teams in Singapore's fast-paced manufacturing, petrochemical, and food processing sectors cannot afford extended equipment downtime. Understanding regulator behavior, recognizing failure signatures, and implementing condition-based maintenance protocols directly impacts production schedules and safety compliance.
Common Pressure Regulator Failure Modes & Diagnosis
Pressure Creep & Outlet Instability
Symptoms:
- Outlet pressure gradually increases over time despite inlet pressure remaining constant
- Pressure fluctuates within a 2-5 bar range unpredictably
- Downstream equipment receives inconsistent operating pressure
- Safety relief activates intermittently without apparent cause
- Internal seat erosion or debris accumulation on the regulator seat
- Diaphragm material degradation due to temperature extremes or chemical compatibility issues
- Pilot drain line blockage preventing proper pressure equilibration
- Spring fatigue causing loss of calibration accuracy
1. Isolate the regulator from the system using block valves
2. Install a precision pressure gauge (0-10 bar range minimum) directly on the outlet
3. Slowly increase inlet pressure while observing outlet response
4. Document pressure at 25%, 50%, 75%, and 100% inlet pressure conditions
5. Allow the system to stabilize for 15 minutes and record any drift
6. Check inlet and outlet filter differential pressure—high values indicate internal blockages
When using the Francel B25/37mb, pressure creep typically indicates internal seat contamination. This requires complete disassembly, ultrasonic cleaning of internal components, and replacement of the diaphragm assembly.
Insufficient Outlet Pressure (Underperformance)
Symptoms:
- Outlet pressure 15% or more below set pressure
- Downstream equipment operates sluggishly or fails to reach full capacity
- Problem worsens gradually over weeks or months
- Occurs across multiple regulator units, suggesting common cause
- Upstream filter blockage reducing available inlet pressure
- Regulator spring preload loss due to fatigue or manufacturing defect
- Diaphragm rupture or material brittleness
- Incorrect regulator sizing for actual flow requirements
- Vent or drain line restrictions
1. Measure inlet pressure directly upstream of the regulator—compare to system design specification
2. If inlet pressure is within 5% of specification, proceed to Step 3
3. Slowly open the regulator adjustment screw (typically 1/4 turn maximum) while monitoring outlet pressure
4. If outlet pressure increases significantly, the spring requires re-tensioning or replacement
5. If outlet pressure remains unchanged, suspect diaphragm rupture—plan regulator replacement
6. If inlet pressure is low, replace upstream filters and retest
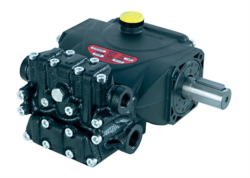
For high-flow applications using Pratissoli KF30 pumps (106 L/min at 200 bar), undersized regulators cannot maintain stable pressure. Verify regulator capacity matches pump output specifications.
Chatter, Vibration & Acoustic Noise
Symptoms:
- High-pitched whistling or screeching from the regulator
- System pressure oscillates rapidly (hunting behavior)
- Vibration felt in connected piping
- Noise increases with increased flow demand
- Downstream flow restriction creating backpressure instability
- Regulator calibrated for flow range outside actual system demands
- Pilot circuit resonance due to improper tuning
- Worn regulator internal surfaces causing erratic response
1. Gradually reduce downstream demand (partially close control valves)
2. Document at what flow level chatter occurs
3. Install a pulsation dampener or accumulator on the regulator outlet
4. Retest at the same flow conditions—if chatter disappears, the regulator is responding to excessive load changes
5. If chatter persists, the regulator's response time is inadequate for your system dynamics
6. Consider installing a proportional regulator or pilot-operated unit with improved stability characteristics
Flow Control Integration & Multi-Component Systems
Nozzle & Regulator Interaction Issues
When pressure regulators control flow to spray nozzles—such as the Euspray flat jet nozzle (25° spray angle, 1/4" BSPT connection)—mismatches between regulator response and nozzle requirements create performance problems.
Common Integration Problems:
- Regulator outlet pressure insufficient to atomize fluid properly through the nozzle
- Nozzle blockage causes backpressure that destabilizes the regulator
- Rapid nozzle switching creates pressure spikes that exceed regulator response capability
- Temperature-induced fluid viscosity changes cause regulator to hunt for equilibrium
1. Verify nozzle catalog pressure rating matches regulator outlet specification
2. Install pressure gauges immediately upstream and downstream of the nozzle
3. Compare actual differential pressure across the nozzle to design specification
4. If differential is 30% below specification, suspect nozzle internal blockage—soak in appropriate solvent and ultrasonic clean
5. If differential matches specification but spray pattern is poor, the nozzle tip may require replacement
6. If differential is 30% above specification, the regulator is set too high—reduce outlet pressure 5% and retest
Large Pump Integration with Pressure Control
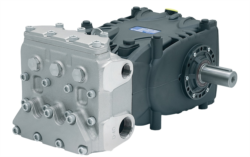
High-capacity pumps like the Pratissoli MW40 (211 L/min at 210 bar, 85 kW) require equally robust regulator sizing and installation practices.
Critical Considerations:
- Pump displacement and regulator capacity must be matched; undersized regulators overheat and fail
- Regulator must be installed within 1 meter of pump outlet to prevent pressure spike damage
- Pilot drain lines must be sized for full pump flow; inadequate sizing causes regulator hunting
- Relief valve (integrated or external) must be set 10-15% above regulator target pressure
1. Before pressurizing the system, manually advance the pump to verify mechanical operation
2. Start the pump with the regulator adjustment screw fully backed out (minimum pressure)
3. Gradually increase pressure while monitoring system temperature and regulator response
4. Establish target pressure and allow system to stabilize for 30 minutes
5. Record baseline pressure, temperature, and pump current draw
6. Perform monthly verifications of outlet pressure and relief valve function
Smaller displacement pumps like the Interpump E1D1808 L (8 L/min at 180 bar, 2.72 kW) benefit from proportional or pilot-operated regulators that provide smoother control.
Preventive Maintenance Protocols & Condition Monitoring
Scheduled Maintenance Calendar
Monthly Inspections (every 160-170 operating hours):
- Visual inspection for leaks at regulator body seams and adjustment stem
- Pressure gauge verification—compare to calibrated reference gauge
- Listen for unusual acoustic signatures (whistling, grinding, water hammer)
- Document outlet pressure, inlet pressure, and load conditions in maintenance log
- Replace inlet and outlet filter elements regardless of appearance
- Measure inlet-outlet pressure differential under full load—should not exceed 2 bar
- Flush pilot drain lines to ensure unrestricted flow
- Verify all fasteners are tight; vibration can loosen connections
- Inspect diaphragm for visible damage through observation ports (if equipped)
- Complete regulator disassembly and internal cleaning
- Replace all elastomer seals and diaphragm regardless of appearance
- Inspect internal valve seat for pitting or erosion—replace if depth exceeds 0.5mm
- Verify spring preload using a calibrated spring tester
- Reassemble with fresh high-temperature grease on all moving parts
- Pressure test at 1.5x rated working pressure before returning to service
- Pressure drift exceeding 1 bar per 24 hours = immediate inspection required
- Acoustic noise increase of 5 dB or more = investigate regulator response tuning
- Outlet pressure unstable (±2 bar fluctuation) for more than 5 minutes = likely internal erosion; plan replacement
- Regulator temperature exceeding 60°C under normal load = check pilot drain for blockage or verify regulator sizing
Documentation & Trending
Maintenance teams should establish a simple but comprehensive tracking system:
Data Points to Record:
- Inlet pressure (kbar or bar)
- Outlet pressure (kbar or bar)
- System flow rate or load condition
- Regulator body temperature
- Any adjustments made to set pressure
- Filter differential pressure
- Notes on acoustic behavior or visual observations
Over 6-12 months, trends in these parameters reveal regulator degradation before catastrophic failure. A 10% monthly pressure drift combined with rising temperature indicates imminent internal failure requiring planning for replacement during the next scheduled maintenance window.
Troubleshooting Decision Tree for Rapid Diagnostics
When a pressure regulator fails unexpectedly, maintenance teams must quickly differentiate between regulator malfunction and system-level problems:
Start: Is outlet pressure unstable?
- Yes → Check downstream blockages and pilot drain line
- No → Continue
- Yes → Verify inlet pressure; if adequate, suspect spring fatigue or diaphragm rupture
- No → Continue
- Yes → Internal seat erosion; plan regulator replacement
- No → Continue
- Yes → Verify downstream load stability; consider pilot drain sizing
- No → Regulator is likely functioning correctly; investigate downstream equipment
With 35+ years of experience supporting industrial operations across Singapore, 3G Electric recommends maintaining spare regulator assemblies on-site. When diagnostics confirm regulator failure, immediate replacement minimizes production impact—replacement typically takes 30-45 minutes for experienced technicians.
Regular engagement with technical support from your equipment distributor ensures maintenance teams have access to regulator-specific troubleshooting protocols and can reference manufacturer specifications for your exact equipment model and application context.