Understanding Gas Valves & Regulation: Core Concepts for Field Technicians
Gas valves and regulation systems form the critical control backbone of modern HVAC installations. Unlike simple on-off devices, gas regulation equipment maintains precise pressure differentials, responds to load changes, and protects downstream components from overpressure conditions. For HVAC contractors across Singapore and Southeast Asia, understanding the distinction between primary regulation (main line pressure control), secondary regulation (appliance-level pressure), and safety relief mechanisms is essential for effective troubleshooting.
At 3G Electric, with over 35 years of experience distributing industrial equipment, we've supported countless HVAC contractors through complex gas control failures. The reality is that most gas regulation problems stem not from catastrophic component failure, but from drift, contamination, or improper adjustment. This guide addresses the practical diagnostic workflow that separates experienced contractors from those struggling with repeat callbacks.
Section 1: Field Diagnostic Procedures for Regulation Drift and Performance Degradation
Identifying Regulation Drift
Pressure drift—where outlet pressure creeps upward or downward over time—is among the most common field complaints. This occurs when regulator internals gradually wear, seals degrade, or contamination builds in the sensing cavity. HVAC contractors must distinguish between short-term fluctuations (normal under varying load) and true drift indicating component failure.
Step-by-step field diagnosis:
1. Establish baseline conditions: Isolate the suspect regulator from downstream loads. Close all downstream isolation valves. Record inlet pressure and outlet pressure simultaneously using calibrated gauges. Allow 5 minutes of stabilization.
2. Monitor outlet pressure stability: With the system isolated, outlet pressure should remain stable within ±0.05 bar over 10 minutes. Gradual upward creep ("creeping pressure") indicates internal seal wear. Downward drift suggests contamination blocking the sensing port.
3. Perform the load test: Slowly open a downstream isolation valve to introduce load. Observe how quickly the regulator responds and stabilizes. Sluggish response with overshoot indicates worn dampening components or contaminated sensing lines.
4. Check sensing line integrity: Disconnect the pilot sensing line at the regulator (have a plug ready). If outlet pressure immediately rises to inlet pressure, the sensing diaphragm has ruptured—immediate replacement required. If outlet pressure remains stable, the sensing mechanism is intact but may be blocked.
Contamination Assessment
Contamination in gas systems follows three primary sources: compressor residue (if fed from compressed air), corrosion particles from aging piping, and manufacturing residue from new components. HVAC systems using natural gas or propane typically show lower contamination, but aged installations can accumulate significant particulate.
Contamination diagnostic workflow:
- Disconnect the pressure sensing line (pilot line) from the regulator and direct it into a clean white cloth or paper
- Open the sensing line isolation valve (if equipped) for 10-15 seconds
- Examine the cloth for discoloration, particulate, or moisture droplets
- Black particles indicate ferrous corrosion; brown suggests copper corrosion; water droplets indicate moisture ingress
- Any visible contamination requires system flushing before regulator replacement
Pressure Response Testing
A regulator's ability to respond to sudden load changes reveals internal wear patterns. This test requires two technicians and careful procedure:
1. Install a temporary downstream isolation ball valve (if not present)
2. Record stable outlet pressure with isolation valve closed
3. Fully open the isolation valve, measuring the pressure drop magnitude and recovery time
4. Repeat with isolation valve partially open (50% area), then closed
5. Healthy regulators recover to within 0.1 bar within 5-10 seconds; sluggish recovery (>20 seconds) indicates diaphragm wear
Section 2: Adjustment Procedures and Calibration Verification
Spring Adjustment Methodology
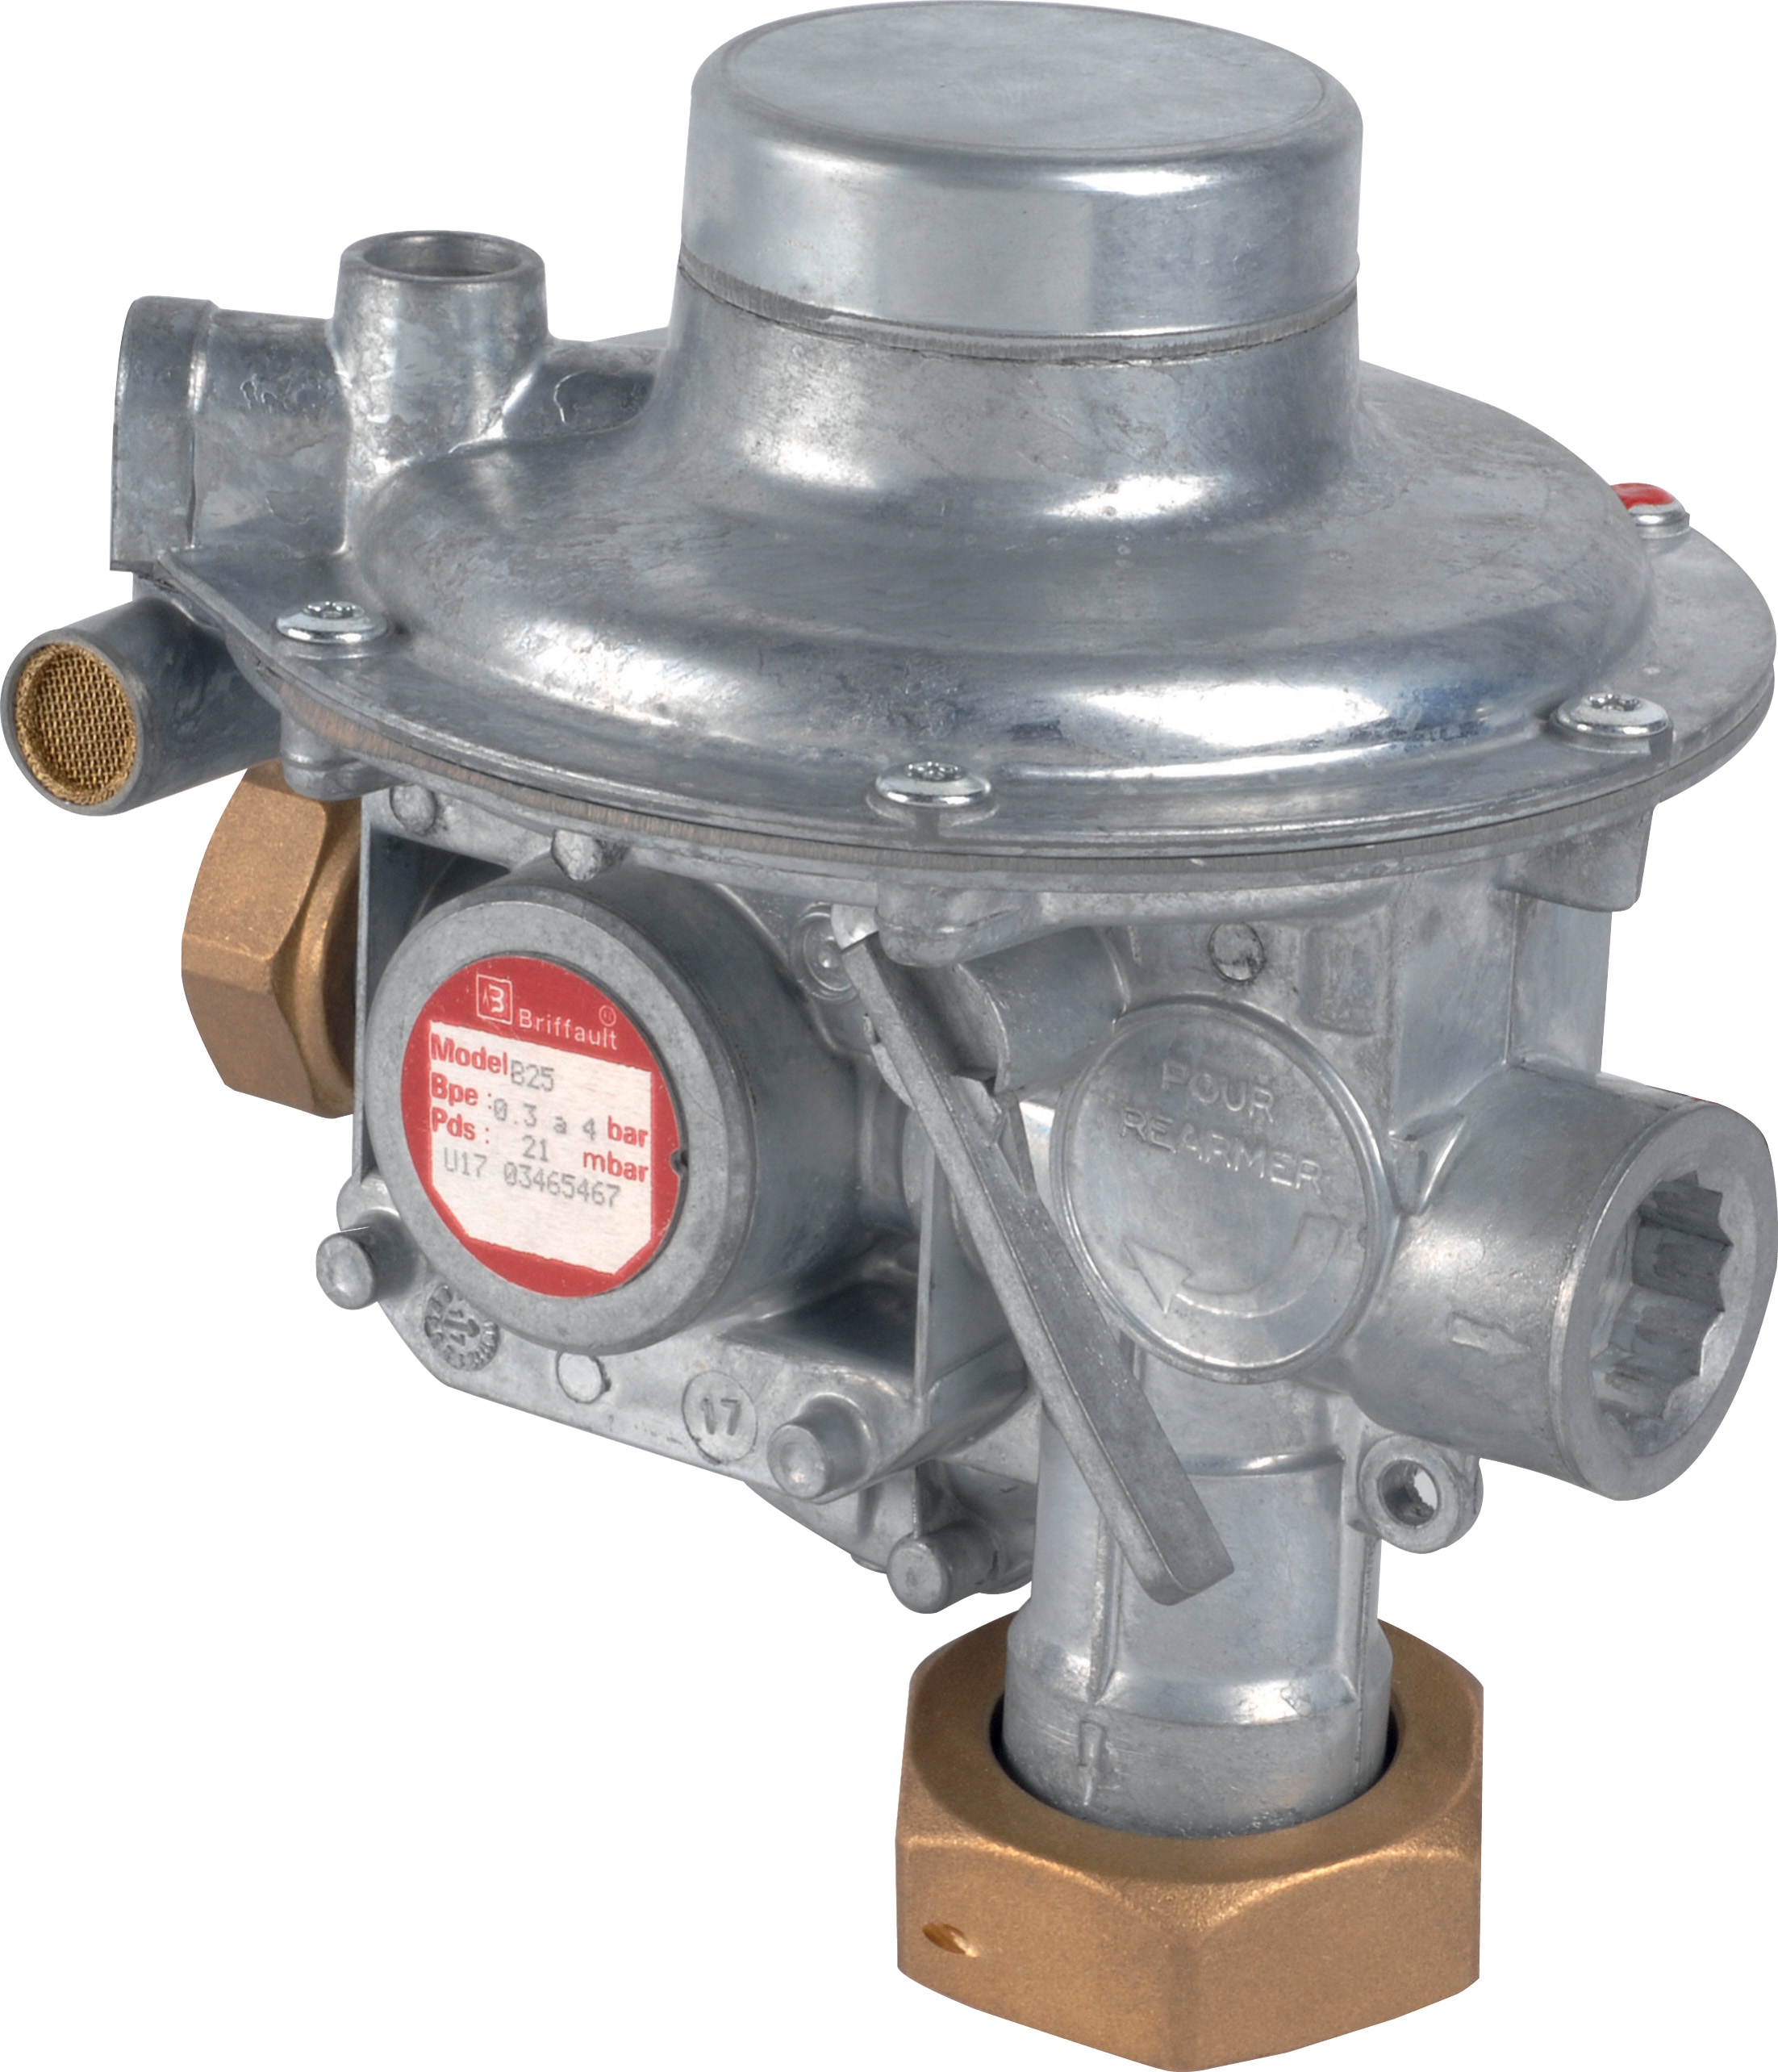
Most HVAC-grade pressure regulators feature accessible spring tension adjustment. However, improper adjustment creates liability and system failures. The Elektrogas VMM 20-25 end-of-stroke contact valve exemplifies precision regulation requiring 3mm Allen wrench adjustment, common across professional-grade equipment.
Safe adjustment procedure:
1. Prepare the system: Ensure downstream isolation valves are closed and system is pressurized to normal operating inlet pressure
2. Locate the adjustment screw: On most regulators, this is a slot-head or hex-socket screw on the regulator body cap; identify the locknut (if present)
3. Baseline measurement: Record current outlet pressure; note the number of turns the adjustment screw has been backed out (count from fully seated, without forcing)
4. Make incremental adjustments: Turn the adjustment screw 1/4 turn counterclockwise (increases pressure) or clockwise (decreases pressure)
5. Allow stabilization: Wait 30 seconds between each 1/4 turn adjustment; observe the pressure gauge for true reading
6. Verify final pressure: Once target pressure is achieved, confirm stability for 2 minutes
7. Secure the adjustment: If a locknut is present, hold the adjustment screw and tighten the locknut against the regulator body (do not over-torque)
Critical safety note: Never adjust a regulator beyond manufacturer specifications. Excessive pressure creates downstream component risk (burner failures, gas control valve damage). Insufficient pressure causes flame instability and incomplete combustion.
Calibration Verification Using External Reference
Field gauge accuracy directly impacts troubleshooting confidence. HVAC contractors must verify their diagnostic gauges against a known-accurate reference:
- Connect your field gauge to the same test point as a precision calibrated gauge (minimum 0.5% accuracy, preferred)
- Record readings simultaneously
- Acceptable variance is ±2% of full scale (for 0-10 bar gauge, ±0.2 bar)
- Gauges exceeding this variance should be recalibrated or replaced before further diagnostics
The Francel B25/37mb Regulator: Adjustment and Verification
The Francel Pressure regulator Francel B25/37mb with safety is a precision laboratory-grade regulator commonly used in secondary regulation for HVAC systems requiring exact pressure stability. This regulator's integrated safety relief (set at approximately 1.3× outlet pressure) provides dual protection:
Adjustment verification for the Francel unit:
1. Verify inlet pressure: Should exceed outlet target by minimum 0.5 bar
2. Locate the blue adjustment knob on the regulator body
3. Outlet pressure should read 37 mbar ±2 mbar under load
4. If outlet pressure exceeds 48 mbar, safety relief is lifting—inspect for contamination in the relief cavity
5. For pressure below 35 mbar, the diaphragm may have lost preload; the unit requires factory recalibration or replacement
6. The 10mm vent size means relief flow can handle small secondary loads; oversizing downstream components will cause relief chatter
Section 3: Troubleshooting Common Failure Modes and Component Selection
Pressure Creep (Rising Outlet Pressure Over Time)
Root cause analysis:
- Internal diaphragm seal degradation: Most common in regulators beyond 7-10 years service life
- Contamination on the diaphragm seat: Prevents full closure
- Pilot sensing line blockage: Reduces diaphragm pressure, increasing outlet pressure
1. Isolate the regulator and confirm pressure rises even with no downstream load
2. Inspect the pilot sensing line for corrosion or kinks; replace if visible damage
3. Check the inlet strainer (if equipped); flush if contaminated
4. If pressure stabilizes after sensing line replacement, original regulator is salvageable
5. If pressure continues climbing, the regulator diaphragm requires replacement or the entire unit needs remanufacturing
Field remedy: For temporary system operation, reduce inlet pressure (if possible with a primary regulator upstream) to lower the outlet pressure target. This buys time for parts replacement but does not address root cause.
Insufficient Outlet Pressure (Below Target)
Root cause analysis:
- Undersized regulator: Selected for lower flow than actual HVAC demand
- Contamination in the main poppet seat: Prevents seal closure
- Diaphragm damage: Crack or puncture in the sensing diaphragm
- Inlet pressure too low: Regulator cannot raise pressure above inlet
1. Measure inlet pressure under full load; should exceed outlet target by minimum 0.5 bar
2. If inlet pressure is adequate, isolate the regulator and retest at half the previous load
3. If outlet pressure increases when load is reduced, the regulator is undersized; replacement with higher flow capacity is required
4. If outlet pressure remains low even with reduced load, suspect contamination or diaphragm damage
5. Disconnect the pilot sensing line; if outlet pressure immediately rises toward inlet pressure, the diaphragm is torn and the regulator must be replaced
Hunting or Oscillating Pressure (Continuous Pressure Fluctuation)
Root cause analysis:
- Sensing line resonance: Long sensing lines can develop standing waves causing instability
- Oversized safety relief: Relief port opening and closing rapidly as outlet pressure oscillates around setpoint
- Diaphragm spring fatigue: Weakened spring provides insufficient damping
1. Visually inspect the pilot sensing line for length (should be <2 meters; lengths >3 meters require damping)
2. If the sensing line is >2 meters, add a small snubber (restrictor orifice) at the regulator input or install a damping chamber
3. Confirm safety relief is set correctly (typically 1.3× outlet pressure setpoint)
4. Reduce downstream load gradually; if hunting stops, the regulator is oversized for minimum load conditions
5. If hunting persists across all loads, the regulator requires factory service or replacement
No Response to Load Changes (Frozen Outlet Pressure)
This critical failure mode occurs when the regulator cannot modulate in response to downstream demand changes.
Diagnostic procedure:
1. With system isolated (all downstream loads closed), record outlet pressure
2. Open one downstream load completely; observe outlet pressure
3. If outlet pressure drops more than 0.2 bar and does not recover, the regulator sensing mechanism has failed
4. If outlet pressure remains unchanged as load increases, the downstream piping is too restrictive (undersized); increase piping diameter or verify no blockages
5. If outlet pressure rises excessively under load (>20% above target), the regulator diaphragm may have perforated; pressure is leaking past the diaphragm into the sensing cavity
Section 4: Advanced Troubleshooting—System Integration and Multi-Stage Regulation
Multi-Stage Regulation Architecture
Professional HVAC installations often employ two-stage regulation: primary (main line) and secondary (appliance-specific). This architecture allows independent pressure optimization but introduces additional complexity in troubleshooting.
Two-stage diagnostic workflow:
1. Measure primary regulation outlet: Should be stable and typically 0.5-1.0 bar above the highest secondary regulator setpoint
2. Measure secondary regulation inlet: Should match primary outlet (if connected by short piping)
3. Measure secondary regulation outlet: Should be stable at the appliance requirement (e.g., 37 mbar for furnace gas valve)
4. If secondary outlet is unstable: First verify primary is stable (if primary is hunting, secondary will also hunt)
5. If secondary outlet is too low: Check primary outlet pressure is adequate; if so, secondary regulator may be oversized
6. If secondary outlet is too high: Verify secondary regulator adjustment screw has not backed out; check for contamination in secondary relief valve
Isolation Strategies for Faster Diagnostics
Each isolation point you create halves the diagnostic uncertainty. In multi-appliance installations:
- Install isolation ball valves immediately downstream of each secondary regulator
- Systematically close appliance isolation valves one by one while monitoring the secondary regulator outlet pressure
- If pressure stabilizes when one appliance is isolated, that appliance (or its piping) has a problem
- If pressure remains unstable with all appliances isolated, the secondary regulator itself is failing
Practical Component Selection: Sizing and Specifications
Incorrect regulator selection causes more field problems than any single failure mode. HVAC contractors must understand three sizing parameters:
Flow capacity: Measure actual peak demand in your application (m³/h or bar·L/min). Select a regulator rated for 125% of peak demand; oversizing by >150% causes instability at minimum loads.
Pressure range: The regulator's inlet-to-outlet pressure ratio must accommodate your full system pressure envelope. A regulator rated "inlet up to 10 bar, outlet 0-5 bar" cannot handle inlet pressures exceeding 10 bar, even temporarily.
Inlet and outlet port sizes: Mismatch between piping and regulator ports forces either oversized or undersized connections, creating turbulence and unstable regulation. Verify port sizes match your distribution piping before installation.
3G Electric supplies precision regulators from leading manufacturers designed for exact HVAC specifications. Whether you require the stability of the Francel B25/37mb for laboratory-grade accuracy or the rugged reliability of industrial-grade units, proper selection eliminates a major source of field problems.
Safety Relief Testing and Verification
Integrated or auxiliary safety relief valves protect against dangerously high downstream pressure. These require periodic verification:
1. Manual test (field-safe method): Close all downstream loads; slowly increase inlet pressure while monitoring outlet pressure on a sensitive gauge (0-1 bar range preferred)
2. Relief should lift at approximately 1.3× the regulator outlet setpoint (e.g., 48 mbar for a 37 mbar outlet regulator)
3. Listen for relief flow: Audible "hissing" confirms relief is functioning; if no sound occurs, relief may be frozen or blocked
4. Return system to normal operation: Close inlet isolation valve and vent the system to atmospheric pressure
5. Schedule inspection: Any relief valve that does not respond within 5% of design setpoint should be factory tested and replaced if out of specification
Conclusion
Gas valve and regulation troubleshooting separates competent HVAC contractors from those facing endless callbacks. By following systematic diagnostic procedures, understanding the distinction between drift and contamination, and knowing how to safely adjust regulators, you'll diagnose most problems in minutes rather than hours.
The experience of 3G Electric's distribution network—supporting contractors for over 35 years—demonstrates that most field failures stem from correctable issues: contamination, drift, or improper sizing. With the diagnostic procedures in this guide, you'll confidently restore system performance and build your reputation for reliable problem-solving.
For component replacement or technical specifications, consult the product data sheets and ensure replacement units match your system's pressure and flow requirements exactly. Every adjustment should be documented, every baseline measurement recorded, and every repair verified under full load before customer handoff.
