How to Adjust and Calibrate Gas Valves & Regulators in Singapore: A Maintenance Engineer's Technical Guide
Gas valve and pressure regulator adjustment is one of the most critical maintenance tasks in industrial combustion systems. Improper calibration leads to inefficient burner operation, increased fuel consumption, and safety hazards. In Singapore's demanding industrial environment, where precision and compliance are non-negotiable, maintenance engineers must understand the technical fundamentals of valve adjustment and the step-by-step calibration procedures. This guide provides the practical knowledge you need to safely and accurately adjust gas valves and regulators across a wide range of industrial applications.
Understanding Gas Valve and Regulator Adjustment Fundamentals
Gas pressure regulators and control valves function through a balance of mechanical forces: inlet pressure, outlet pressure, and spring tension. When you adjust a regulator, you are modifying the spring compression to change the equilibrium point at which the valve opens or closes. This determines the outlet pressure delivered to downstream equipment such as burners and appliances.
The adjustment process requires understanding several key parameters. Inlet pressure is the supply pressure from your gas distribution system—typically 200 bar for industrial systems in Singapore. Outlet pressure is the regulated pressure your burner or appliance requires; this varies by application but commonly ranges from 5 mbar to 300 mbar for domestic and commercial systems, or higher for industrial applications. The cracking pressure is the minimum inlet pressure difference required to open the valve; differential pressure is the pressure drop across the valve under flow conditions.
Pressure regulators use one of two control mechanisms. Direct-acting regulators have the outlet pressure acting directly on a poppet or diaphragm—simple, responsive, but sensitive to load changes. Pilot-operated regulators use a small pilot valve to control the main valve; these provide better stability under varying flow conditions and are preferred for larger systems. Both types require precise adjustment to maintain system stability. Temperature also affects calibration: gas viscosity and regulator spring stiffness change with ambient temperature, so seasonal adjustment may be necessary in Singapore's tropical climate where temperatures range from 24°C to 35°C year-round.
Technical Specifications and Product-Specific Adjustment Procedures
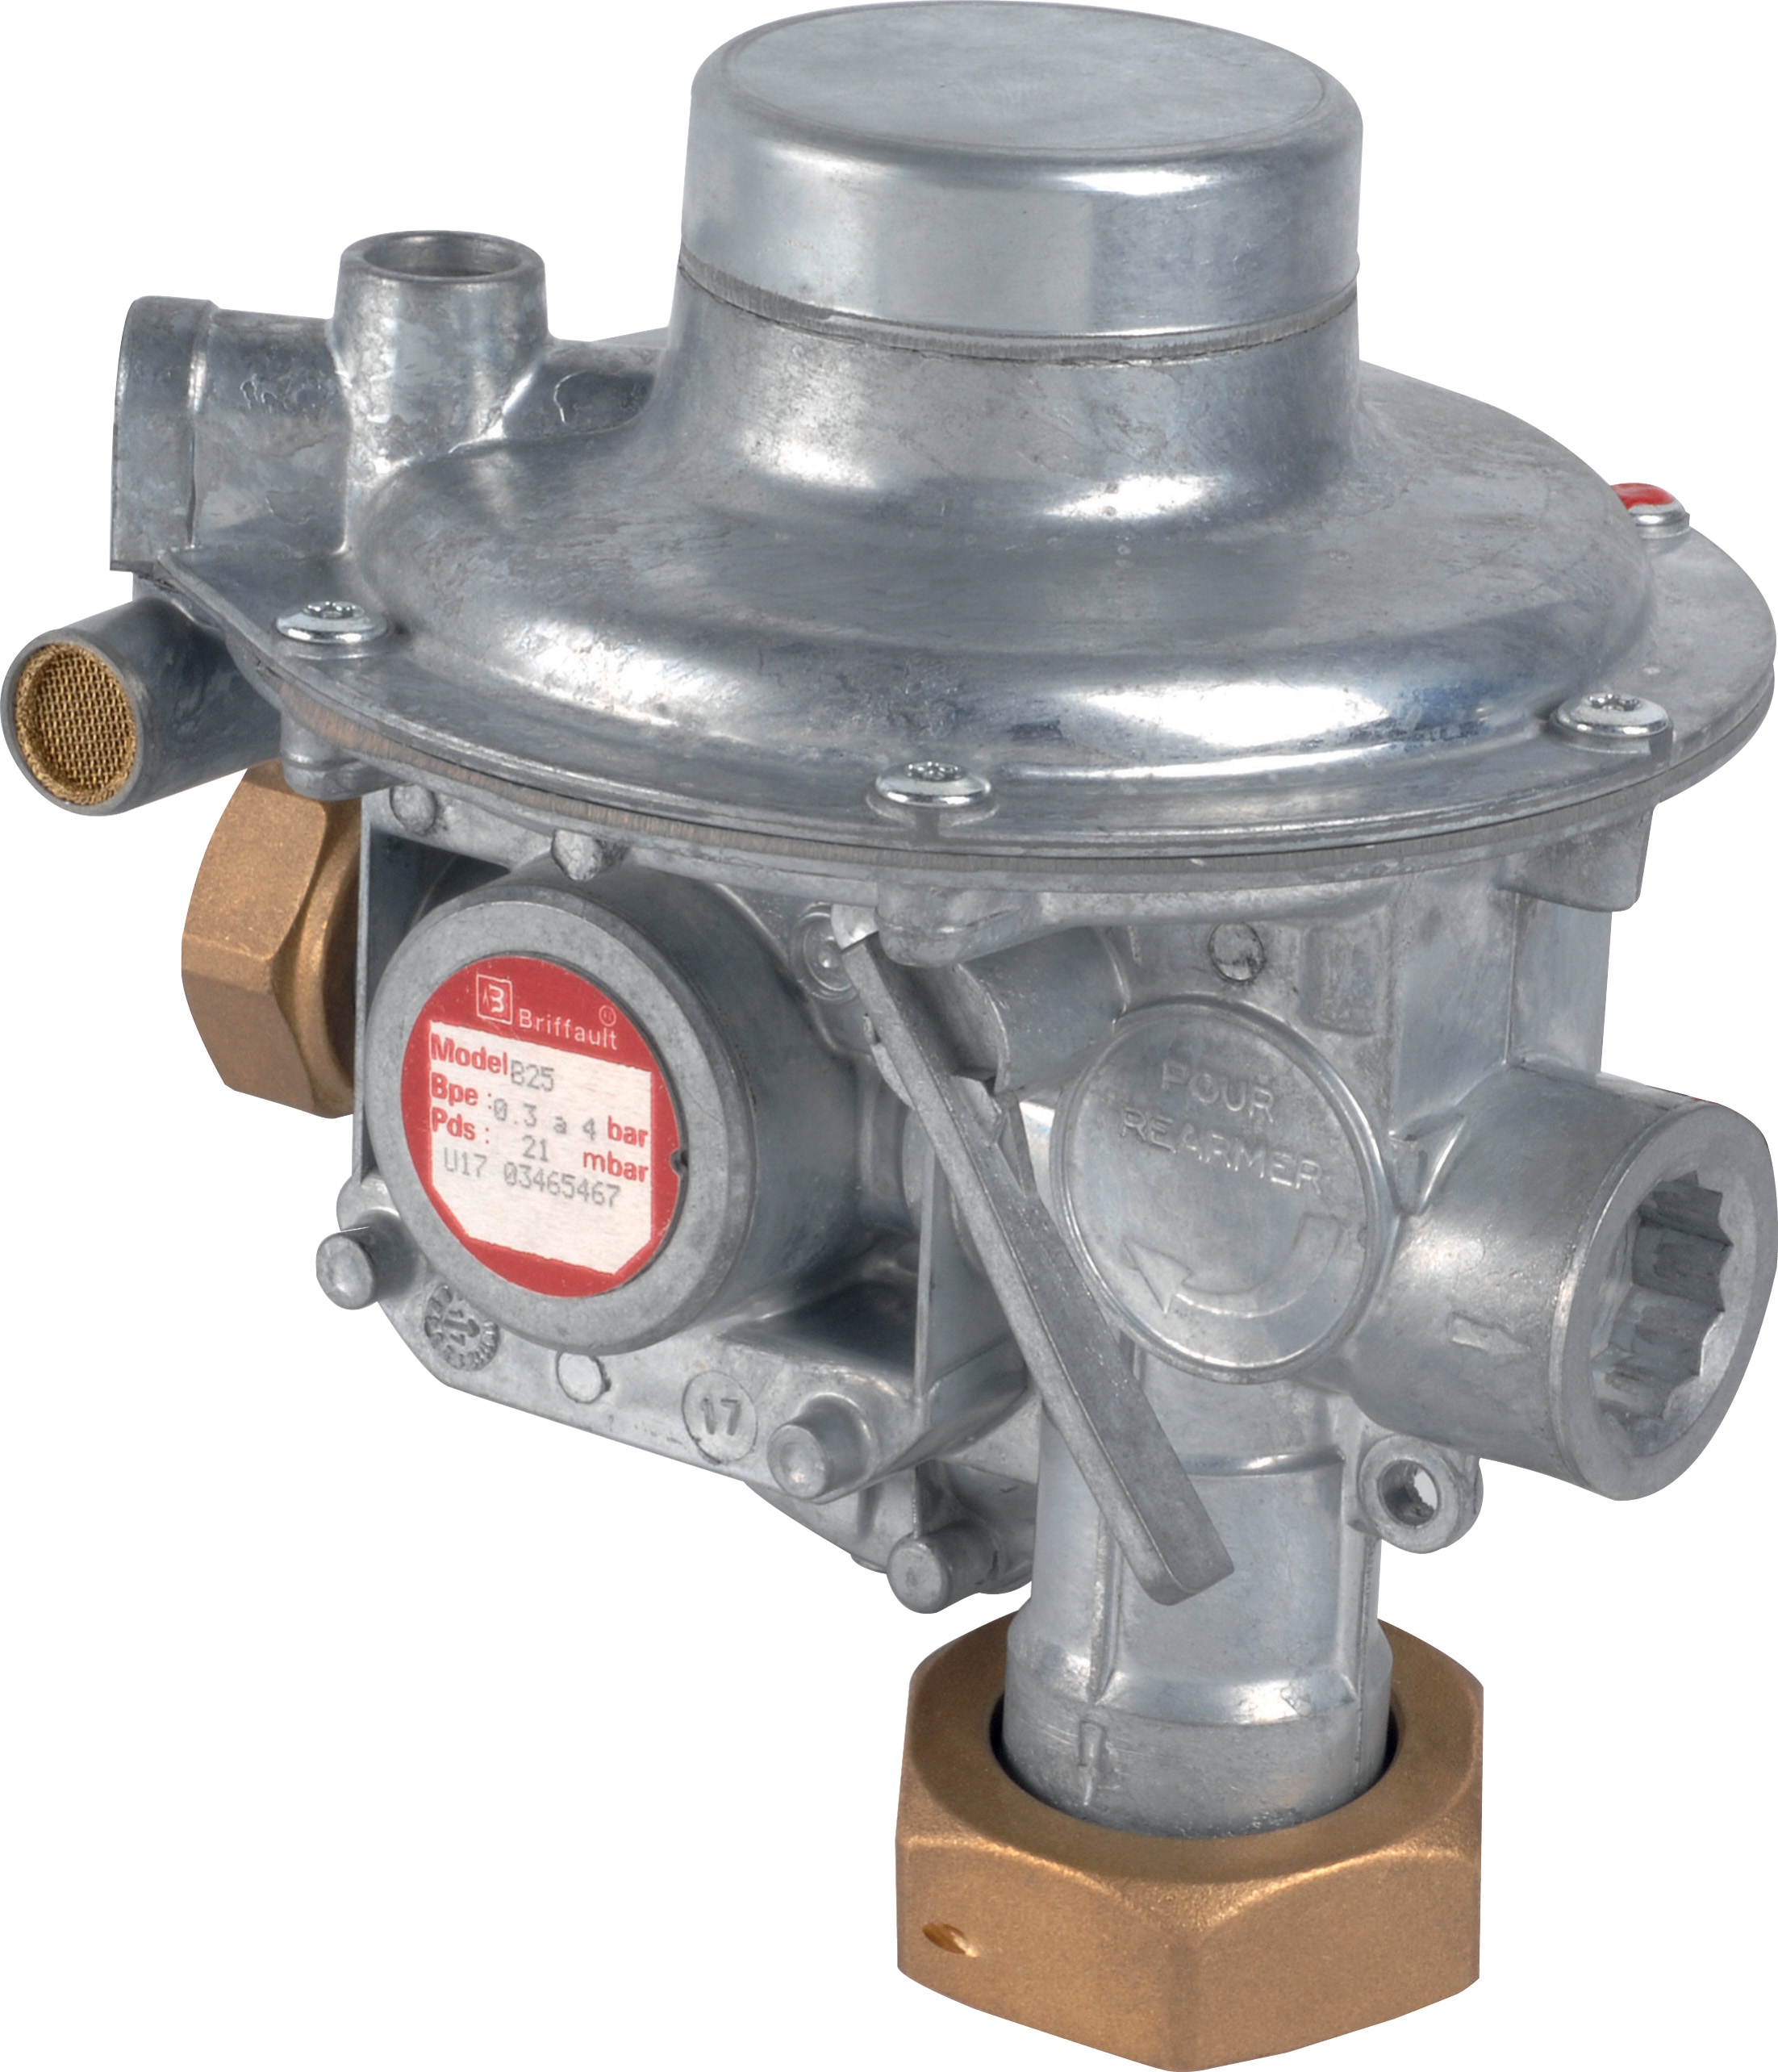
Different regulators and valves have unique adjustment mechanisms and specifications. The Francel B25/37mb pressure regulator is a direct-acting regulator with integrated safety relief, designed for laboratory and industrial gas distribution. It delivers a fixed outlet pressure of 37 mbar with a 10 mm vent size, using either sphero-conical or flat inlet connections. When commissioning this regulator, confirm that the inlet pressure exceeds the outlet pressure setpoint by at least 0.5 bar to ensure stable operation. The integrated safety relief vents excess pressure through the 10 mm vent, so ensure adequate clearance and atmospheric venting around the vent outlet.
For applications requiring field-adjustable pressure control, the FAG STAB 300-310 self-acting pressure regulator offers a pressure range of 5 to 300 mbar with threaded D1" connections. This regulator features a balanced obturator and double safety diaphragm, making it ideal for flue gas analysis and combustion monitoring systems. The adjustment screw on the regulator cover is accessed by removing the cover plate—typically a 10 mm or 12 mm hex socket. Turn the adjustment screw clockwise (when facing the cover) to increase outlet pressure; counterclockwise decreases pressure. Adjust in small increments of 0.5 turns, then allow 30 seconds for system stabilization before measuring pressure.
The Dungs MVD 515/5 valve is a 1½-inch gas regulation valve rated to 200 bar with sub-1-second opening time. This valve integrates a 1 mm mesh filter, which requires periodic cleaning to maintain flow performance. The MVD 515/5 operates at up to 20 cycles per hour across temperatures from −15°C to +60°C, making it suitable for Singapore's climate. No field adjustment is available on this valve; its characteristics are factory-set. However, maintenance involves verifying the integrated filter is clear by monitoring pressure drop across the valve. A pressure drop exceeding 0.1 bar at nominal flow indicates filter blockage requiring cleaning or replacement.
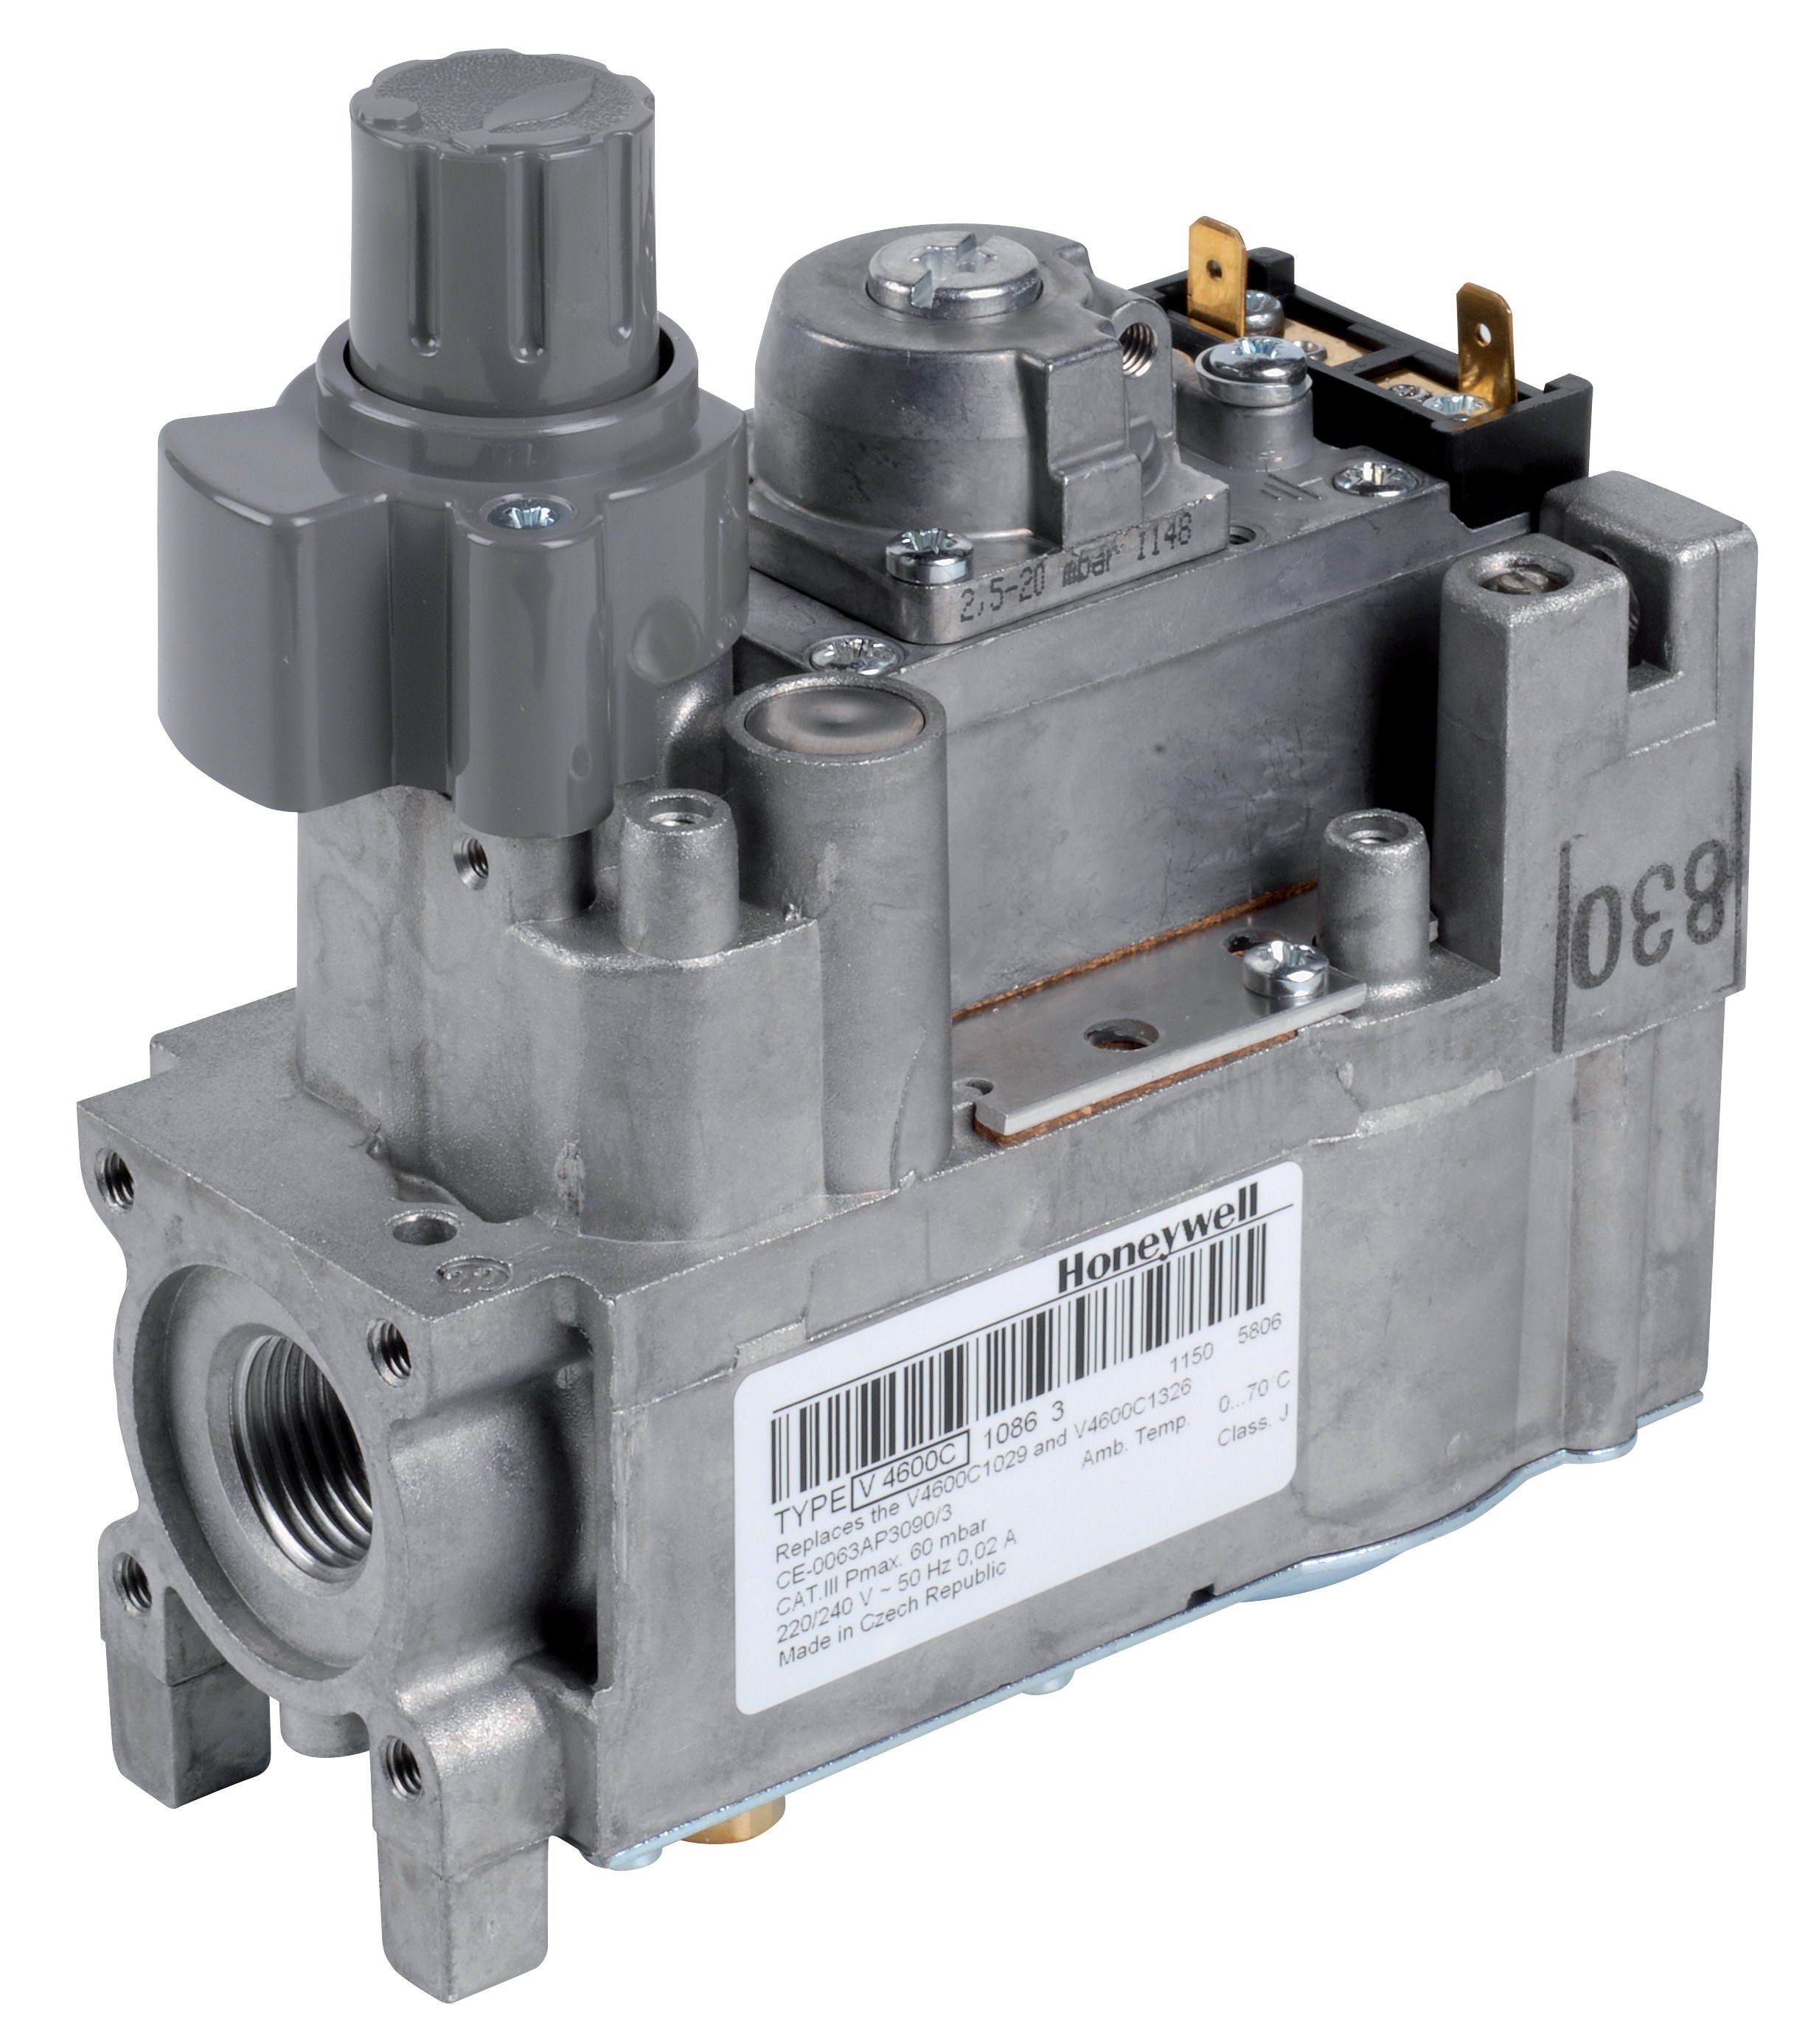
For pilot-operated systems with modulating control, the Honeywell VK 4105 C 1041 U electric modulating pressure regulator provides feedback-controlled pressure adjustment. This regulator features M8 × 1 pilot connection and M5 pressure feedback threading, operating across −5°F to 140°F (−20°C to 60°C). Adjustment requires a control module sending modulation signals; manual field adjustment is not practical. Instead, verify coil voltage (typically 230V AC or 24V DC), confirm pressure feedback signal accuracy using a calibrated gauge, and test response time by commanding a step change and observing outlet pressure response within 2–3 seconds.
Step-by-Step Adjustment and Calibration Procedure
Step 1: Safety Preparation and System Shutdown
Before any adjustment work, isolate the system from gas supply. Close the upstream isolation valve and confirm zero pressure using a calibrated test gauge connected to a downstream measurement point. Lock the isolation valve in the closed position and post a safety notice. Allow 5 minutes for any residual gas to evacuate. Verify safe air quality using a portable gas detector if working in confined spaces.
Step 2: Baseline Pressure Measurement
Connect a calibrated pressure gauge (±2% accuracy minimum) to the regulator outlet using a ½" NPT tee fitting with a shut-off needle valve. Use a gauge with a range 1.5× to 2× your target pressure (e.g., use a 0–100 mbar gauge for 37 mbar applications). Record the current outlet pressure and document it in your maintenance log. Compare against the design setpoint to quantify any drift.
Step 3: Pressure Adjustment (Direct-Acting Regulators)
Slowly introduce gas to the system by opening the upstream isolation valve in quarter-turn increments, waiting 10 seconds between each increment. Monitor outlet pressure on your gauge. Once gas flows, locate the adjustment screw—typically on top of the regulator cover. Using the correct wrench size (check the regulator manual for your specific model), turn the adjustment screw clockwise to increase pressure or counterclockwise to decrease it. Make small adjustments: typically 0.25 to 0.5 turns per cycle. Wait 15–30 seconds after each adjustment for system pressure to stabilize, then record the new reading. Continue until pressure matches your target within ±5%.
Step 4: Confirmation Under Load
Once idle pressure is correct, operate downstream equipment (e.g., ignite a burner) and monitor outlet pressure under actual flow conditions. Load pressure may differ from idle pressure due to internal regulator response characteristics. Record the loaded pressure. If it deviates more than ±10% from idle pressure, the regulator may require pilot adjustment or replacement—consult the manufacturer's service guidelines.
Step 5: Safety Relief Testing
For regulators with integrated safety relief (such as the Francel B25/37mb), confirm relief function by slowly increasing inlet pressure while monitoring outlet pressure. The outlet pressure should not exceed the relief setpoint (typically 110% of nominal pressure). If pressure climbs above this threshold, the relief valve is faulty and the regulator must be replaced. Do not attempt field repair of safety relief components.
Step 6: Documentation and Lock-Out
Record final pressure readings, adjustment date, engineer name, and any observations in your maintenance log. If your regulator adjustment screw is accessible during operation, apply a tamper-evident seal or lock-wire after completing adjustment to prevent inadvertent changes. For the Elektrogas VMM 20-25 end-of-stroke contact valve, which uses a 3 mm Allen wrench for adjustment, tighten the set screw firmly but do not over-torque (typically 2–3 Nm is adequate).
Selection and Best Practices for Adjustment Operations
Successful gas valve adjustment depends on having the right tools and following systematic practices. Essential tools include a calibrated pressure gauge (0–250 mbar and 0–300 bar ranges recommended), adjustable wrenches (10 mm to 15 mm), Allen wrench sets (2 mm to 6 mm), a portable gas detector, and a temperature thermometer. Soft-faced mallets are useful for gently clearing stuck valves without damage.
Best practices for safety and accuracy: (1) Always work in pairs—one person on the adjustment, another monitoring gauges and safety. (2) Never exceed maximum inlet pressure ratings; exceeding 200 bar on systems rated for 200 bar risks catastrophic failure. (3) Adjust slowly and incrementally; rapid pressure changes cause overshoot and instability. (4) Use certified gauges calibrated within the past 12 months; uncalibrated instruments introduce measurement error. (5) Document every adjustment with date, time, initial and final pressures, and the engineer's signature. (6) Test response under load to confirm real-world performance; idle pressure adjustment alone is insufficient.
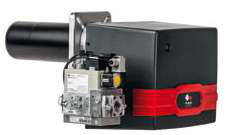
For burner systems such as the FBR GAS XP 60/2 CE TC EVO two-stage gas burner, which delivers 116–630 kW thermal power, pressure adjustment is critical to flame stability. First stage typically operates at 15–20 mbar, second stage at 35–45 mbar. After adjusting the supply regulator, verify burner flue gas analysis (combustion CO₂, O₂, and NOx levels) to confirm efficient combustion. Unstable flame or poor combustion efficiency indicates pressure misalignment; return to step 3 and refine adjustment.
Seasonal adjustment is recommended in Singapore's climate. After the dry season (June–August) or following extended equipment shutdown, perform a full recalibration because regulator spring stiffness and seal friction may shift. Test under full design load (e.g., at 630 kW for an FBR burner) to validate stable operation across the full operating envelope.
Common Adjustment Challenges and Troubleshooting
Problem: Outlet pressure drifts upward over time
Cause: Inlet pressure creep due to upstream pressure source instability or fouled inlet filter. Solution: Install a check valve between supply and regulator, verify inlet filter cleanliness, and confirm upstream pressure stability using a separate gauge. If drift continues, the regulator diaphragm may be leaking; replace the regulator.
Problem: Pressure fluctuates under load
Cause: Regulator response lag in direct-acting designs, or pilot supply blockage in pilot-operated designs. Solution: For direct-acting regulators, accept ±5% load fluctuation as normal; if greater, upgrade to a pilot-operated regulator. For pilot-operated designs, check the pilot supply filter and clear blockages.
Problem: Adjustment screw turns but pressure doesn't change
Cause: Screw has reached mechanical stop or is stuck due to corrosion. Solution: Do not force; if the screw is tight, apply penetrating oil (such as WD-40) and allow 10 minutes for penetration. Then retry with gentle pressure. If still stuck, the regulator requires factory service or replacement.
Problem: Safety relief vents continuously
Cause: Inlet pressure exceeds relief setting, or internal relief valve is leaking. Solution: Reduce inlet pressure by adjusting the upstream supply regulator. If relief continues to vent after inlet pressure reduction, the relief valve seal is damaged; replace the regulator immediately.
Compliance and Quality Standards in Singapore
Gas valve adjustment work in Singapore must comply with PSA (Professional Engineers Board) guidelines and adhere to EN 161 (Safety devices for protection against excessive pressure) and EN 12098 (Controls for heating systems) standards. All work must be documented with dated records retained for at least 5 years. For systems exceeding 70 kW (such as the FBR burner at 630 kW), a licensed Professional Engineer must certify commissioning and any major maintenance procedures.
After adjustment, conduct a Final Safety Check: (1) Confirm outlet pressure within ±5% of design setpoint. (2) Test burner ignition and flame stability. (3) Measure flue gas composition (CO₂, O₂, excess air). (4) Verify all safety interlocks respond correctly. (5) Run equipment at full design load for 15 minutes and confirm stable operation. (6) Complete a Final Commission Certificate and retain with system documentation.
Conclusion and Next Steps
Gas valve and regulator adjustment is a high-precision task requiring technical knowledge, proper tools, and systematic discipline. By following the step-by-step procedures outlined in this guide—from baseline measurement through load testing and documentation—you ensure that your industrial gas systems operate at peak efficiency and safety. Regular adjustment training and recalibration of your team's pressure gauges are essential for maintaining quality standards across your facility.
Whether you are commissioning a new gas burner system, servicing existing pressure regulators, or troubleshooting performance issues with gas control valves, 3G Electric supplies the industry-leading components and technical expertise you need. Our extensive inventory includes precision regulators from Francel, Dungs, Honeywell, and Elektrogas—all available for immediate delivery across Singapore.
For personalized guidance on adjusting specific equipment in your facility, or to source replacement regulators and valves that meet your exact specifications, contact 3G Electric today. Our technical team has served Singapore's industrial sector since 1990, providing on-site commissioning support, maintenance consultation, and rapid parts procurement. Let us help you optimize your gas control systems for maximum safety, efficiency, and reliability.