Understanding Measurement & Detection System Architecture
Measurement & Detection equipment forms the sensory nervous system of modern industrial plants. These systems continuously monitor pressure, temperature, flow rate, and electrical parameters across heating, cooling, and fluid distribution networks. Over 35 years as a global industrial equipment distributor, 3G Electric has observed that most plant failures stem not from equipment failure alone, but from inadequate troubleshooting protocols when anomalies first appear.
A robust Measurement & Detection system typically comprises four integrated layers: primary sensors (temperature probes, pressure transmitters, flow meters), signal transmission infrastructure (wiring, connectors, communication protocols), processing units (controllers, data loggers), and feedback displays (gauges, digital readouts). When plant managers encounter erratic readings, the failure point could exist anywhere in this chain, making systematic diagnosis essential.
The stakes are high. A malfunctioning temperature sensor in a chilled-water loop can cause compressor short-cycling, wasting 15-20% of energy budget. A faulty pressure transmitter may trigger false alarms, halting production unnecessarily. A compromised flow probe delivers inaccurate occupancy-based HVAC adjustments, degrading comfort while inflating operating costs. Understanding how to isolate these failures quickly separates reactive maintenance from proactive plant management.
Diagnostic Protocol: Identifying Signal Loss and Data Consistency Problems
When Measurement & Detection systems report inconsistent or missing data, plant managers must follow a structured troubleshooting sequence rather than guessing at root causes.
Step 1: Validate Physical Sensor Condition
Begin by visually inspecting the sensor itself at the installation point. For temperature measurement, verify that the Dwyer PT100 OHM RTD temperature probe is fully inserted into its thermowell and making solid contact with the process medium. Temperature probes that sit partially above liquid or sit in dead zones of piping report lagging, erratic data. Check for ice accumulation in cold climates, corrosion on copper capillaries, or physical damage to the probe sheath. The probe's ±0.6% accuracy specification only applies when mounted correctly; misplacement can introduce 5-10°C errors immediately.
For pressure measurement, inspect gauge connections for weeping, corrosion, or mechanical damage. The Preciman stainless steel vertical pressure gauge with G1/4 connection requires tight fitting to prevent slow leaks that manifest as gradually drifting readings. If the gauge shows slow decline over hours, suspect a micro-leak in the connection rather than transmitter failure. Apply soapy water to suspect joints and observe for bubbles.
For flow measurement, the Dwyer Metal average flow probe MAFS-16 requires unobstructed access to the full duct cross-section. Verify that ductwork insulation, dampers, or elbows installed downstream of the probe don't create turbulence that corrupts the total pressure signal. Static pressure taps must be free of dust accumulation and condensation blockage.
Step 2: Verify Electrical Continuity and Connector Integrity
Signal loss frequently occurs at terminals, connectors, and wiring legs—not at the sensor core itself. Disconnect sensor leads at the controller and measure resistance with a multimeter:
- PT100 RTD probes should measure approximately 100 Ω at 0°C. Readings exceeding 120 Ω or below 85 Ω indicate probe degradation or open circuits in the capillary lead.
- Pressure transmitters like the Dwyer 616KD-13V-TC differential pressure transmitter should maintain stable resistance values (typically 100-500 Ω per design). Fluctuating readings suggest loose crimps or corrosion in terminal blocks.
- 4-20 mA signal loops require measurement at the transmitter output terminals. The transmitter must deliver 4 mA at zero pressure and 20 mA at full scale. If readings remain constant regardless of actual pressure change, the transmitter internal output is failed; if readings drop unexpectedly, suspect wiring resistance or poor connections.
Replace corroded connectors immediately. Corrosion on copper alloy wetted parts (common in high-humidity HVAC environments) causes contact resistance that degrades signal quality and reduces sensor sensitivity. Stainless steel components resist corrosion better, justifying the investment in upgraded sensor hardware for aggressive environments.
Step 3: Cross-Validate with Independent Measurement
When a sensor reports questionable data, verify actual process conditions using a portable reference instrument. Compare the suspect transmitter's output against a calibrated handheld pressure gauge, digital thermometer, or flow measurement tool. A significant deviation (beyond the sensor's stated accuracy class) confirms sensor failure rather than environmental issues.
For example, if the building automation system displays 2.5 bar but a portable gauge reads 2.8 bar—a 0.3 bar difference—and the pressure transmitter's specification allows only ±0.5% error (±0.05 bar at this pressure), the transmitter has drifted beyond acceptable limits and requires recalibration or replacement.
Systematic Root Cause Analysis: From Symptom to Solution
Plant managers must connect observable symptoms to underlying causes through logical analysis.
Symptom: Gradual Sensor Drift Over Weeks
Gradual drift—where readings become progressively less accurate over weeks or months—indicates sensor aging, calibration drift, or environmental stress. Temperature probes suffer drift from repeated thermal cycling; pressure transmitters drift from mechanical fatigue in the sensing diaphragm or electronics aging. Rectify by:
1. Establishing a recalibration schedule. Most industrial sensors require calibration annually, some quarterly in harsh environments.
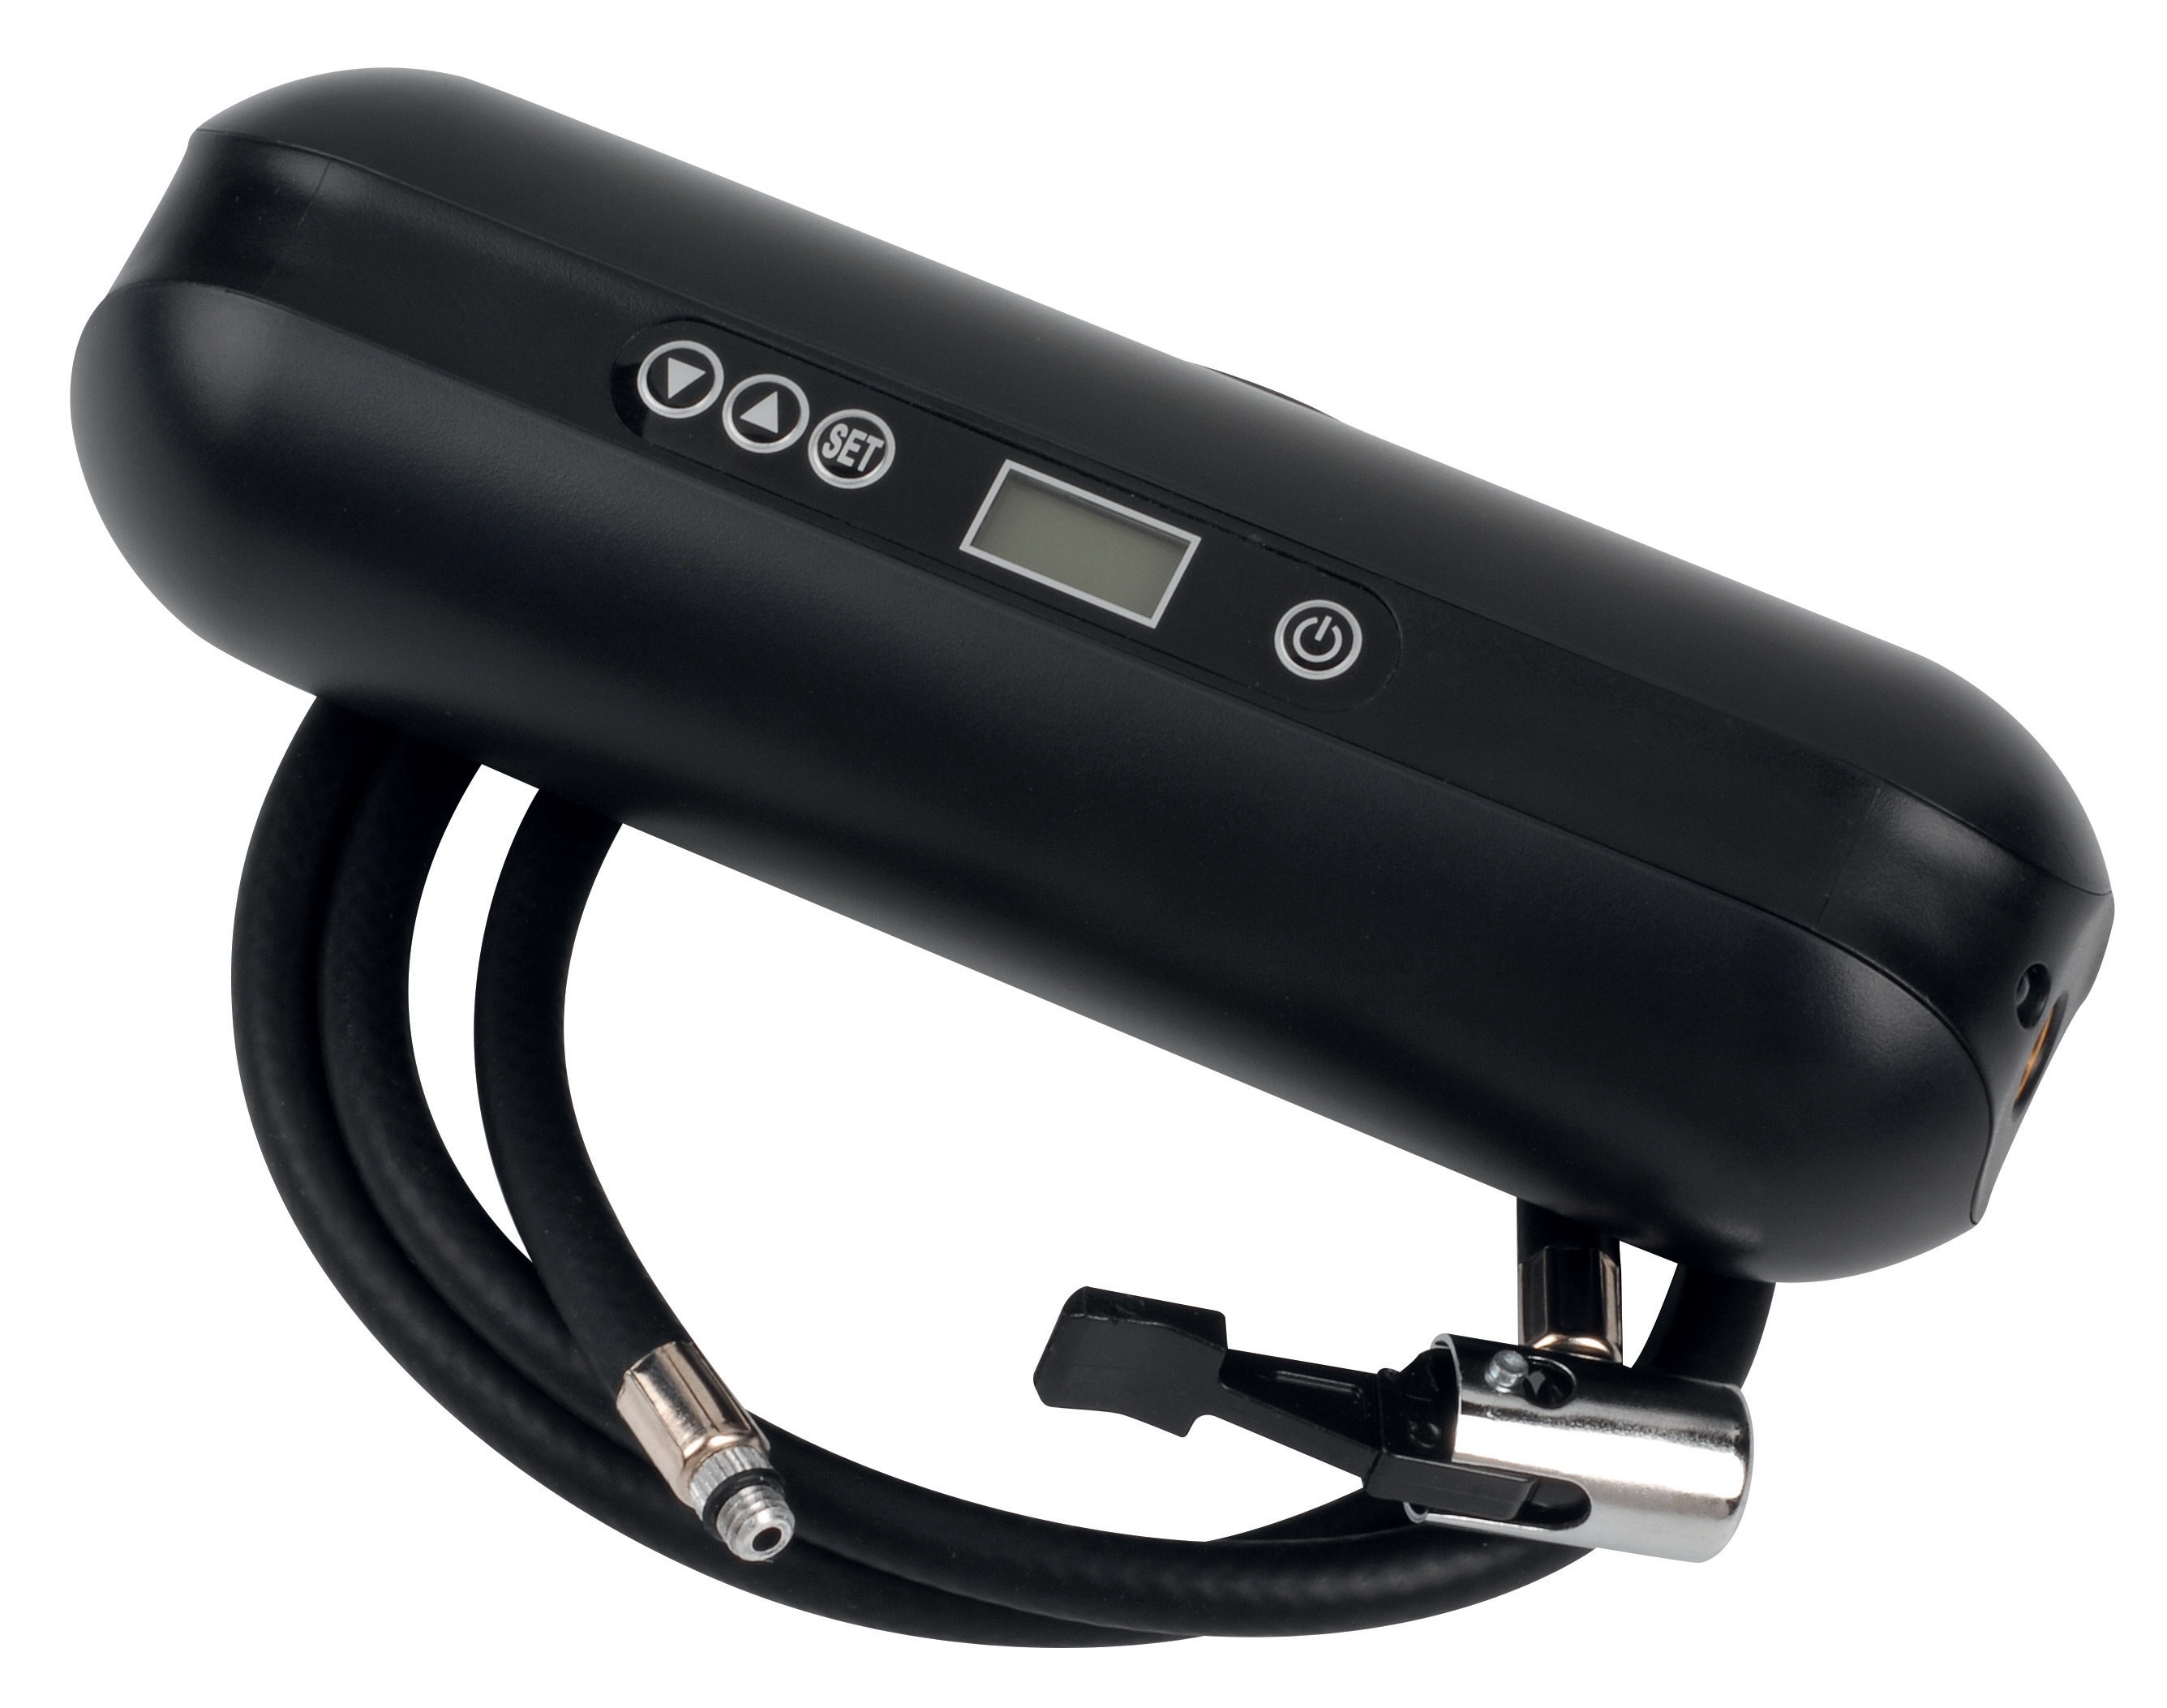
2. Installing the CBM expansion tank inflator battery 2000 mAH as a calibration reference for pressure system baseline verification. This device maintains consistent pressure during static tests, enabling portable validation without draining system pressure.
3. Trending historical data to identify inflection points where drift accelerated. This pattern reveals whether drift is gradual (sensor aging) or sudden (environmental shock).
Symptom: Intermittent Signal Loss or Spikes
Intermittent problems—dropouts lasting seconds or erratic spikes—suggest electrical noise, loose connections, or signal transmission interference rather than sensor failure. Corrective actions:
1. Inspect cable routing. Sensors carrying low-level signals (4-20 mA) must route away from power cables, variable frequency drives, and high-current switching equipment that radiate electromagnetic noise.
2. Verify shielded cable integrity. The shield must ground at one end only (typically the transmitter end) to prevent ground loops that introduce 50/60 Hz noise.
3. Check controller input module settings. Many controllers offer configurable filter time constants. Reducing filter windows allows faster response but may amplify noise; increasing filter windows smooths noise but introduces signal lag that degrades control responsiveness.
Symptom: Readings Within Range but Inconsistent Between Redundant Sensors
When two sensors monitoring the same parameter report different values (e.g., supply air temperature showing 18°C at one location, 20°C at another), the cause is usually installation variance rather than sensor failure. Corrective actions:
1. Verify sensor locations match specification. If probes sit in different duct positions, airflow stratification causes legitimate temperature differences. Relocate to identical positions in parallel ducts.
2. Confirm insertion depth. Shallow insertion into thermowells leaves probe tips in cooler boundary layers; deep insertion reaches true bulk temperature. Standardize insertion depth across all similar sensors.
3. Validate that process conditions truly are identical. A 2°C difference between chilled water supply and return sensor is expected; alarm conditions that treat this as a sensor fault create nuisance shutdowns.
Preventive Maintenance and Long-Term Reliability
Reducing Measurement & Detection failures requires moving beyond reactive repair toward predictive maintenance:
Establish Calibration Intervals
Document each sensor's historical accuracy. If a particular probe model consistently drifts 2-3°C annually, shorten recalibration intervals to six months rather than accepting annual drift that impacts operations. Track calibration costs against operational losses avoided.
Implement Redundancy for Critical Parameters
For mission-critical measurements (chilled water temperature, critical supply pressure), install redundant sensors reporting to the same controller. Configure the BMS to alarm when two sensors disagree by more than the expected accuracy band, alerting plant staff to impending failure before system control fails.
Create Sensor Installation Standards
Document best practices for probe insertion depth, thermowell fill medium, connector protection, and cable routing. When technicians follow consistent installation standards, field performance improves dramatically and troubleshooting becomes faster because variables are minimized.
Upgrade Sensor Hardware in High-Stress Environments
Standard carbon steel gauges corrode rapidly in humid HVAC rooms. The Preciman stainless steel pressure gauge costs 30-40% more than carbon steel equivalents but outlasts them 3-5 times in aggressive environments, reducing lifecycle replacement costs. Similarly, sealed connectors on transmitters prevent moisture ingress that causes intermittent signal problems.
Maintain Spare Sensor Inventory
Katastrophic sensor failures that halt critical loops require same-day replacement. Maintaining spare units of frequently used transmitters—the Dwyer 616KD-13V-TC differential pressure transmitter is common in HVAC systems—enables rapid swap-out while failed units go to recalibration.
With 35+ years supporting industrial operations, 3G Electric recognizes that measurement reliability is operational reliability. Implementing structured troubleshooting protocols, maintaining preventive calibration schedules, and upgrading sensor hardware in harsh environments transforms Measurement & Detection from a source of plant downtime into a trusted operational foundation.