Understanding Measurement & Detection for HVAC Troubleshooting
When an HVAC system underperforms, guesswork leads to wasted time and lost revenue. Measurement & Detection—the systematic process of taking precise readings and identifying abnormal conditions—separates professional contractors from those who rely on intuition.
For nearly 35 years, 3G Electric has supplied Southeast Asian contractors with the tools needed to measure system performance accurately. The difference between a quick fix and a complete misdiagnosis often comes down to one thing: knowing exactly what to measure and how to interpret the readings.
This guide walks you through real-world troubleshooting scenarios, showing you when and where to take measurements, which tools to use, and what the numbers mean. Whether you're dealing with pressure drops, temperature inconsistencies, or airflow problems, proper Measurement & Detection keeps you ahead of callbacks and warranty claims.
Section 1: Pressure Measurement for System Diagnostics
Why Pressure Readings Matter
Pressure is the vital sign of any HVAC system. Low pressure indicates leaks or refrigerant loss. High pressure suggests blockages or compressor problems. Without pressure measurement, you're flying blind.
Start with static pressure testing—the most overlooked diagnostic step. Many contractors skip this, but it reveals airflow problems before they become expensive compressor failures. Static pressure measures the resistance air faces as it moves through ducts, filters, and coils.
Taking Static Pressure Readings
You'll need a differential pressure tool. The Dwyer Transmitter 616KD-13V-TC measures pressure differences from 0–1 IN W.C, perfect for identifying ductwork restrictions. Here's the process:
1. Locate test points: Drill small holes in the return duct upstream of the filter and another downstream of the last supply register.
2. Connect the transmitter: Use the barbed process connections to attach tubing to both test points.
3. Read the differential: Compare return-side pressure to supply-side pressure. Normal systems show 0.1–0.3 IN W.C difference across clean filters.
4. Identify problems: Pressure differential above 0.5 IN W.C indicates a clogged filter or blocked ductwork. Below 0.05 IN W.C suggests undersized ducts.
In Southeast Asia's humid climate, filters clog faster than in temperate regions. Monthly pressure checks catch problems before they reduce capacity by 20–30%.
System Pressure Monitoring
For refrigerant-side pressures, use an analog gauge for immediate visual feedback. The Preciman Stainless Steel Vertical Pressure Gauge D63 0/+40Mbar G1/4 provides reliable low-pressure monitoring with ±1.6% accuracy. Install it on the liquid line sight glass connection.
Check pressures at three points in the system cycle:
- At startup: Pressures should be balanced and stable within 30 seconds.
- At steady state: High side typically runs 250–300 psi; low side 40–70 psi depending on refrigerant type.
- At shutdown: Pressures should equalize over 10–15 minutes.
Abnormal pressure readings tell a story. High suction pressure (low-side) with low discharge pressure (high-side) suggests a failed compressor valve. High suction pressure with normal discharge pressure indicates overcharging. The gauge reading is your diagnostic roadmap.
Section 2: Temperature Detection for Efficiency and Failure Prevention
Why Temperature Readings Reveal System Health
Temperature measurement catches problems that pressure sensors miss. A system might maintain correct pressure but deliver warm air if the evaporator is iced over or the condenser is dirty.
Temperature also indicates compressor efficiency. If a system runs high-side pressure correctly but the discharge temperature exceeds 300°F (149°C), the compressor is working harder than it should—a sign of restricted flow or oil starvation.
Installing Temperature Probes for Accurate Detection
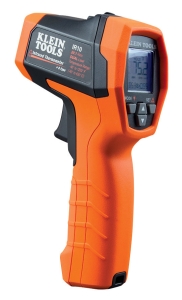
The Dwyer Probe AVG PT100 OHM RTD L.65 AVG-21241 is a flexible copper capillary temperature probe with ±0.6% accuracy, operating from -35.5 to +115.5°C. This range covers every HVAC measurement scenario in Southeast Asia, from compressor discharge to outdoor condensing unit readings.
Proper probe placement is critical:
1. Compressor discharge: Wrap the probe around the discharge line at least 12 inches from the compressor. This detects superheat problems and refrigerant return to the crankcase.
2. Evaporator outlet: Clamp the probe to the suction line leaving the evaporator. This reading minus saturation temperature (based on suction pressure) tells you actual superheat.
3. Return air temperature: Mount a probe in the return duct. Steady return air temperature between 72–76°F (22–24°C) indicates proper cooling in tropical climates.
4. Outdoor condenser: Place a probe in the discharge airstream from the condenser. Compare this to ambient temperature. A difference of 15–20°F indicates normal condensing; more suggests dirty coils or low airflow.
In humid Southeast Asian conditions, temperature differentials across evaporators drop because moisture removal lowers capacity. A system cooling from 32°C to 18°C (normally a 14°C drop) that only drops 8°C suggests icing or restricted airflow—both requiring immediate attention.
Interpreting Temperature Patterns
Temperature consistency matters as much as absolute values. If discharge temperature climbs steadily over 30 minutes while pressure remains constant, the compressor is starving for oil—time to shut down before burnout occurs.
Conversely, if discharge temperature drops when you'd expect it to rise (like when partially blocking airflow), the compressor has lost pumping capacity. This pattern combined with pressure readings guides you toward valve problems rather than refrigerant issues.
Section 3: Airflow Detection and Flow Measurement
Understanding Airflow as a Detection Tool
Most HVAC failures trace back to airflow problems. Dirty filters, iced evaporators, and obstructed supply vents all reduce airflow. Detecting airflow problems early prevents compressor overload and premature failure.
Airflow measurement uses average velocity across the duct cross-section. The Dwyer Metal Average Flow Probe MAFS-16 measures static and total pressure across a 16 cm probe length, giving you average velocity in centimeters per second.
Measuring Airflow in Supply and Return Ducts
Airflow detection follows a simple equation: CFM = Velocity (ft/min) × Duct Area (sq ft)
For a 12-inch round duct (0.785 sq ft):
1. Insert the flow probe: Place the MAFS-16 into a test hole, perpendicular to airflow.
2. Record static pressure: The differential transmitter reads how much static pressure the probe encounters.
3. Calculate velocity: Use the calibration chart (typically 1 IN W.C = 4,000 CFM in large ducts, adjust for duct size).
4. Verify against nameplate specs: Most residential systems should deliver 350–400 CFM per ton of cooling capacity.
In Southeast Asian installations with 5-ton systems, expect 1,750–2,000 CFM. If you measure 1,200 CFM, you've found your problem—and it's not refrigerant loss.
Detecting Airflow Decay Over Time
Establish a baseline measurement during commissioning. Record velocity at two supply locations and one return location. Compare these readings quarterly.
Airflow decline of 10% indicates filter degradation or light coil fouling—time for maintenance. Decline of 20%+ suggests major blockage or coil icing. Because duct leakage is common in older Southeast Asian installations, declining return airflow often points to duct penetration in attics or crawl spaces before the system gets blamed for low capacity.
Section 4: Expansion Tank Pressure and System Water Detection
Why Expansion Tank Pressure Matters
For hydronic heating systems (common in larger Southeast Asian commercial HVAC installations), expansion tank pressure directly affects system longevity. Over-pressurized tanks waste energy and stress piping. Under-pressurized tanks allow air to enter the system, causing corrosion and pump cavitation.
Proper expansion tank pressure equals system static head pressure plus 5 psi. A 40-foot building height creates roughly 17 psi static pressure, so the expansion tank should charge to 22 psi.
Measuring and Correcting Expansion Tank Pressure
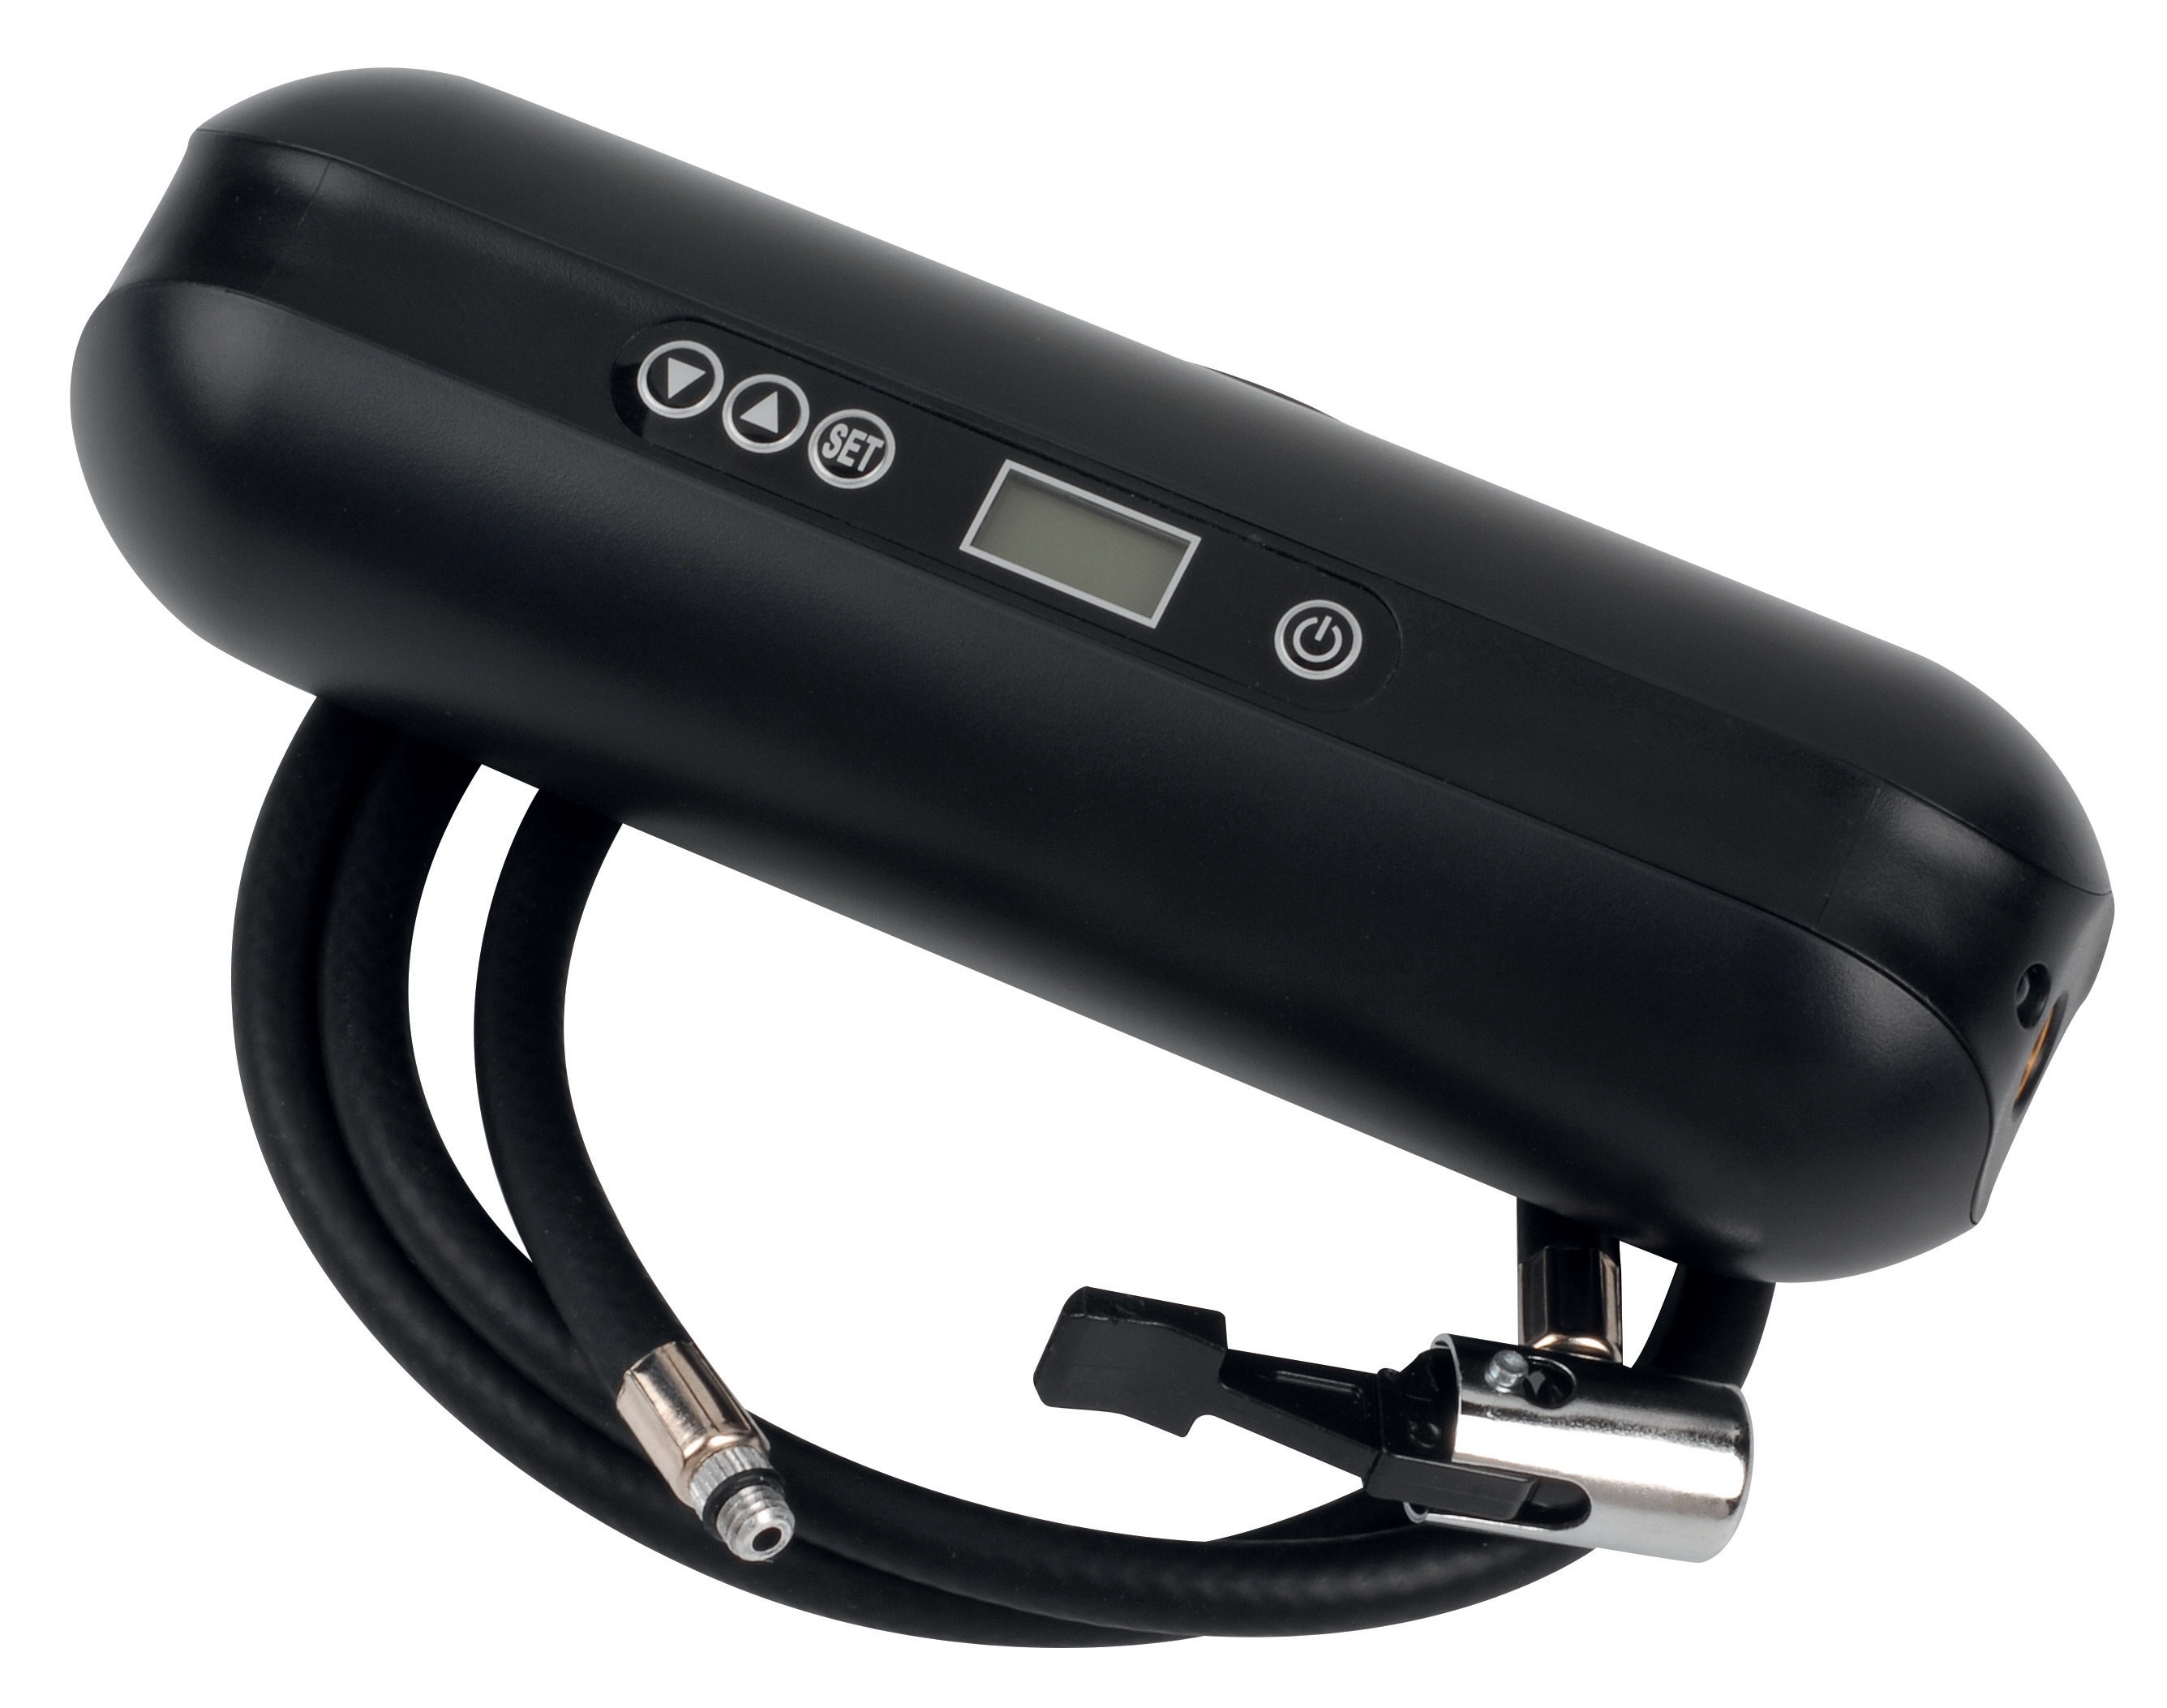
The CBM Expansion Tank Inflator Battery 2000 mAH inflates expansion tanks to precisely specified pressures, with maximum rating of 10.3 bar (149.5 psi). The 2000 mAH battery operates across -20 to 60°C, covering all Southeast Asian conditions.
Procedure:
1. Drain the system to empty the tank: Required for accurate pressure reading.
2. Connect the inflator: Attach to the tank air valve (Schrader valve).
3. Check current pressure: Use the inflator's built-in gauge to read baseline pressure.
4. Calculate required pressure: System height (feet) ÷ 2.31 + 5 = target tank pressure in psi.
5. Inflate or deflate as needed: The CBM inflator handles both functions with battery-powered precision.
6. Verify with reference gauge: Double-check with a calibrated pressure gauge.
Expansion tank pressure creeps down over months due to tiny diaphragm leaks. Quarterly pressure verification prevents system problems before they appear. In Southeast Asia's constant-temperature climates, seasonal pressure swings are minimal, but pressure drift still occurs.
Detecting Water in Refrigerant Systems
While not strictly pressure measurement, moisture detection protects expansion tanks and the entire system. Excessive system water causes acid formation and compressor burnout.
Key detection points:
- Sight glass color: Yellow or brown indicates acid formation from moisture.
- Filter-dryer condition: Replace if moisture is suspected; a clogged dryer indicates water presence.
- Oil appearance: Milky or foamy oil indicates free water in the system.
If water detection indicates problems, drain and replace oil immediately, then operate with an oversized filter-dryer for 48 hours to remove remaining moisture.
Best Practices for Ongoing Measurement & Detection
Create a Measurement Schedule
Establish quarterly measurement intervals for critical systems. Document baseline readings when you commission equipment. Track trends in spreadsheets—this historical data reveals degradation patterns years before catastrophic failure.
Keep Instruments Calibrated
Pressure gauges and temperature probes drift over time. Annual calibration against certified standards prevents false readings that lead to unnecessary repairs. 3G Electric's distributor network provides calibration services across Southeast Asia.
Train Your Team on Interpretation
Equipment readings only matter if your technicians understand what they mean. A 10% pressure drop might be normal for one system but catastrophic for another. Investment in training pays dividends in faster diagnostics and fewer warranty claims.
Use Technology to Track Measurements
Modern transmitters like the Dwyer 616KD-13V-TC output 4-20 mA signals. Connect these to data loggers or building management systems to track trends automatically. This removes human error and catches slow degradation that spot measurements miss.
Conclusion
Measurement & Detection transforms troubleshooting from guesswork into engineering. Pressure readings locate blockages and leaks. Temperature measurements reveal compressor efficiency and superheat problems. Airflow detection pinpoints capacity loss. Together, these measurements accelerate diagnostics, reduce callbacks, and extend equipment life.
For 35 years, 3G Electric has supplied contractors throughout Southeast Asia with the precision instruments needed for professional diagnostics. The products referenced here—from differential pressure transmitters to temperature probes and flow measurement equipment—are backed by distributor support and technical expertise across the region.
Start with pressure measurement. Master temperature detection next. Add airflow diagnostics when you're ready. Build your Measurement & Detection toolkit incrementally, and you'll develop the diagnostic skill that separates master technicians from the competition.