Understanding Measurement & Detection Failures in HVAC Systems
Measurement & Detection equipment forms the nervous system of modern HVAC installations. When temperature probes, pressure transmitters, or gauges malfunction, contractors waste time chasing phantom problems—incorrect thermostat settings, false alarm shutdowns, or energy waste from overcorrecting controls.
With over 35 years supplying HVAC distributors across Singapore and the region, 3G Electric has seen these failures repeat across hundreds of installations. The good news: most accuracy issues follow predictable patterns and are diagnosable on-site without replacing entire sensor networks.
This guide walks you through real-world troubleshooting scenarios you'll encounter in chiller rooms, boiler plants, and ductwork environments.
Section 1: Diagnosing Temperature Probe Accuracy Drift
Common Failure Modes
Temperature probes like the Dwyer Probe AVG PT100 OHM RTD often report readings 2–5°C off actual conditions. Before condemning the sensor, check these causes:
Thermal Lag Issues
- RTD probes measure accurately only when thermally coupled to the medium
- Poor insertion depth or immersion length violations cause delayed response
- In fast-changing systems (startup, emergency shutdown), this creates control lag
Solution: Remove the probe and inspect the copper capillary for corrosion or deposits. Clean with soft cloth and reinstall ensuring full immersion depth (minimum 2.5 times the probe diameter). For the Dwyer PT100 with its flexible capillary, ensure the mounting clips aren't overtightened—compression reduces thermal conductivity.
Corrosion and Contamination
- Singapore's tropical humidity accelerates corrosion on exposed copper and brass components
- Scale buildup from untreated water in expansion tank systems blocks heat transfer
- Biological growth (algae) in standby water creates insulating layers
Solution: For light corrosion, soak in white vinegar for 15 minutes and flush with distilled water. If corrosion is deep (visible pitting), replacement is necessary. Consider upgrading to stainless steel probes for humid environments. When reinstalling, apply a thin coat of silicone grease to the insertion point to reduce future oxidation.
Signal Cable Degradation
- HVAC installations often route sensor cables near high-voltage wiring or motor starters
- Electromagnetic interference (EMI) injects noise into RTD signals, causing ±2–3°C variations
- Loose connector pins at termination boards create intermittent readings
Solution: If cable resistance checks out, re-examine physical routing. Relocate sensor cables away from motor circuits using shielded twisted-pair (STP) cable. Ensure all terminal connections are firm—corrosion at pins is invisible until you see intermittent faults. Clean connectors with isopropyl alcohol and reseat fully.
Practical Commissioning Check
When a new system reports odd temperature readings:
1. Check the BMS (Building Management System) calibration offset—often a -2°C error is simply a software setting rather than a hardware fault
2. Verify probe location: mid-duct temperature measurement requires a probe centered in the ductwork, not at the wall
3. Compare multiple probes: if all probes in a zone read high by the same amount, suspect BMS firmware rather than individual sensor failure
4. Test response time: open a window suddenly; a working RTD should detect temperature change within 60–90 seconds, not minutes
Section 2: Pressure Transmitter and Gauge Troubleshooting
Differential Pressure Transmitter Issues
The Dwyer Transmitter 616KD-13V-TC measures pressure differences critical for balancing water flow and detecting filter clogging. When readings jump or zero-shift occurs:
Zero Offset Drift
- Transmitters can drift 5–10% over time, especially in temperature-variable environments
- Condensation in the barbed process connections creates false pressure readings
- Changes in atmospheric pressure between calibration and operation confuse absolute vs. gauge measurements
Solution: Some transmitters allow field zero-calibration via a small adjustment screw (consult the manual). If unavailable, note the offset and apply it mathematically in your controls system. For permanent correction, return to 3G Electric for recalibration—this is faster than replacing the unit and costs less than a new transmitter.
Blocked Process Connections
- The barbed connectors on the Dwyer 616KD-13V-TC use 3–5 mm tubing
- In chilled water systems, microbial growth clogs these lines
- In steam applications, condensate can freeze in lines during shutdown
Solution: Never apply full system pressure to blast through blockages—you'll damage the transmitter diaphragm. Instead, disconnect the tubing and use low-pressure air (2–3 bar) to gently clear the line. If debris persists, soak the tubing end in warm water and flush with a syringe. Replace tubing if it's cloudy or discolored—it's inexpensive insurance.
Wrong Pressure Range Selected
- Technicians sometimes specify 0–2 bar transmitters for 0–1 IN W.C. applications
- This creates poor resolution: a 0.2 IN W.C. reading becomes 2% of full scale—noise hides the signal
Solution: If wrong-range equipment is installed, plan replacement during the next maintenance window. Order the correct model through 3G Electric with proper lead time.
Analog Pressure Gauge Accuracy
The Preciman Stainless Steel Vertical Pressure Gauge with ±1.6% accuracy is reliable but degrades if:
Mechanical Vibration Damage
- Gauges mounted directly on vibrating pipes (boiler discharge, pump outlet) oscillate constantly
- The Bourdon tube (internal sensing element) fatigues and loses linearity
- Readings creep upward over weeks—a 40 mbar system reads 42 mbar after a month
Solution: Relocate the gauge to a stable pipe section upstream of pumps, or install a snubber valve (throttle port) that dampens pulse. This is a 15-minute job that extends gauge life 5+ years.
Moisture Inside the Dial
- Tropical environments in Singapore cause internal fogging after a few months
- This reduces readability and indicates the gauge casing seal is failing
- Internal moisture also corrodes the Bourdon tube
Solution: Don't wait—order replacement immediately. Continued operation will destroy the gauge. When reinstalling, ensure the mounting thread (G1/4 on the Preciman) has thread sealant (PTFE tape or pipe dope) applied correctly to prevent future moisture ingress.
Section 3: Flow Probe Measurement Issues
Metal Average Flow Probe Drift
The Dwyer Metal Average Flow Probe MAFS-16 measures velocity across 16 cm of ductwork to calculate volume flow. Problems here often hide as balancing issues:
Probe Blockage from Dust Accumulation
- Supply-side probes clog within 6–12 months of operation without pre-filters
- Dust accumulation changes the aerodynamic profile, reducing sensitivity by 10–15%
- Return-air probes accumulate lint and biological matter (especially in humid climates)
Solution: Clean the probe in-place using compressed air (3–5 bar, 5-second pulses). Never use water or solvents—they create rust on stainless steel. Schedule quarterly inspections in dusty environments (kitchens, manufacturing). If dust is heavy, install a throwaway pre-filter upstream or increase filter maintenance frequency.
Tap-Line Separation in Unbalanced Systems
- The MAFS-16 uses small tubing lines to measure static and dynamic pressure
- In heavily imbalanced ductwork, static pressure drops 30–40 Pa between tap locations
- This creates false flow readings, especially when dampers are nearly closed
Solution: This is a design issue, not a probe failure. For future installations, specify shorter probe lengths (8 cm) or multi-probe averaging in high-variation zones. For existing systems, recalibrate the transmitter to account for the ductwork geometry.
Transmitter-to-Probe Connection Issues
The tubing connecting the MAFS-16 to its transmitter often introduces errors:
Tubing Resonance
- Long runs of tubing (>3 meters) can resonate at certain velocities
- This creates cyclical errors: flow reads correct, then 5% low, then correct again
- Most common in low-velocity return-air ducts
Solution: Add a small damping reservoir (a 250 mL plastic bottle with barbed fittings) into the tubing run. This absorbs resonant energy and smooths readings. Cost: under $50 and 30 minutes installation.
Connector Leakage
- Humidity causes small tubing connections to weep slowly
- Pressure loss in the line creates offset errors
- This is invisible unless you pressurize the line and listen carefully for hissing
Solution: Tighten the barbed connector gently (hand-tight plus one quarter turn with pliers). If still leaking, replace the tubing—it's likely cracked from UV or thermal cycling. Use rated tubing for the system pressure.
Section 4: Practical On-Site Diagnostic Workflow
Five-Step Troubleshooting Sequence
When a contractor reports "sensors reading wrong," follow this sequence:
Step 1: Isolate the Problem (5 minutes)
- Is it one sensor or the entire zone?
- Did the problem appear gradually or suddenly?
- Gradual drift (over weeks) suggests calibration drift; sudden errors suggest wiring or connector failure
- Check probe immersion depth, gauge mounting vibration, tubing blockage
- Compare readings across multiple sensors in the same zone
- If all temperature probes read 2°C high, it's likely BMS calibration; if only one reads high, it's the probe
- For RTD probes: measure resistance with ohmmeter, compare to standard table
- For gauges: tap gently, observe needle movement and drift
- For transmitters: zero-check with both ports closed
- Reseat all terminal blocks and tubing connections
- Look for corrosion, loose pins, or condensation in enclosures
- Clean connectors with isopropyl alcohol on a lint-free cloth
- Note the exact readings, error magnitude, and failure mode
- Determine if the issue is immediate (replace) or long-term (recalibrate, relocate)
- Contact 3G Electric if equipment needs factory recalibration or replacement
When to Replace vs. Recalibrate
Replace immediately if:
- RTD resistance is outside the standard PT100 table by >2%
- Pressure gauge has internal moisture or visible rust
- Transmitter zero-shift exceeds 5% of full scale and cannot be corrected
- Tubing is cracked or permanently deformed
- Drift is <2% and stable (not increasing daily)
- Error is electrical (EMI, loose connectors) rather than mechanical
- Blockage can be cleared without disassembly
- Software offset can compensate for a stable bias
Recommended Measurement & Detection Maintenance Schedule
Monthly: Visual inspection of gauges, probe tips, and tubing for physical damage or deposits.
Quarterly: Clean flow probes and verify pressure transmitter zero-shift with isolation valves closed.
Semi-Annually: Full-point calibration check for RTD probes against a reference thermometer at 3 points (low, mid, high of operating range).
Annually: Factory recalibration for critical transmitters (±$150 each); replacement of any tubing showing discoloration or cloudiness; inspection of all electrical connectors under magnification.
Recommended Products from 3G Electric
When addressing Measurement & Detection issues, these products solve common problems:
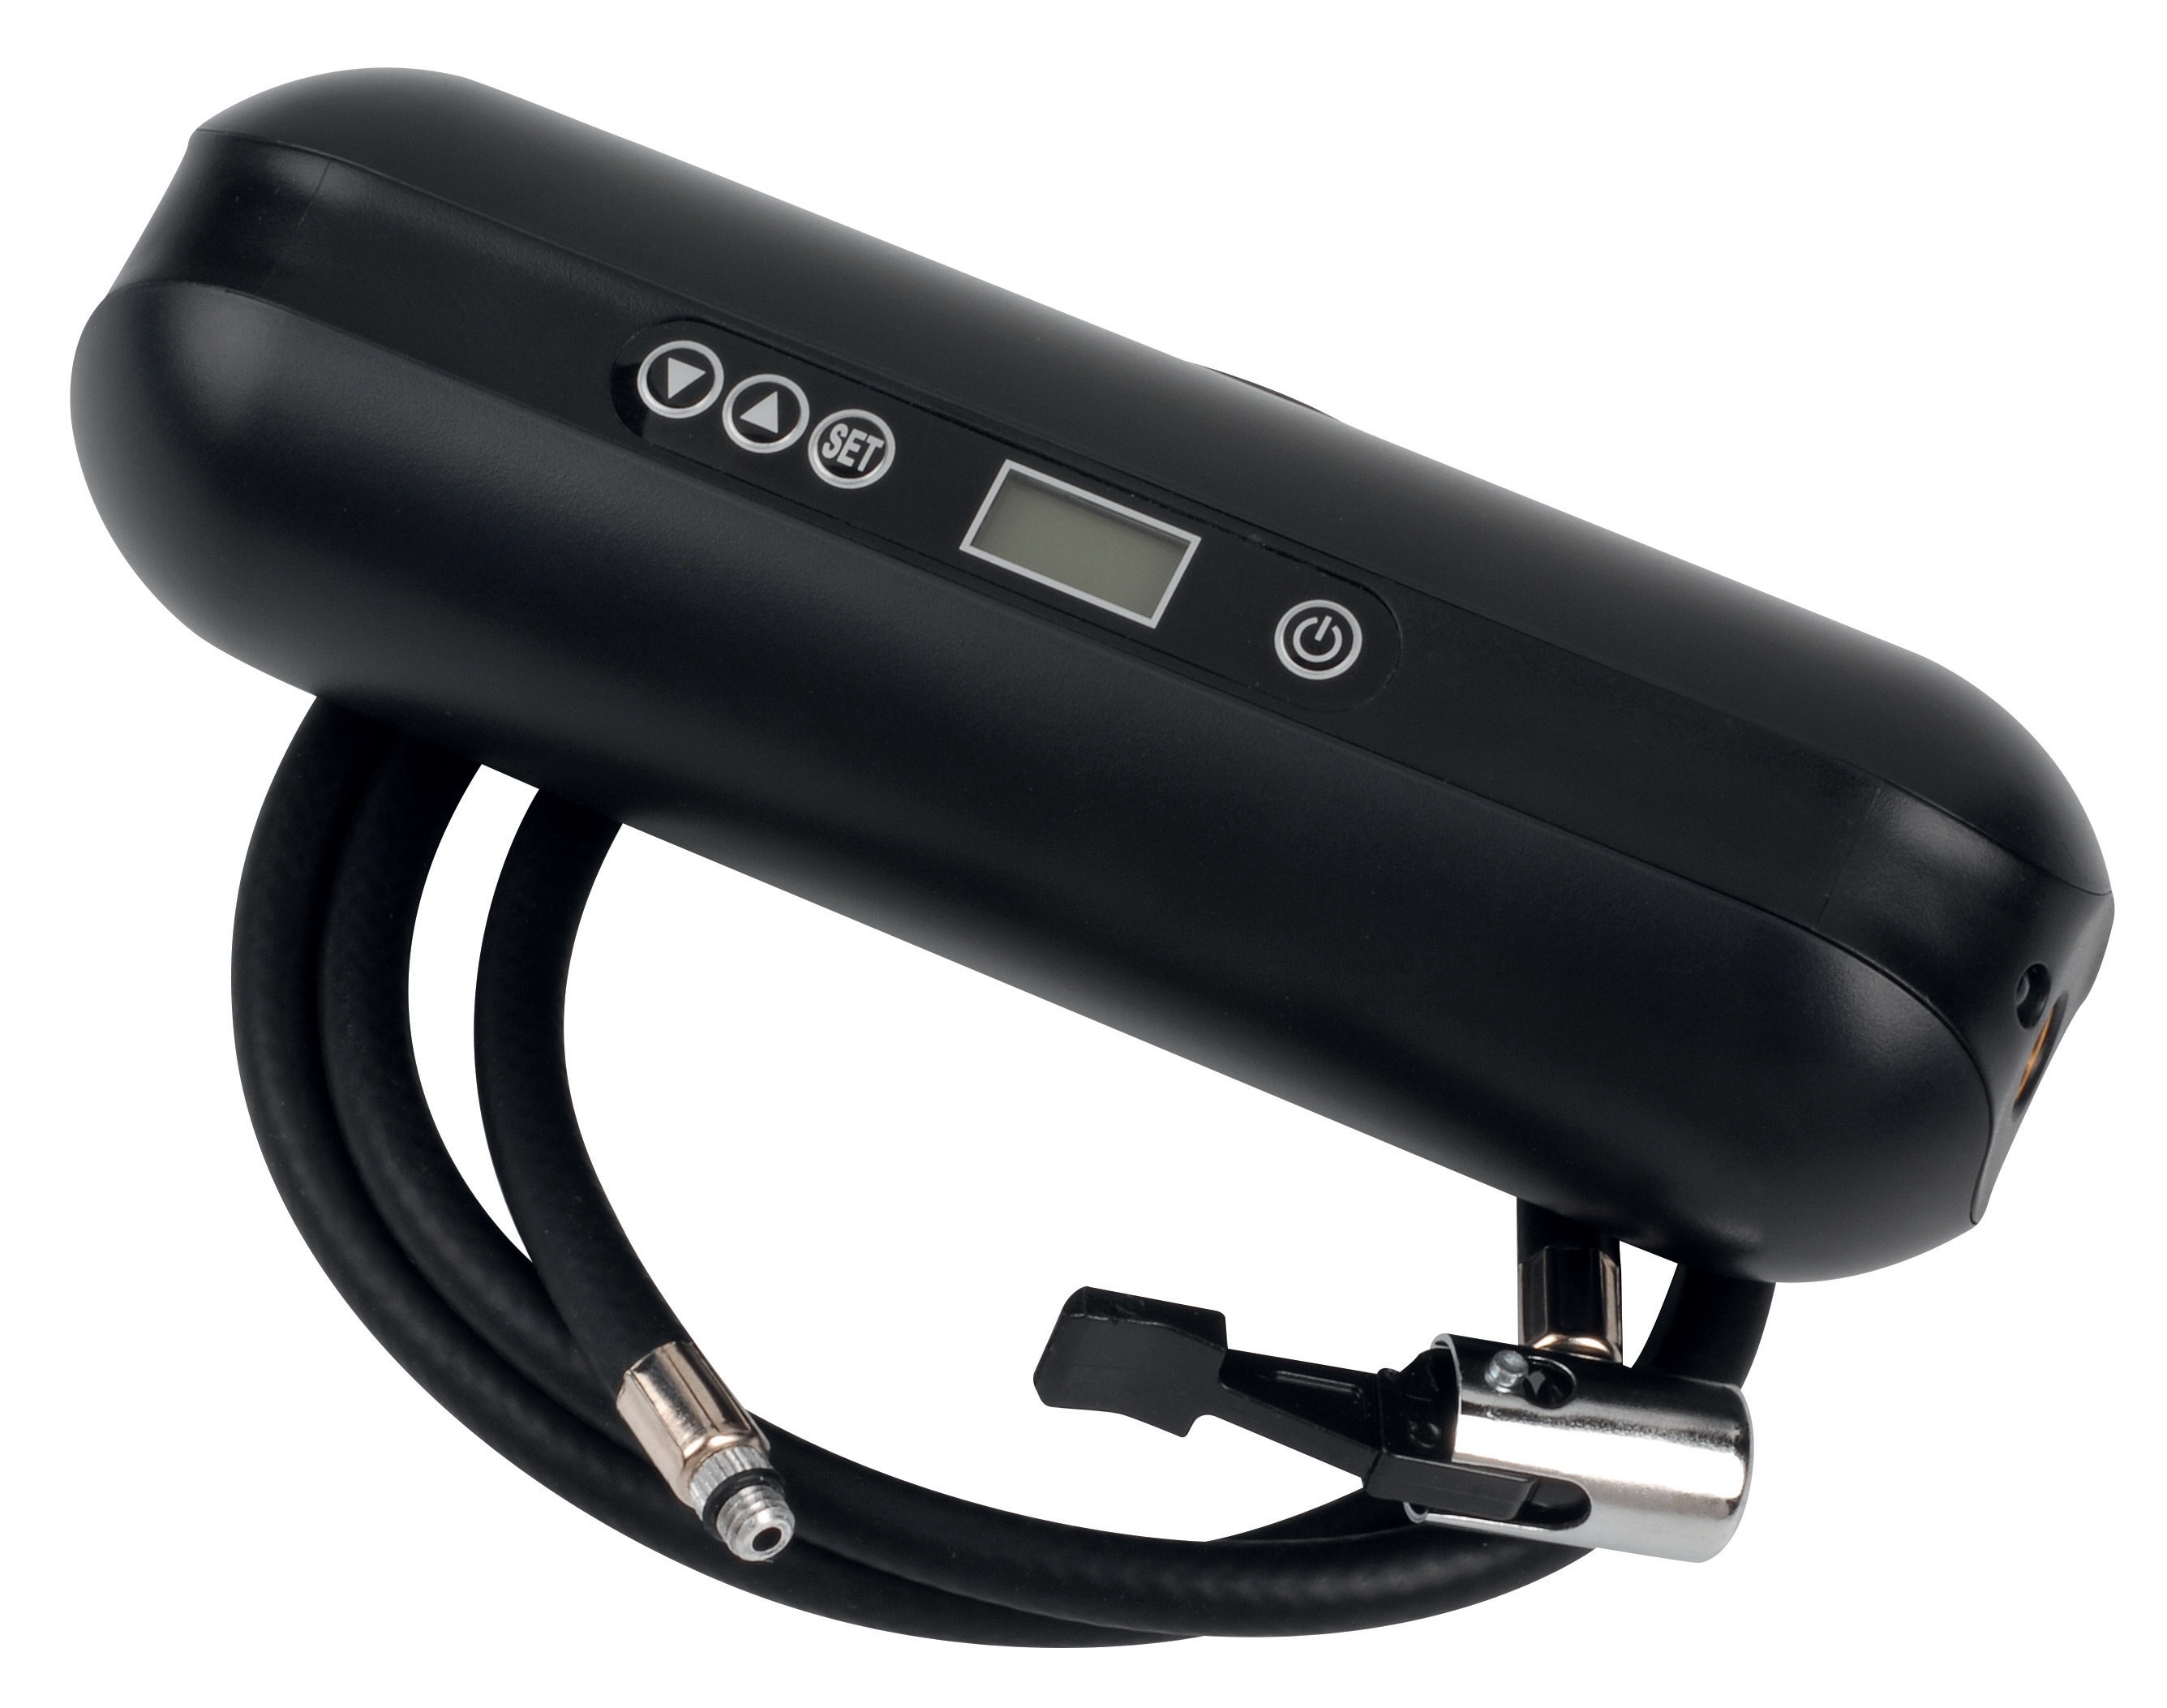
- CBM Expansion Tank Inflator Battery 2000 mAH — Maintains proper pressurization, preventing water-logging that degrades sensor accuracy in expansion tanks. The 2000 mAH battery powers multiple inflation cycles across -20 to 60°C operating range.
- Dwyer Probe AVG PT100 OHM RTD L.65 AVG-21241 — Upgrade existing probes to this PT100 with flexible copper capillary, ±0.6% accuracy, and stainless construction for tropical humidity resistance.
- Dwyer Transmitter 616KD-13V-TC — Replacement differential pressure transmitter with low power consumption (21 mA max) suitable for all HVAC control systems, 0–1 IN W.C. range.
- Preciman Stainless Steel Vertical Pressure Gauge D63 0/+40 Mbar G1/4 — Robust low-pressure gauge for boiler and chiller inlet monitoring, ±1.6% accuracy, tropical-grade stainless steel.
- Dwyer Metal Average Flow Probe MAFS-16 — 16 cm averaging probe for reliable duct velocity measurement across variable air distribution systems.