Understanding Controls & Safety in Modulating Gas Control Systems
Controls & Safety systems that manage fuel flow and air intake represent the most critical interface between operator intent and actual combustion behavior. Unlike simple on/off burner designs, modulating systems require precision control to maintain flame stability, optimize fuel efficiency, and prevent dangerous combustion conditions.
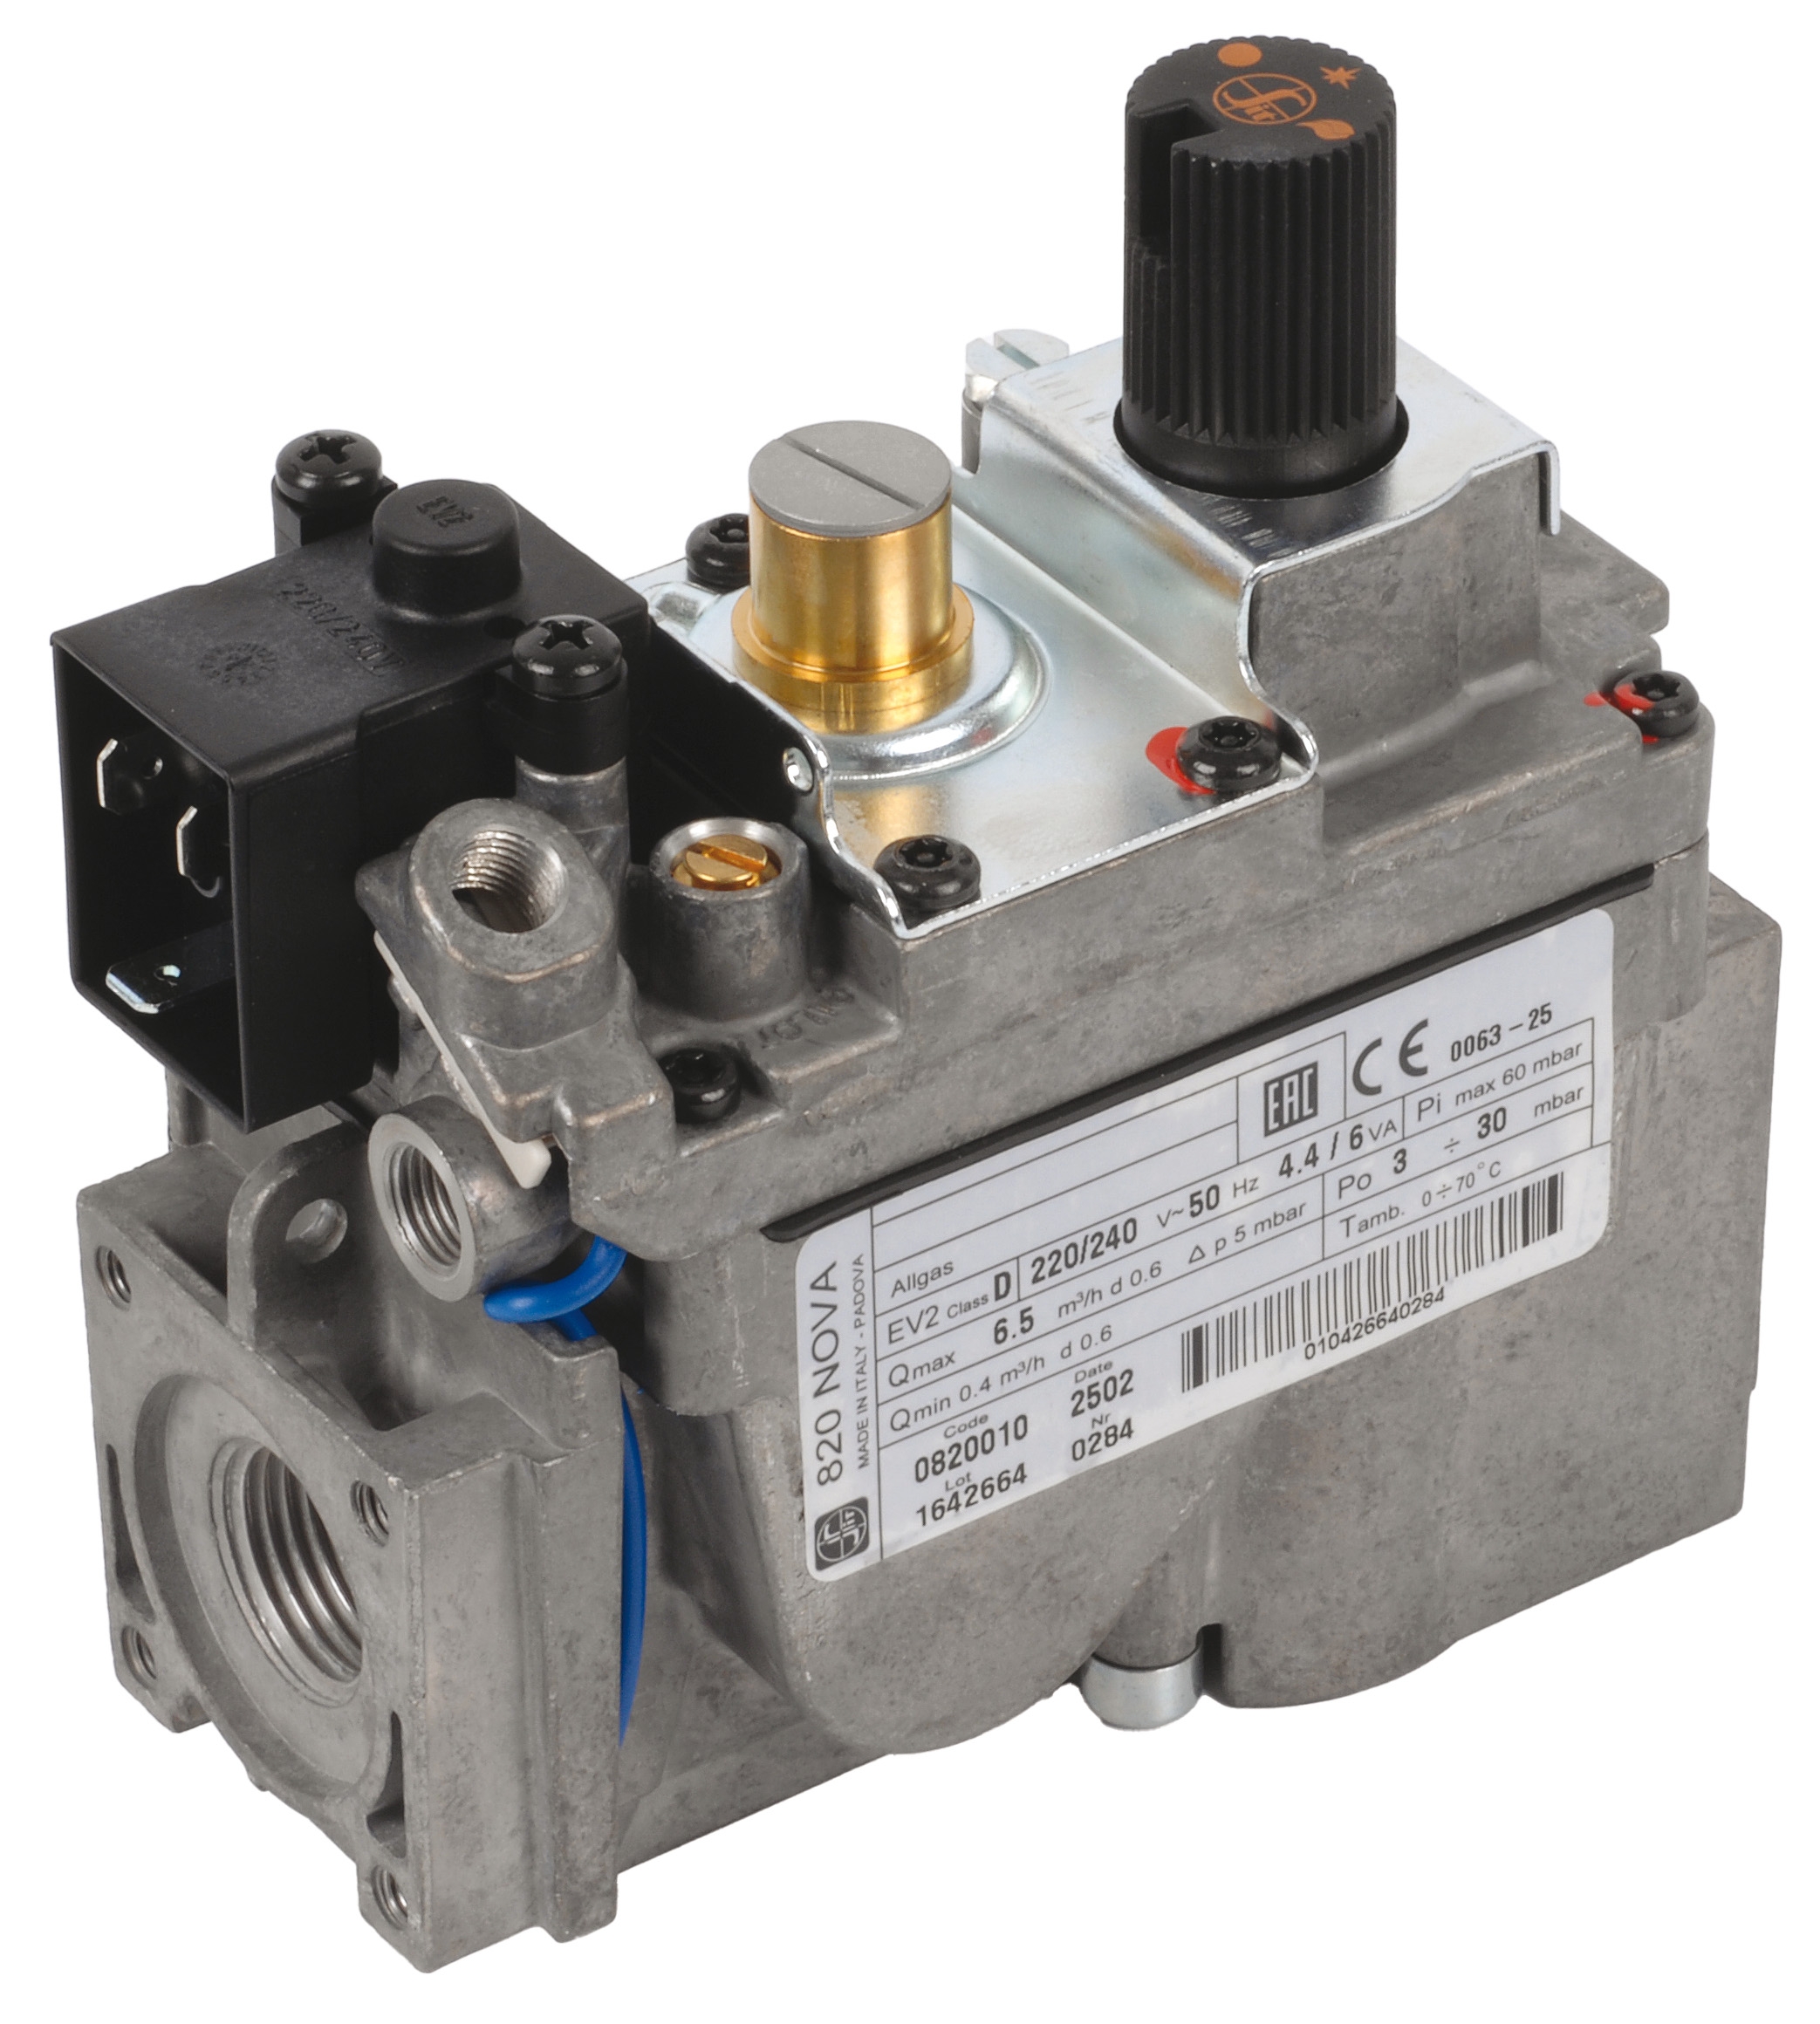
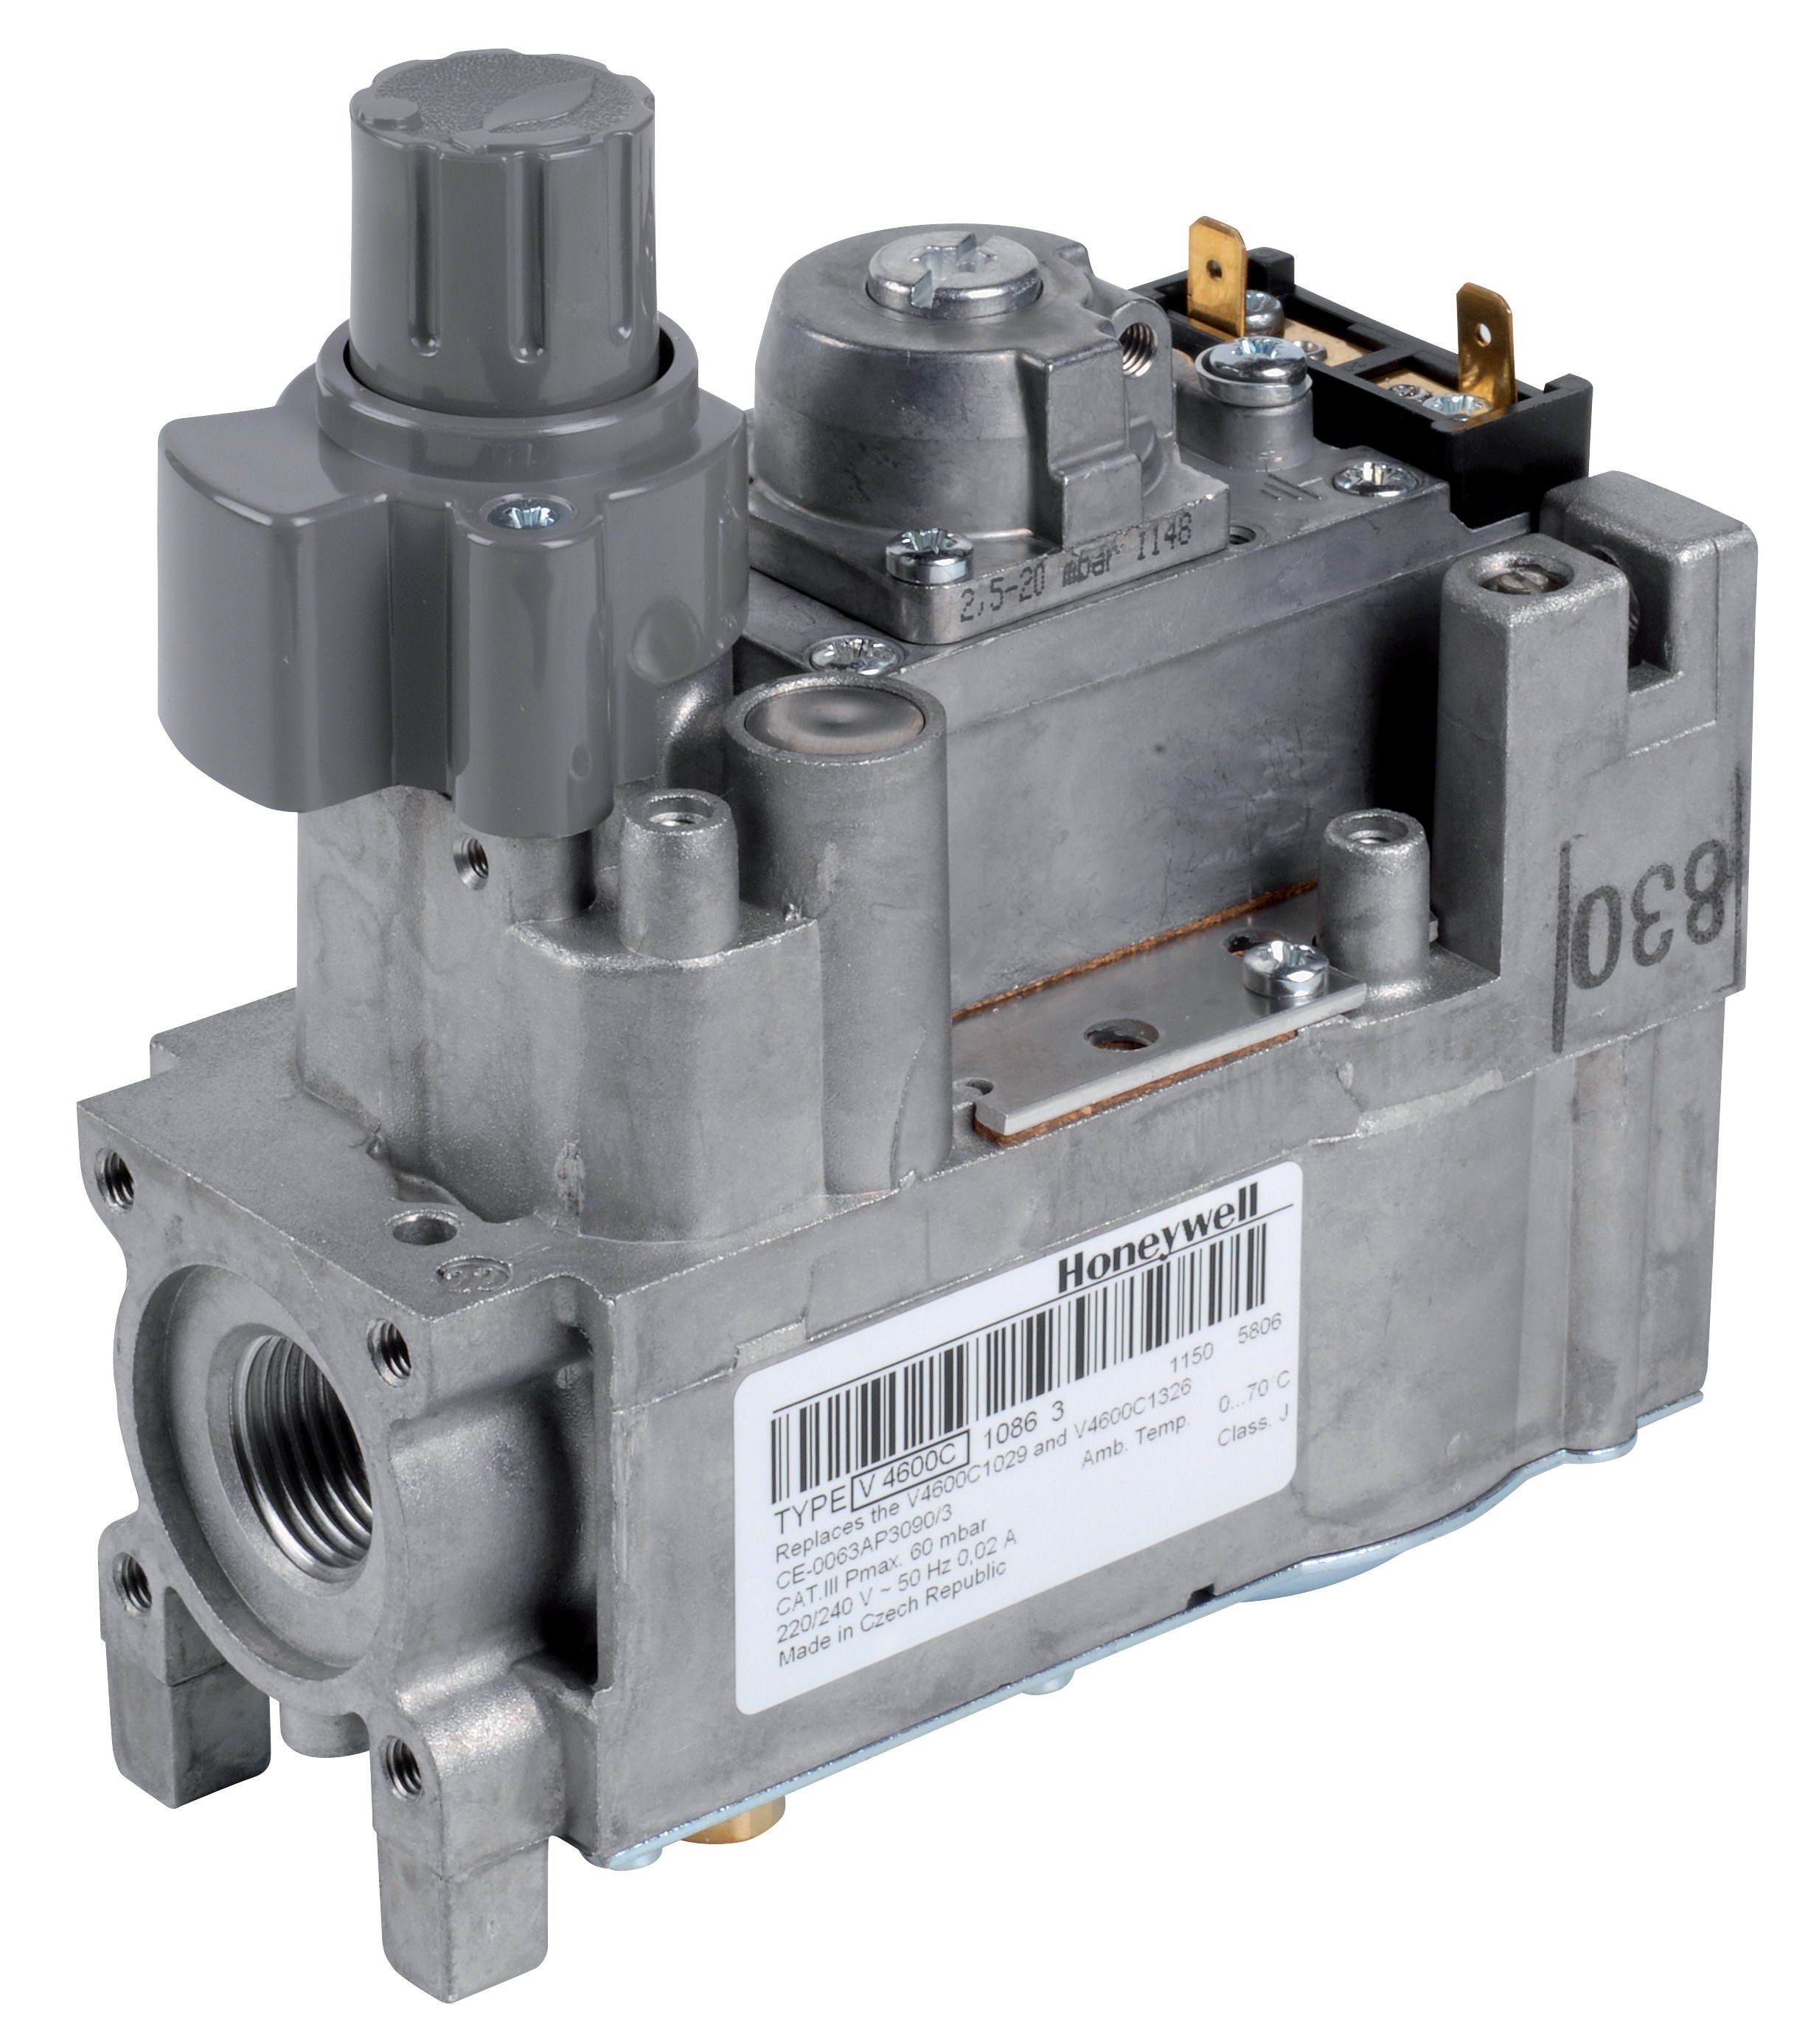
The Honeywell VK 4105 C 1041 U gas control block exemplifies modern modulating design, using electric feedback mechanisms to adjust fuel pressure proportionally. When these systems malfunction, plant managers face a complex diagnostic challenge: determining whether failures originate in the control electronics, mechanical actuators, pilot pressure circuits, or integrated air damper mechanisms.
3G Electric has distributed industrial burner controls for over 35 years. Through this experience, we've identified that modulating gas control failures account for approximately 40% of burner system downtime in mid-to-large industrial facilities. Understanding the diagnostic workflow can reduce troubleshooting time from hours to minutes.
Section 1: Identifying Modulating Gas Control Block Failure Modes
Common Failure Signatures
Modulating gas control blocks fail in recognizable patterns. Plant managers should understand these signatures before consulting with technicians:
Slow Response to Load Changes – The burner struggles to adjust fuel flow when facility demand increases or decreases. Flame flickers, pressure oscillates within ±5 PSI, and the system enters intermittent lockout cycles. This suggests the modulating valve's feedback potentiometer has drifted or electrical connections to the regulator coil are corroded.
Pressure Hunting (Oscillation) – Fuel pressure swings between high and low setpoints repeatedly, never stabilizing. The burner fires, pressure overshoots, shuts down, pressure undershoots, and restarts—creating a cycling pattern visible on pressure gauges. This typically indicates a faulty pilot pressure regulator or blockage in the proportional control feedback line.
Loss of Modulation Authority – The gas block remains in full-open or full-closed position regardless of load signals. Flame output becomes binary (on/off) rather than proportional. This suggests loss of electrical signal to the modulating solenoid or mechanical jamming of the actuator shaft.
Inability to Achieve Minimum Turndown – The lowest stable firing rate exceeds the design minimum (e.g., system designed for 3:1 turndown only achieves 1.5:1). Attempts to fire lower result in flame extinction and safety lockout. This indicates calibration drift in the proportional valve or contamination in the main fuel orifice.
Diagnostic Steps for Gas Control Block Assessment
Step 1: Verify Pilot Pressure Supply – Disconnect the pilot pressure feedback line at the control block inlet and measure pressure using a precision gauge (0–10 PSI range). Expected pilot pressure: 3–7 PSI depending on manufacturer. If pressure is absent or unstable:
- Check the pilot regulator for leaks or internal damage
- Verify the pilot gas solenoid is receiving electrical signal
- Inspect the pilot supply filter for blockage
- Corroded wiring connections at the control board
- Faulty relays or solid-state switches
- Damaged wiring in the signal cable
- Internal corrosion of the feedback pot
- Mechanical binding of the actuator shaft
- Bearing wear in the adjustment mechanism
- Hysteresis in the proportional solenoid
- Stiction (static friction) in the valve spool
- Calibration drift requiring reset or replacement
Section 2: Air Damper Integration and Response Delays
How Air Damper Coordination Affects Burner Safety
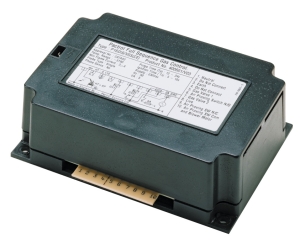
The Siemens LFL 1.622 safety control unit integrates air damper control with fuel valve sequencing. Proper air damper response is critical: if the damper opens too slowly relative to fuel valve opening, the combustion air becomes insufficient, creating incomplete combustion, smoke, and unsafe flue gas conditions. Conversely, if the damper opens before fuel becomes available, the burner cannot establish flame.
Plant managers often observe air damper failures as erratic flame color (red/orange instead of blue), reduced burner efficiency, and nuisance safety lockouts caused by "flame loss" even when the flame visibly exists.
Diagnosing Air Damper Response Delays
Visual Inspection Protocol – With the burner offline, manually operate the air damper lever or actuator rod (if equipped with manual override). Observe:
- Damper blade movement is smooth and reaches fully open without binding
- No grinding, creaking, or unusual resistance
- Damper remains in set position when released (no creep or drift)
If binding is detected, disassemble the damper linkage and inspect for:
- Corrosion on damper blade pivot points
- Debris (dust, scale, metal filings) in the bearing areas
- Bent or misaligned linkage rods
1. Disconnect the actuator electrical connector
2. With a multimeter, measure resistance across the actuator coil terminals (typical range: 20–200 ohms depending on design)
3. An open circuit (infinite resistance) indicates internal coil failure
4. An extremely low resistance (<5 ohms) suggests a shorted coil
5. Reconnect the actuator and apply power manually (using a 24V battery in a controlled test). Observe whether the damper moves. No movement with power applied indicates mechanical jamming or failed internal components.
Timing Synchronization Test – The burner control relay must sequence fuel and air damper openings. To verify correct timing:
1. Note the delay between air damper actuation start and fuel valve opening (should be 0.5–2 seconds depending on system design)
2. Observe that the air damper reaches 80%+ open before fuel valve reaches full open
3. If timing is inverted or delayed, the control relay may require calibration adjustment or replacement
Section 3: Integrated Troubleshooting for Gas Control + Safety Relay Failures
Why Gas Control and Safety Relays Must Be Diagnosed Together
The Kromschroder BCU 570WC1F1U0K1-E burner control relay and the gas control block are functionally integrated. The relay monitors flame presence, controls the fuel solenoid valve, and commands the modulating gas regulator. When one fails, symptoms can falsely indicate failure in the other.
For example, a plant manager observes "gas block not modulating." Diagnostic inquiry reveals:
- Gas block is receiving correct pilot pressure
- Electrical signals are present
- Yet the modulating valve does not respond
The root cause may actually be a corrupted command signal from the relay (which expects a proportional 0–24V signal but is outputting a fixed voltage).
Integrated Diagnostic Flowchart
Stage 1: Confirm Flame Status – The relay's first responsibility is flame monitoring. Using the Siemens LFL 1.622, verify that the flame detector (UV or ionization sensor) is detecting the actual flame:
- Clean the flame sensor window/electrode (carbon and residue buildup causes loss of detection)
- Verify the sensor leads are firmly connected
- Measure the sensor signal output: typical range 0–5V or 4–20mA depending on design
- If signal is absent, check that the sensor has unobstructed view of the flame zone
- Modulating systems: Output should be a proportional 0–24V signal that increases smoothly as load demand increases
- On/off systems: Output should be 0V in standby, switching to 24V during firing
- Intermittent faults: Use an oscilloscope to capture signal stability. Intermittent dropouts or jitter indicate relay board corruption or power supply issues
- Respond within 0.5 seconds of voltage application
- Return to neutral (closed) position within 0.5 seconds of voltage removal
- Pilot pressure should increase/decrease proportionally with applied voltage
If the block does not respond to direct voltage, it has failed and requires replacement.
Stage 4: Verify Pressure Switch Interlock – The Kromschroder DG 50U/6 pressure switch provides safety confirmation that fuel pressure has reached safe operating range before flame is ignited. Measure the switch contact closure:
- With fuel pump off: switch should be open (no continuity)
- With fuel pump running and pressure >3 PSI: switch should close (continuity detected)
- Measure the contact travel distance: typical 0.5–2 mm differential pressure required to toggle the switch
If the switch does not toggle at expected pressure, it may require cleaning (internal contact corrosion) or replacement.
Section 4: Practical Recovery Procedures and Prevention
Emergency Recovery When Gas Control Fails
When modulating gas control fails during operation, plant managers must balance safety with operational continuity:
1. Immediate Response – Confirm the burner has safely shut down (flame is extinguished, fuel solenoid is de-energized). Do not attempt manual restart if safety lockout is active; this indicates a detected fault condition.
2. Quick Diagnostics – Perform the pilot pressure and electrical signal tests from Section 1 (should take 5–10 minutes). If both are normal, the gas block likely has failed internally and requires replacement.
3. Temporary Workaround – If a replacement gas block is not immediately available and the failure is in the modulating mechanism only (i.e., the block still controls fuel flow but cannot modulate smoothly):
- Some facilities temporarily disable modulation by setting the control signal to fixed 24V
- This converts the burner to on/off operation, reducing efficiency but maintaining basic heat production
- Document this as temporary and schedule block replacement within 24–48 hours
4. Preventive Replacement Timing – Gas control blocks typically have 5–7 year service life in continuous-duty applications. Consider scheduled replacement at the 5-year mark if the unit has not been rebuilt.
Maintenance Best Practices to Reduce Failures
Quarterly Pressure Switch Testing – The DG 50U/6 pressure switch is a critical safety device. Verify its functionality quarterly by:
- Measuring contact closure at operating pressure
- Confirming the switch opens when fuel pump is isolated
- Recording setpoint measurements to detect drift over time
Annual Modulating Valve Calibration – Even well-maintained gas blocks drift slightly. Annually:
- Test minimum and maximum fuel pressure at zero and full load command signals
- Record turndown ratio (maximum pressure ÷ minimum pressure) and compare to previous year
- Adjust calibration if turndown has degraded more than 5%
Documentation and Trending – Maintain a log of:
- Burner firing rate changes (load demand vs. actual fuel flow)
- Pressure switch activation pressures
- Flame detector signal strength
- Any instances of nuisance lockouts
Trends in these metrics identify developing problems months before failures occur, allowing scheduled maintenance rather than emergency repairs.
Conclusion
Controls & Safety systems in modulating burner applications demand systematic diagnostic approaches. By following the procedures outlined—verifying pilot pressure, measuring electrical signals, testing mechanical response, and confirming relay function—plant managers can distinguish between gas block failures, air damper issues, and safety relay problems with confidence.
3G Electric's 35+ years of industrial equipment distribution has shown that most "controls & safety" emergencies can be resolved in under one hour when technicians apply a logical diagnostic sequence. The products referenced—Honeywell VK 4105 C 1041 U, Kromschroder BCU 570WC1F1U0K1-E, Siemens LFL 1.622, and Kromschroder DG 50U/6—represent proven, field-tested solutions for modulating burner control. Maintaining spare units of critical components and implementing the preventive maintenance schedule outlined will minimize unplanned downtime and extend equipment life significantly.