Understanding Controls & Safety in Burner System Installation
Controls & Safety systems are the backbone of reliable industrial burner operations. Unlike troubleshooting or maintenance after installation, proper commissioning from day one prevents costly downtime, compliance violations, and safety incidents. With 35+ years of experience supplying industrial equipment across Southeast Asia, 3G Electric understands that installation quality directly impacts system longevity and regulatory compliance.
Singapore's regulatory environment demands strict adherence to EN standards, PED (Pressure Equipment Directive), and local PSA (Professional Engineers Board) requirements. This guide addresses the practical steps maintenance teams must take during installation and initial commissioning to ensure systems operate safely and reliably.
Section 1: Pre-Installation Planning and Site Assessment
Understanding System Requirements
Before any component arrives on site, your team must clearly define the control strategy. Are you installing a system for intermittent pilot ignition or direct ignition? Will the burner operate in continuous or modulating mode? These decisions determine which safety relays, pressure switches, and gas blocks you'll integrate.
For gas burner applications in Singapore, verify that your selected components meet:
- EN 746-2 (safety controls for burners)
- EN 676 (safety controls for gas burners and gas appliances)
- EN 1854 (pressure switches for combustion safety)
- Local PED compliance for any pressure-rated components
The Kromschroder BCU 570WC1F1U0K1-E supports both intermittent and continuous pilot ignition modes with EN 746-2 and EN 676 compliance, making it ideal for flexible industrial applications.
Site Conditions and Installation Location
Inspect the physical installation environment:
- Temperature range: Check ambient conditions against component ratings. Most safety relays operate between -5°C and +60°C, but verify your specific equipment. The Honeywell VK 4105 C 1041 U operates across -5°F to 140°F and requires appropriate environmental protection.
- Electrical supply: Confirm voltage stability (230V/400V in Singapore) and earthing compliance with local electrical codes.
- Vibration and access: Ensure control panels are mounted away from excessive vibration and positioned for easy maintenance access. This is critical for later diagnostic work.
- Proximity to combustion: Keep electrical controls and sensor wiring away from high-temperature zones. Use appropriate cable glands and conduit to prevent thermal damage.
Safety Device Spacing and Wiring Pathways
Plan your control panel layout before installation:
- Position pressure switches, solenoid valve coils, and flame detection modules according to manufacturer drawings.
- Route safety circuit wiring separately from power circuits to minimize electromagnetic interference.
- Label all terminals clearly using the design documentation and local electrical standards.
- Pre-drill cable entry points and install conduit to protect wiring from mechanical damage during operation.
Section 2: Installing and Connecting Key Control Components
Pressure Switch Installation and Pilot Testing
The Kromschroder DG 50U/6 pressure switch is rated SIL 3 and Performance Level e, making it critical to correct installation. Your team must:
1. Install the sensing connection: Connect the pressure sensing port using appropriate fittings (typically M20 x 1.5 or NPT). Use thread sealant rated for natural gas or fuel oil, depending on your application.
2. Verify no blockages: Purge the sensing line before final connection to remove debris that could cause false shutdowns.
3. Set switch activation points: The DG 50U/6 typically activates between 0.2–0.5 bar. Confirm your system's required activation pressure with the burner manufacturer and document it on your commissioning sheet.
4. Test response time: Once installed, verify the switch closes within 5 seconds of pressure reaching set point. This is your first quality check before the flame detection and relay systems are energized.
5. Seal and protect: Use a pressure gauge isolator valve (snubber) if the sensor line experiences pressure pulsation, which is common in some industrial burners.
Safety Relay and Control Module Integration
The Siemens LFL 1.622 is a comprehensive safety unit with UV and ionization flame monitoring and air damper control capability. Installation requires:
1. Mounting on DIN rail: Install in the control panel at least 100mm from high-current devices (motor starters, contactors) to reduce electrical noise.
2. Flame detector wiring: UV sensors are light-sensitive. Route the detector head into the burner's flame observation port (typically on the furnace front or side) using armored cable. Keep cable runs under 50 meters to maintain signal integrity.
3. 24V supply connection: The LFL 1.622 typically operates on 24VDC. Verify your power supply is regulated and can handle peak starting current. Use a separate 24VDC transformer if your plant supply is unstable.
4. Proving air damper signal path: If integrating the damper control function, connect the damper servo motor through the relay's damper output terminal. Confirm the damper moves through its full travel during commissioning.
5. Connector types: Use appropriate M12 or M16 connectors specified by Siemens. Crimped connections are superior to soldering for industrial reliability.
Gas Block and Solenoid Valve Control
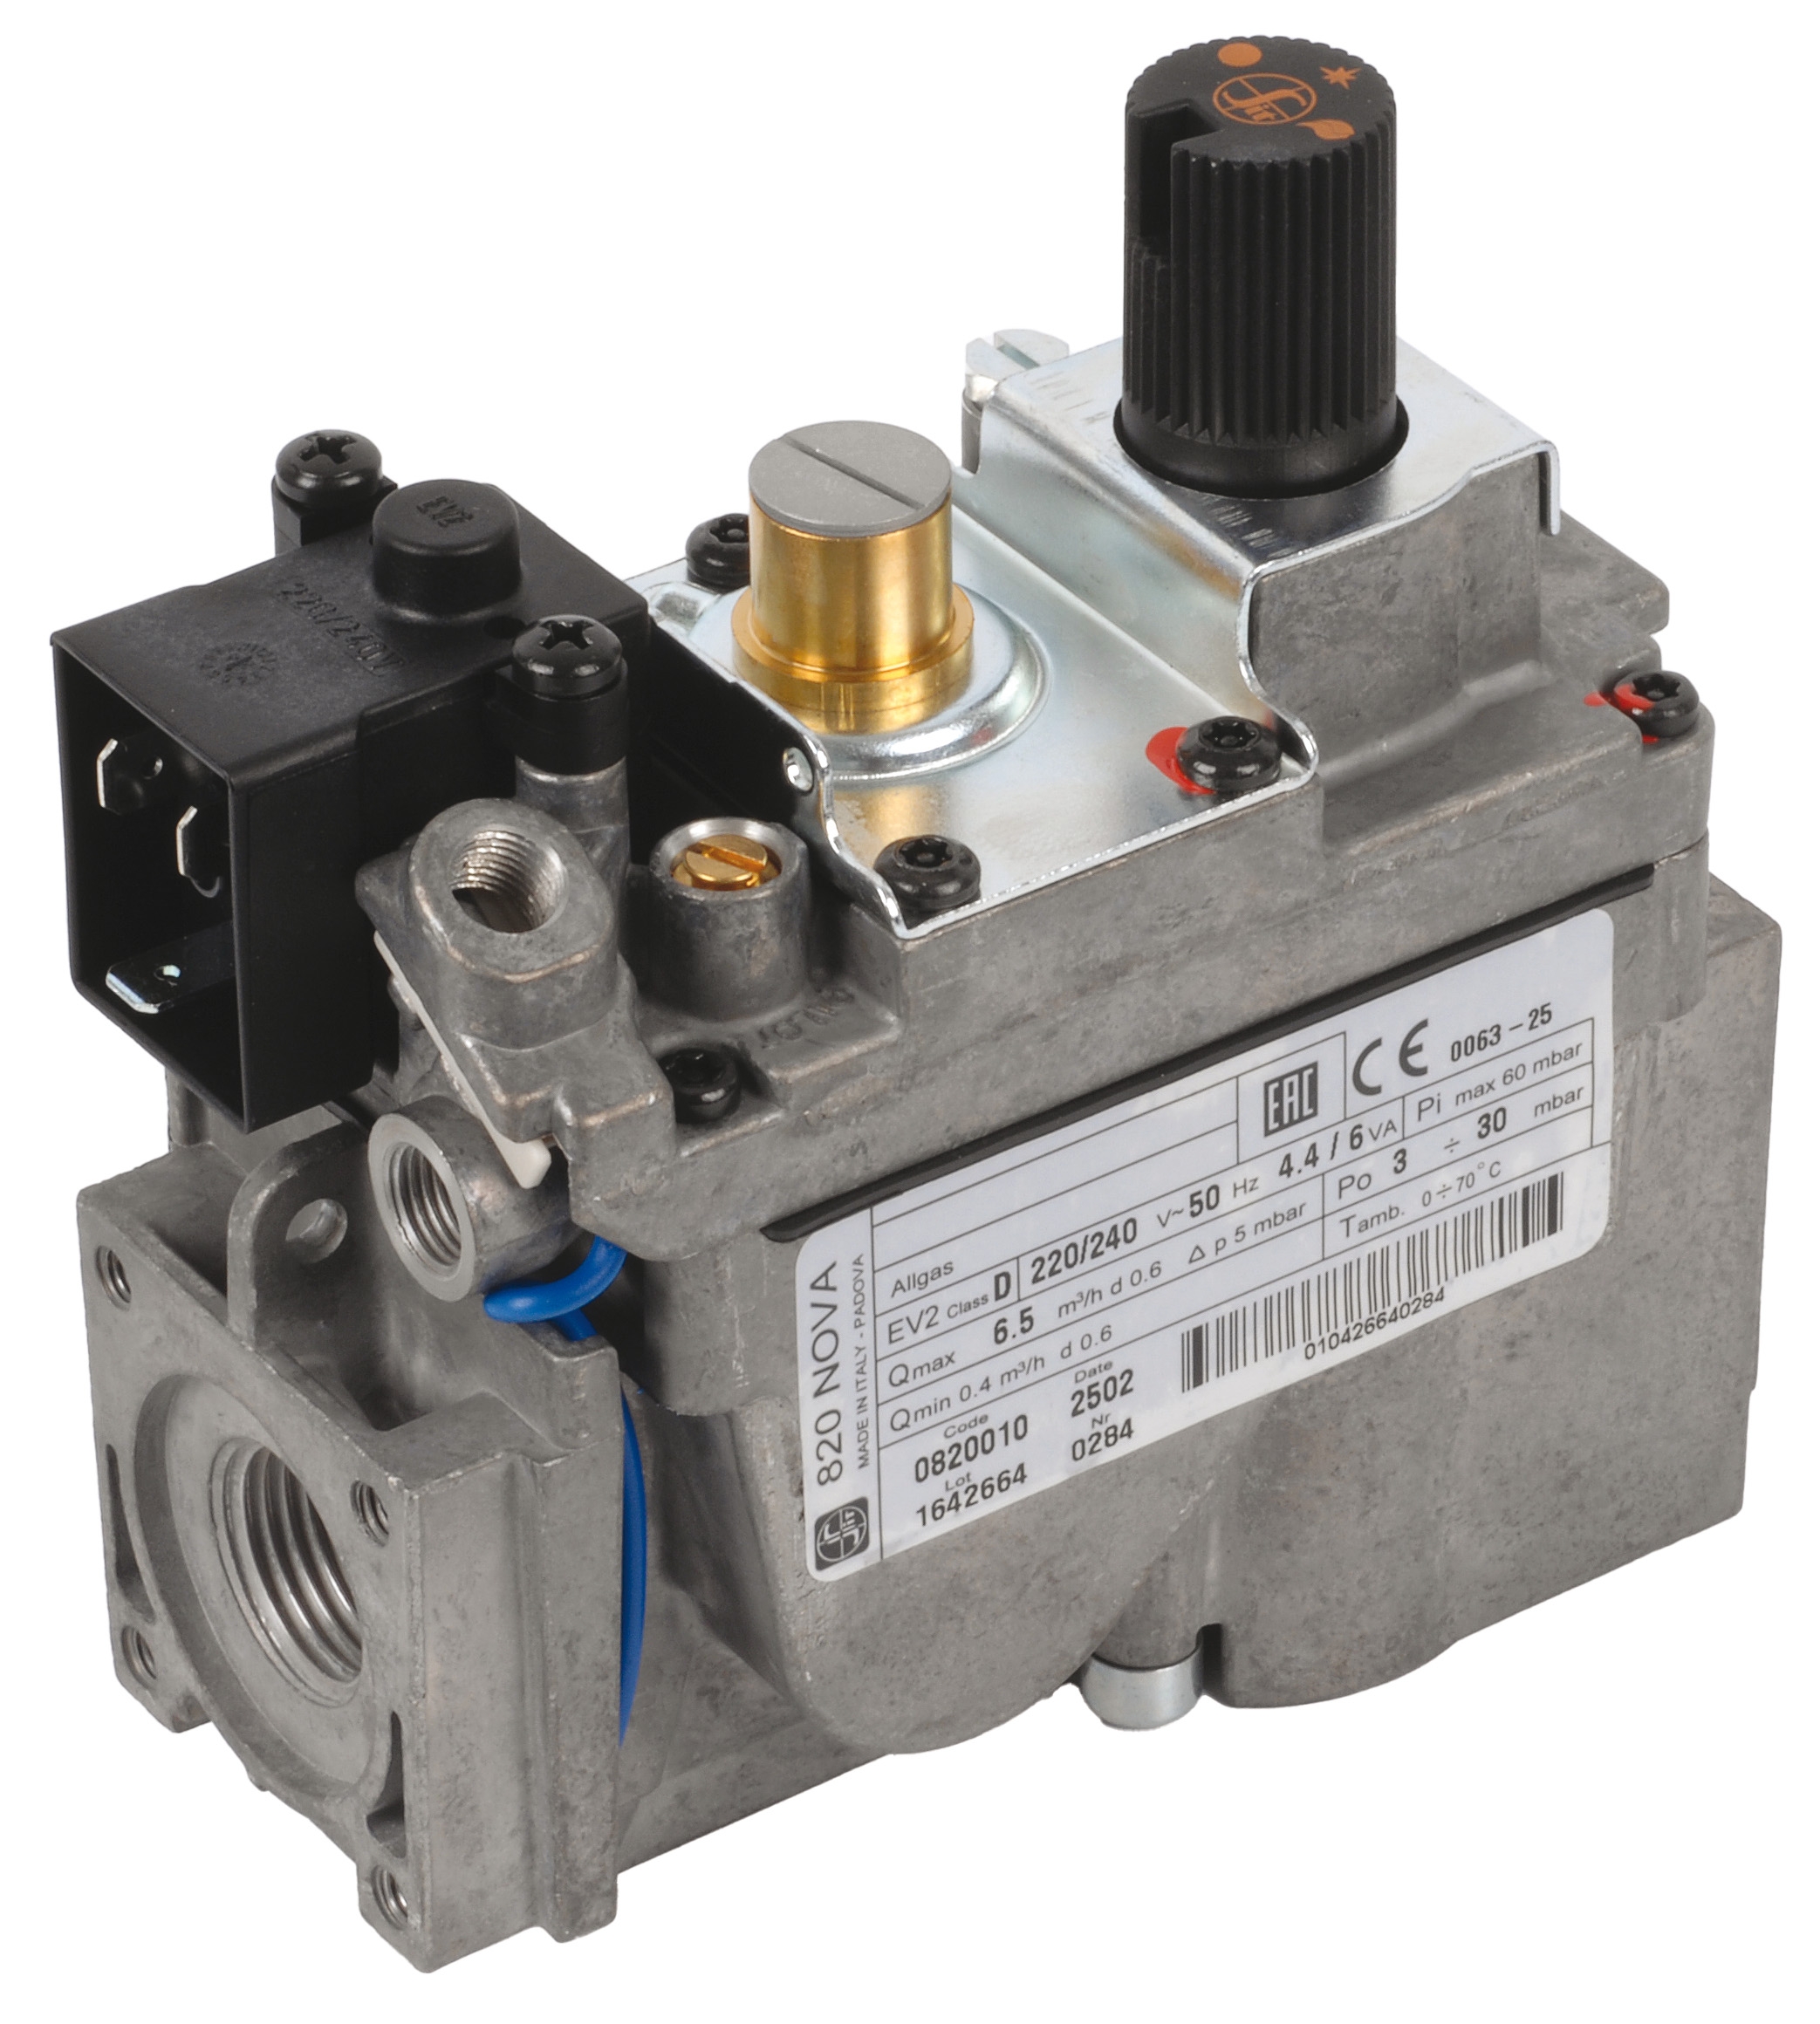
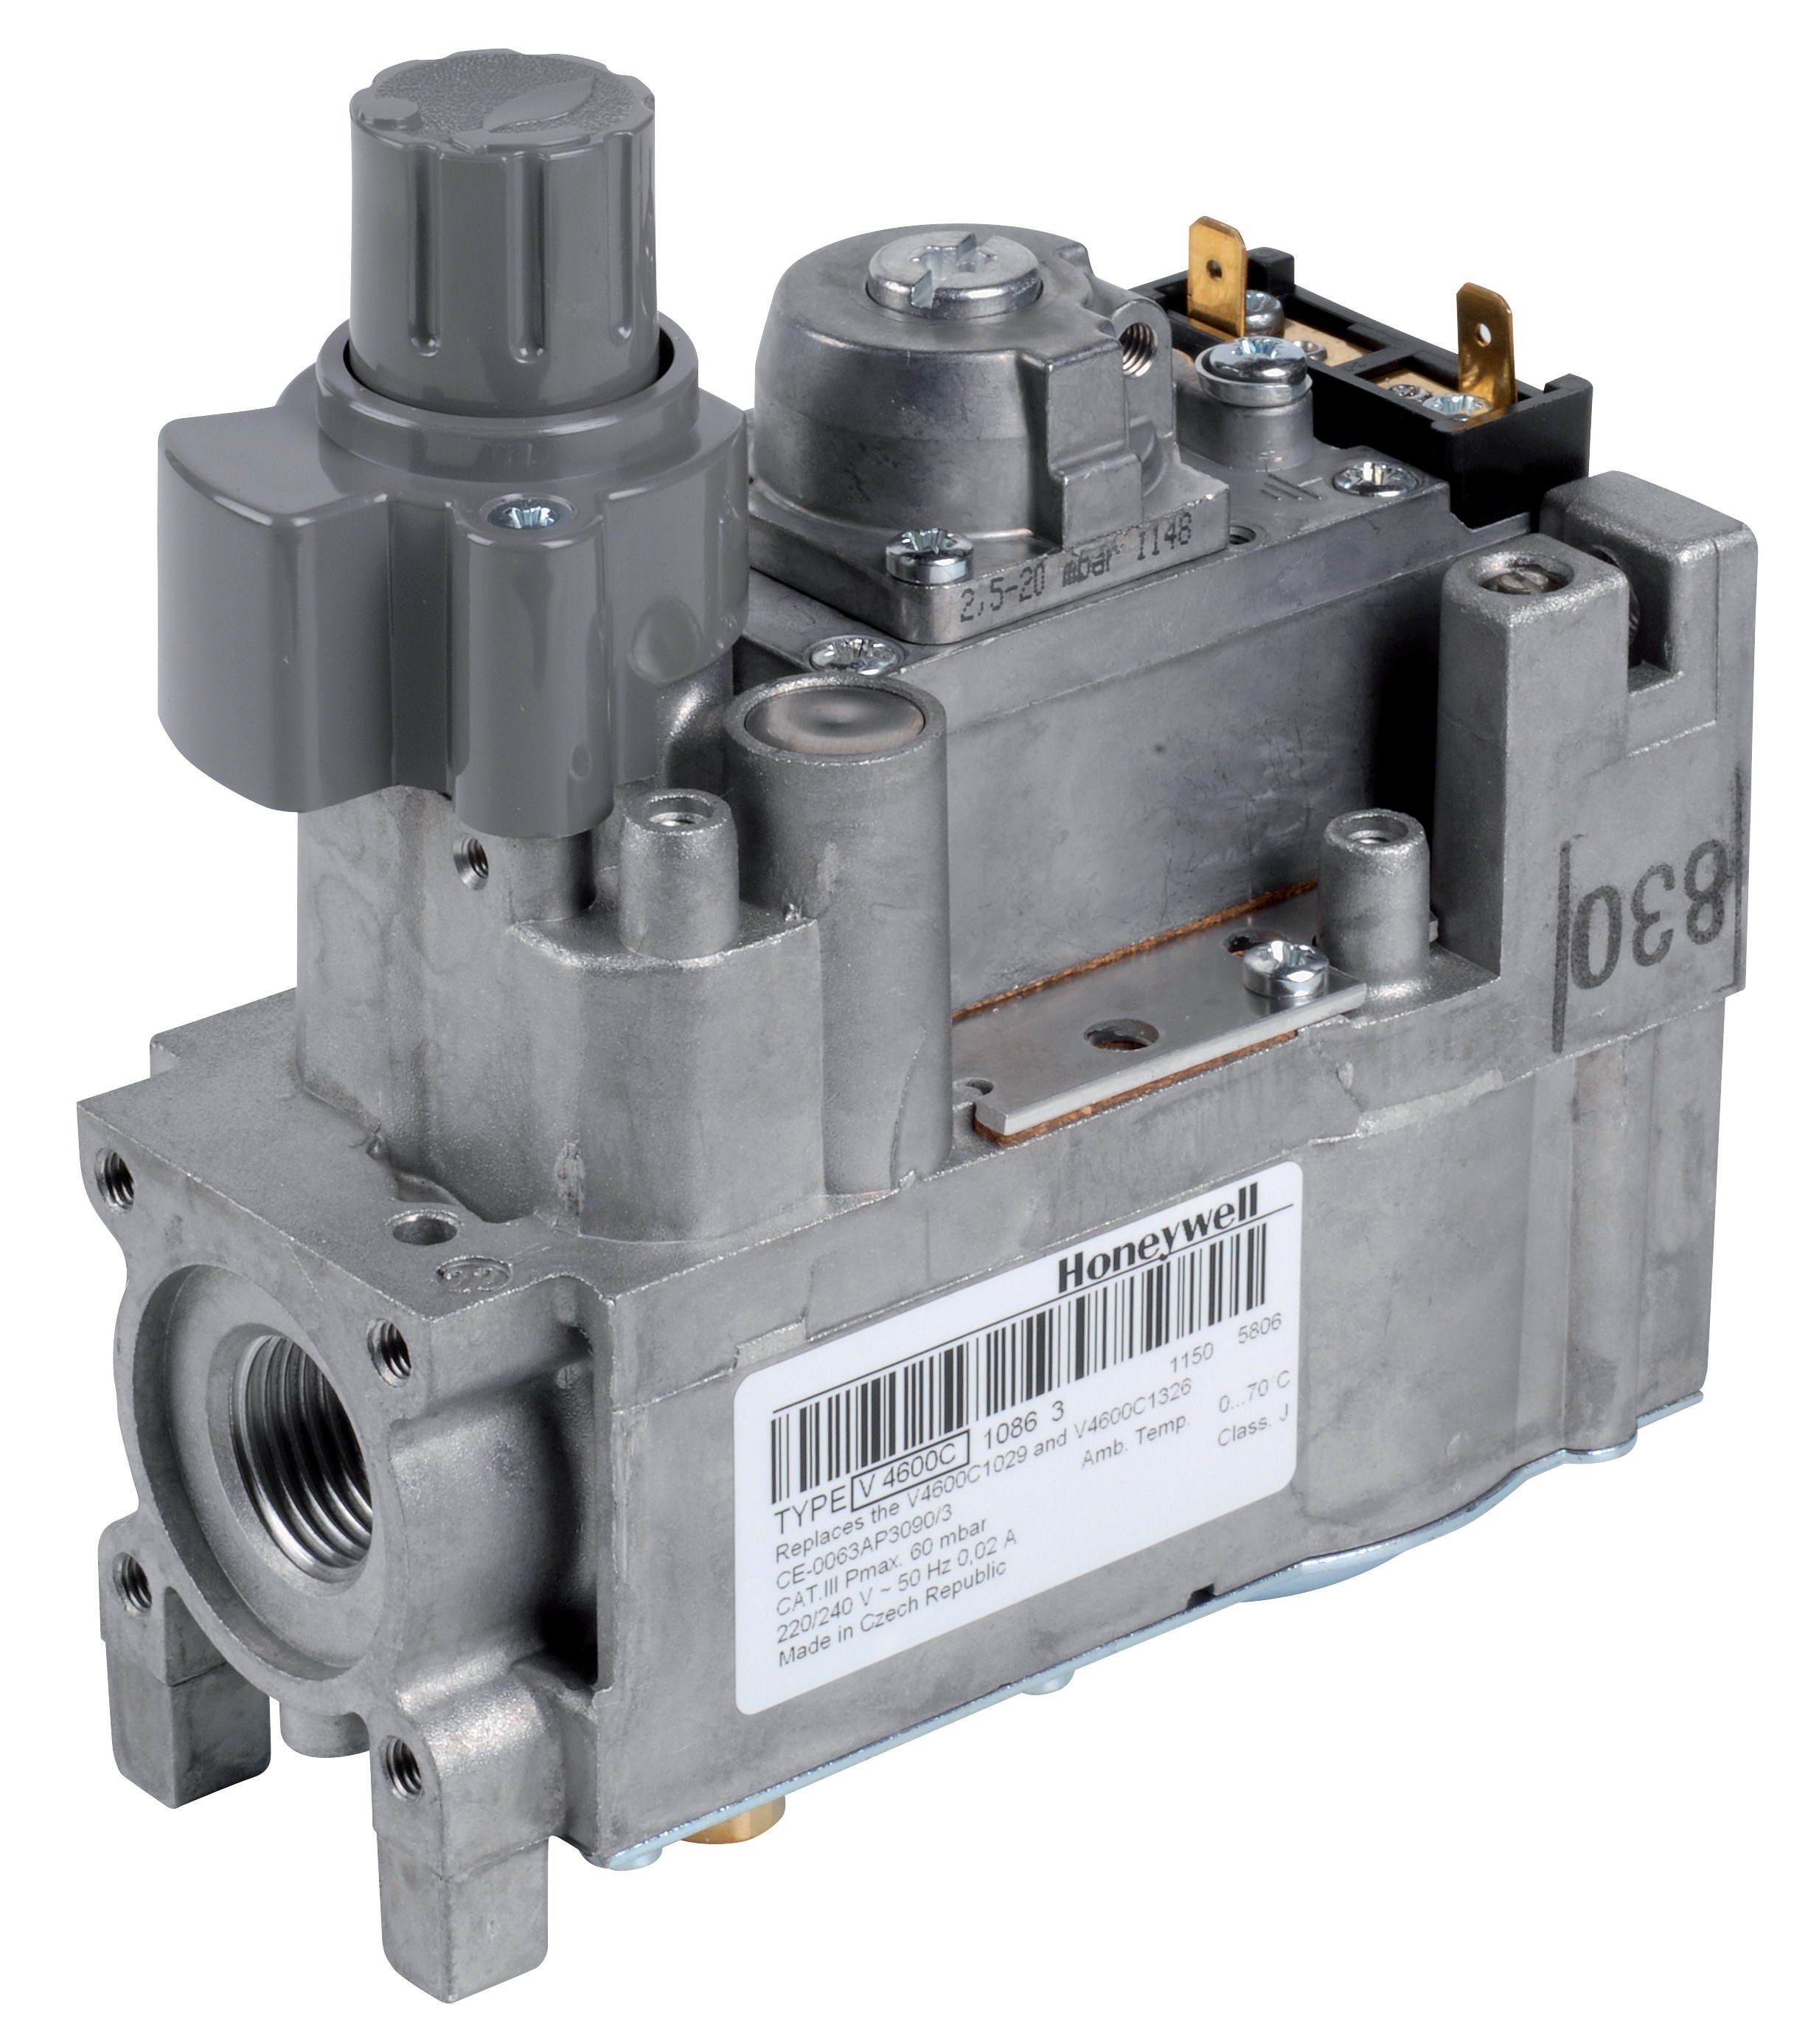
The Honeywell VK 4105 C 1041 U modulating pressure regulator controls gas flow in proportional burners. Installation steps:
1. Gas inlet and outlet orientation: Verify gas flow direction arrows before connecting supply and outlet lines. Incorrect orientation will prevent system operation.
2. Pilot connection: The M8 x 1 pilot connection must be tight. Use a pressure gauge tee fitting to measure pilot pressure during commissioning (typically 0.15–0.3 bar for natural gas).
3. Feedback connection: The pressure feedback signal (M5 threading) connects to the burner's main pressure sensor. Ensure this line is clean and free of kinks.
4. Electrical coil connection: The solenoid coil operates on your control signal (typically 24VDC). Verify coil polarity and test the coil resistance before powering—a typical coil reads 350–500 ohms at room temperature.
5. Mechanical damper and stroke: If the block includes a proportional damper, verify manual stroke calibration before automatic control is engaged. This prevents hunting (rapid oscillation) during operation.
Flame Detection Module and Ignition Circuit
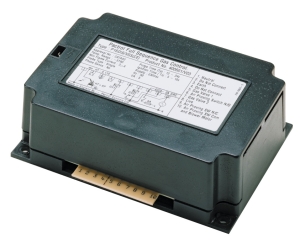
The Pactrol Housing P 16 DI CE handles ignition and flame detection at 230V input with 12 kV output. This module requires careful installation:
1. High-voltage safety: The 12 kV output is dangerous. Ensure the ignition electrode is properly shielded and positioned 3–5mm from the fuel nozzle or burner head. Use insulated cable rated for 15 kV minimum.
2. Ground isolation: The housing must be grounded through the control system earth. Do not rely on mechanical contact with the burner—use an explicit earth lead.
3. Ignition timing verification: During commissioning, use an oscilloscope to confirm the module generates ignition pulses. Pulse frequency is typically 80–100 Hz; pulse duration is 2–3 milliseconds.
4. Flame confirmation delay: After ignition, the flame detection circuit should confirm flame within 3–5 seconds. If flame is not detected, the module should cut ignition and trigger a lockout state.
Section 3: Commissioning Procedures and Verification
Sequential Commissioning Checklist
Commissioning must follow a logical sequence to isolate each system component:
1. Mechanical integrity checks (power OFF):
- Verify all gas connections are tight using soapy water (no bubbles).
- Confirm solenoid valve plungers move freely (manually push and release if accessible).
- Test all manual shutoff valves operate smoothly.
2. Electrical verification (power ON, burner disabled):
- Measure 24VDC at the control panel and at each device using a multimeter.
- Check earth continuity between the control panel and burner frame (should be <1 ohm).
- Verify pressure switch mechanical function by manually pushing the button and listening for the switch click.
3. Safety circuit test (burner in standby):
- Energize the control system.
- Confirm the main solenoid valve coil is de-energized (you should hear the gas shutoff click at the solenoid valve).
- Verify the flame detection module is powered and its indicator light is off (showing no flame).
4. Pressure switch response test:
- Gradually increase gas supply pressure to the pilot circuit.
- Confirm the pressure switch closes at its set point (typically 0.3–0.5 bar for pilot gas).
- Record the actual closing pressure on your commissioning sheet.
5. Ignition and flame proving:
- Enable the burner start command.
- Observe ignition (you should see a spark or hear the ignition electrode firing).
- Within 3–5 seconds, confirm flame detection occurs (relay indicator lights or module flame signal LED illuminates).
- If flame does not establish, the system should cut ignition and revert to lockout within 10 seconds.
6. Modulation and control loop (if applicable):
- For modulating burners, verify the gas block responds to demand signals.
- Test that increased demand opens the proportional valve, increasing flame intensity.
- Confirm that decreased demand reduces valve opening proportionally.
Calibration and Setpoint Documentation
Every parameter set during commissioning must be documented:
- Pressure switch activation points: Record both the pilot pressure at which the switch closes and the atmospheric pressure burner pressure at which full-load main flame proves.
- Flame detection sensitivity: For UV-based systems, note any adjustments made to sensitivity potentiometers. Document the flame intensity (in pW/cm²) measured with a UV meter if available.
- Modulation valve null point: If the gas block includes proportional control, record the voltage at which the valve is fully closed (typically 0–1VDC).
- Ignition electrode gap: Measure and record the physical gap between the electrode and the fuel nozzle (typically 3–5mm).
- System response times: Time the delay from demand signal to flame establishment and document it. This is your baseline for future diagnostics.
Compliance Documentation
Singapore regulations require commissioning certificates for industrial burner systems. Your team must prepare:
1. As-built wiring diagram: Annotate the manufacturer's schematic with your actual terminal connections and any modifications.
2. Pressure and electrical setpoint table: List all calibrated values with dates and operator signatures.
3. Safety function verification report: Document that pressure switches, solenoid valves, and flame detection operate within specification.
4. Compliance checklist: Confirm alignment with EN 746-2, EN 676, EN 1854, and local electrical codes.
5. Maintenance and parts list: Record the exact SKU and serial numbers of all control components for future reference.
Section 4: Post-Commissioning Operations and Handover
Training and Documentation Handover
Once commissioning is complete, transfer all knowledge to the operations and maintenance teams:
- Operating procedures: Provide step-by-step startup and shutdown sequences, including normal operating parameters (gas pressure, flame intensity, air/gas ratio).
- Alarm and lockout guidance: Explain what each alarm state means and the correct reset procedure. For example, if the system locks out due to flame loss, the operator should restart the burner rather than attempting manual reset of relays.
- Maintenance intervals: Specify when pressure switches require recalibration (typically annually), when flame detector windows need cleaning (monthly or quarterly depending on fuel type), and when control relays should be inspected.
- Parts procurement: Provide your team with the exact SKU numbers for replacement components. 3G Electric stocks the Kromschroder BCU 570, the DG 50U/6 pressure switch, the Siemens LFL 1.622, the Honeywell VK 4105 C 1041 U, and the Pactrol Housing P 16 DI CE for rapid replacement during maintenance.
Establishing a Commissioning Log
Create a master commissioning log that becomes part of the equipment file:
- Record the installation date and commissioning engineer's name.
- Maintain a section for "As Found" values (measurements before any adjustments) and "As Left" values (final calibrated setpoints).
- Photograph the completed control panel and wiring before final closure.
- Note any deviations from the original design and the reason for each change.
- Include contact information for the equipment supplier (3G Electric) in case parts replacement is needed.
First Month Operation and Monitoring
During the first month, your team should:
1. Monitor flame stability: Watch for cycles where the flame extinguishes and re-ignites. This suggests flame detector drift or gas supply instability.
2. Check pressure readings: Daily or weekly, record main gas pressure and pilot pressure. Verify they remain within commissioning setpoints. Pressure drift indicates a leak or regulator drift.
3. Review alarm logs: If your burner system logs fault events, review them for patterns. Repeated pressure switch alarms may indicate a sensor calibration drift.
4. Test manual shutoff operation: Confirm that manual gas shutoff valves are accessible and operate smoothly. This is critical for emergency response.
5. Measure system response time: Using the commissioning baseline, verify that the system still establishes flame within the expected timeframe. Degradation may indicate sensor fouling.
Practical Tips for Maintenance Teams
Troubleshooting Installation Issues
If commissioning reveals problems:
- No flame proven after ignition: First, inspect the flame detector window for soot or dust. UV sensors are particularly sensitive. Clean with a soft, dry cloth. If the detector is clean, the ignition voltage may be insufficient—verify 12 kV at the electrode with an HV probe.
- Pressure switch does not close: Verify the sensing line is not blocked by manually applying slight pressure to the line with a syringe (with the burner off). If pressure passes, the switch itself may be failed and requires replacement.
- Modulation valve hunting: The proportional valve is oscillating between open and closed positions. This usually indicates the feedback pressure signal line is kinked or the proportional amplifier is set to high gain. Straighten the feedback line first, then reduce gain via the control relay adjustments.
- System repeatedly locks out: After the system locks out and you reset it, does it immediately lock out again or does it run? If immediate, the pressure switch or flame detector is failing continuously. If it runs for a period before locking out, a slow leak is present—check gas connections with soapy water under pressure.
Common Installation Mistakes to Avoid
- Reversing gas block inlet/outlet: The modulating gas block will not pass flow if connections are reversed. Double-check flow direction arrows before pressurizing.
- Undersizing the 24VDC power supply: Many control failures occur because the 24VDC supply cannot deliver enough current during peak demand (simultaneous energization of solenoid coils and ignition module). Spec a supply rated for at least 5 amps for burners with multiple solenoids.
- Mixing pilot and main pressure sensing: Do not cross-connect pilot pressure and main pressure lines. Pilot pressure is typically 0.15–0.3 bar; main pressure can exceed 3 bar. Incorrect connection will cause the control system to malfunction and create a fire risk.
- Omitting pressure gauge snubbers: In burners with high-frequency pressure ripple, unprotected pressure switches oscillate between opened and closed, causing nuisance shutdowns. Always include a snubber (hydraulic damper) on the pressure sensing line for safety switches.
Conclusion
Installation and commissioning of Controls & Safety systems demand methodical attention to detail, knowledge of equipment specifications, and adherence to local regulatory standards. By following this guide, your maintenance team will ensure that burner control systems operate reliably, safely, and in compliance with Singapore regulations from day one.
3G Electric's 35+ years of experience supplying industrial equipment means we understand the challenges you face. Whether you need the Kromschroder relay, pressure switches, safety control units, gas blocks, or ignition modules, we stock the components your team needs and provide technical support throughout the lifecycle of your equipment. Proper installation is the foundation of long-term reliability.